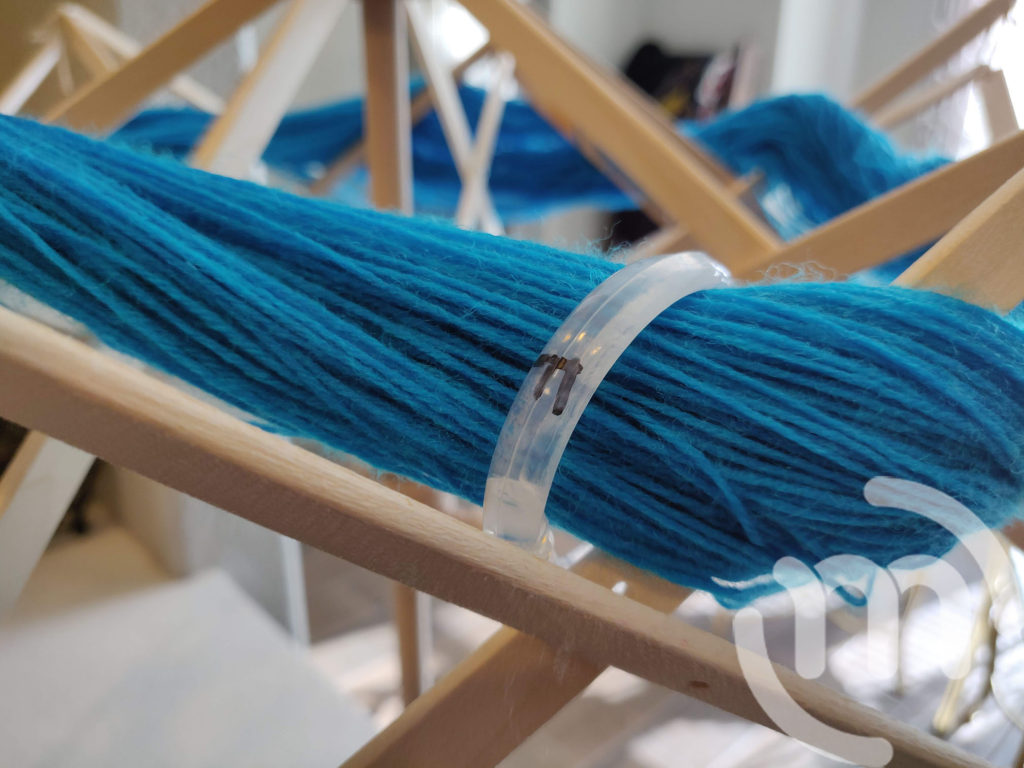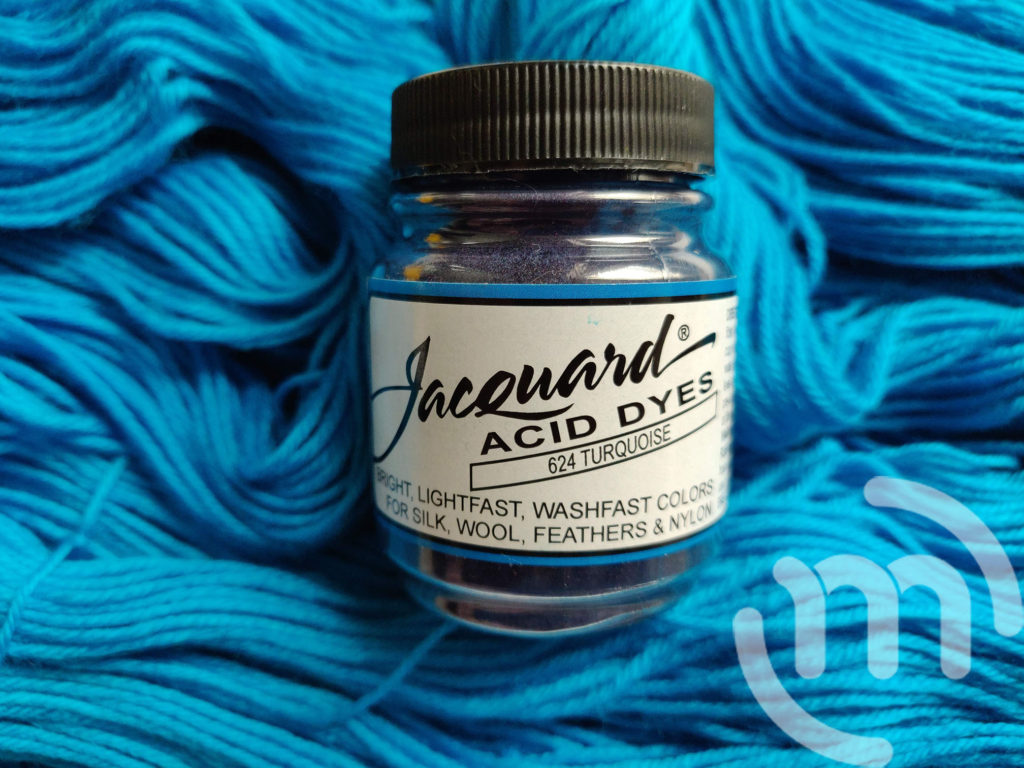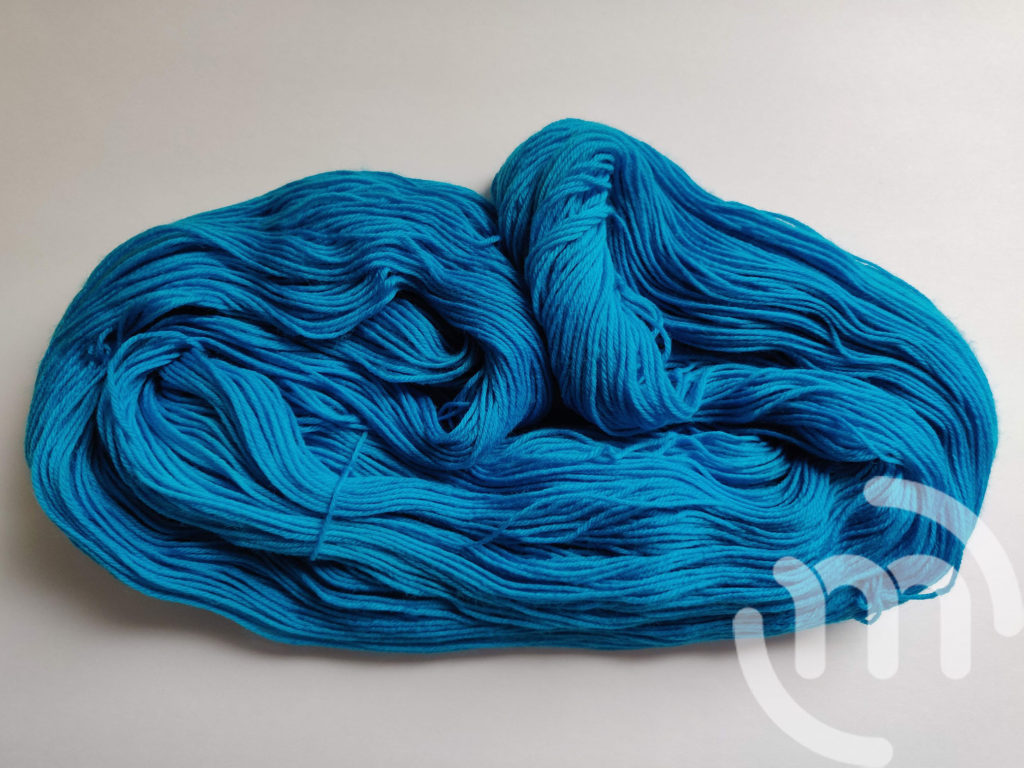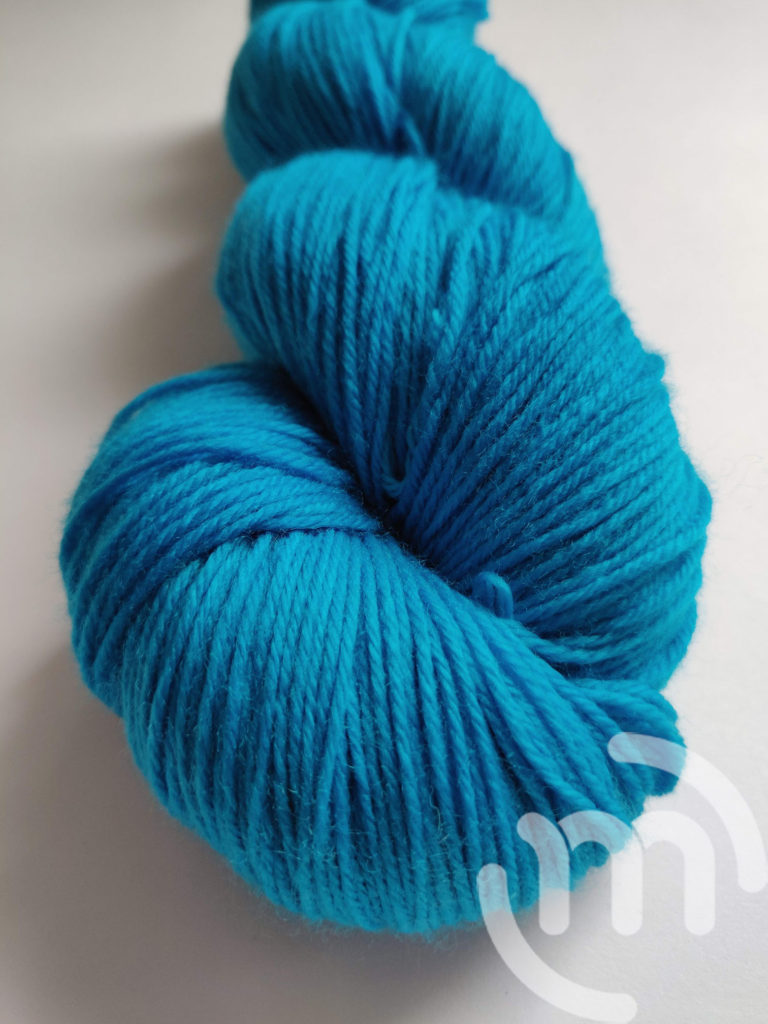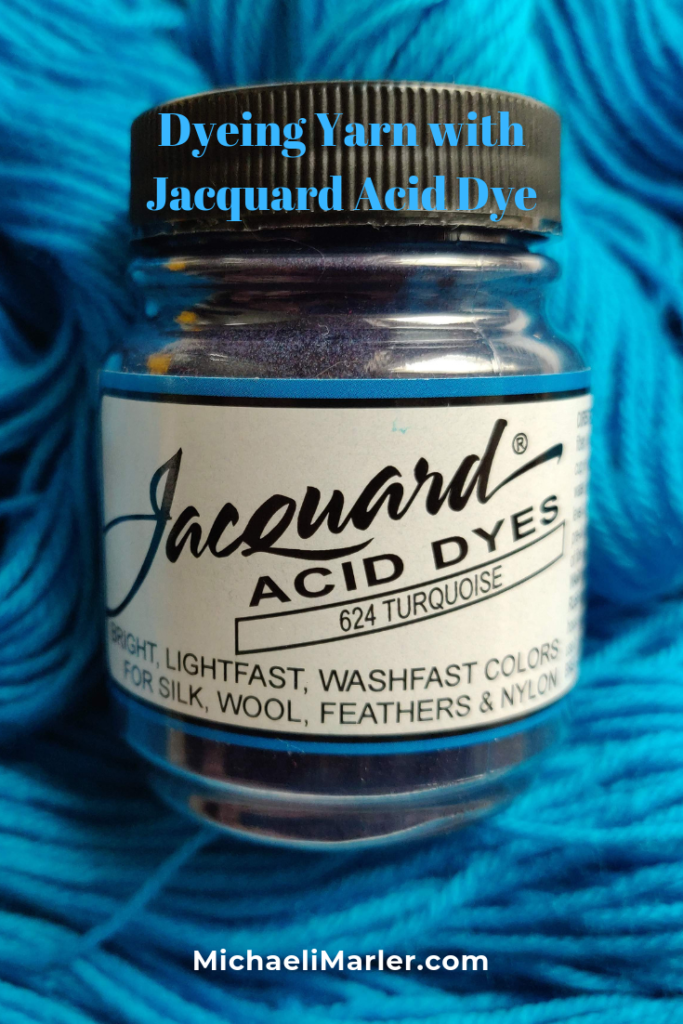

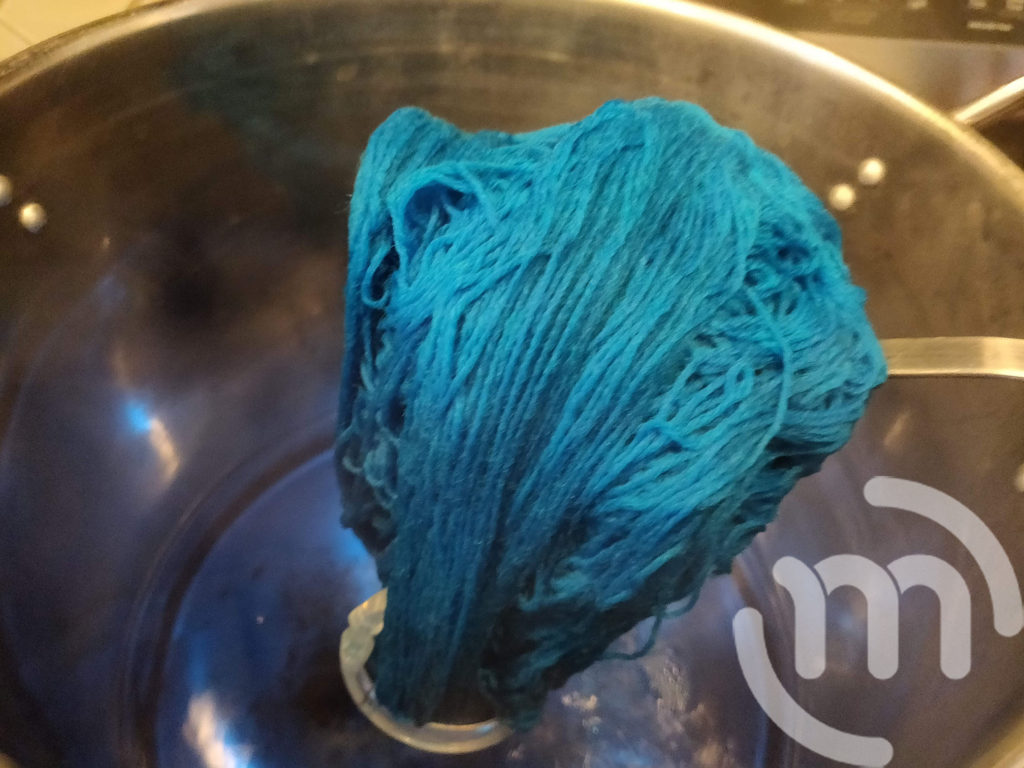
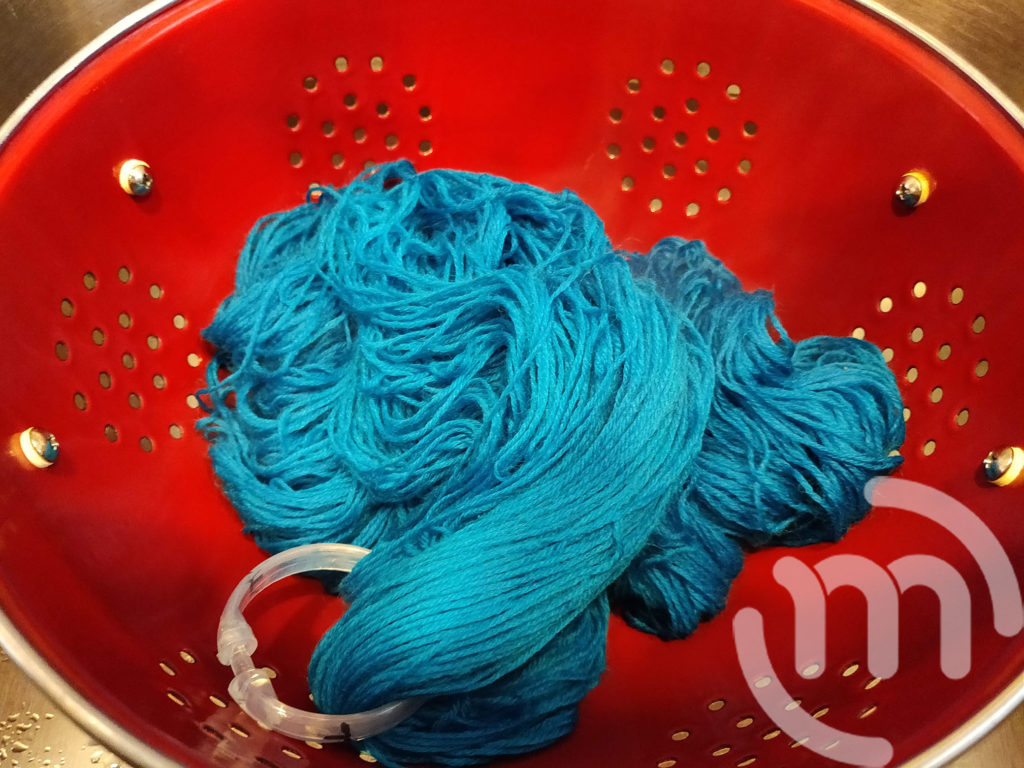
Are you curious about the Jacquard Acid Dyes from Dharma Trading Co.? What do these colors actually look like on the wool? This is Turquoise!
*This post may contain affiliated links. For more information on this and how you can support my blog, please see my Disclosure page!*
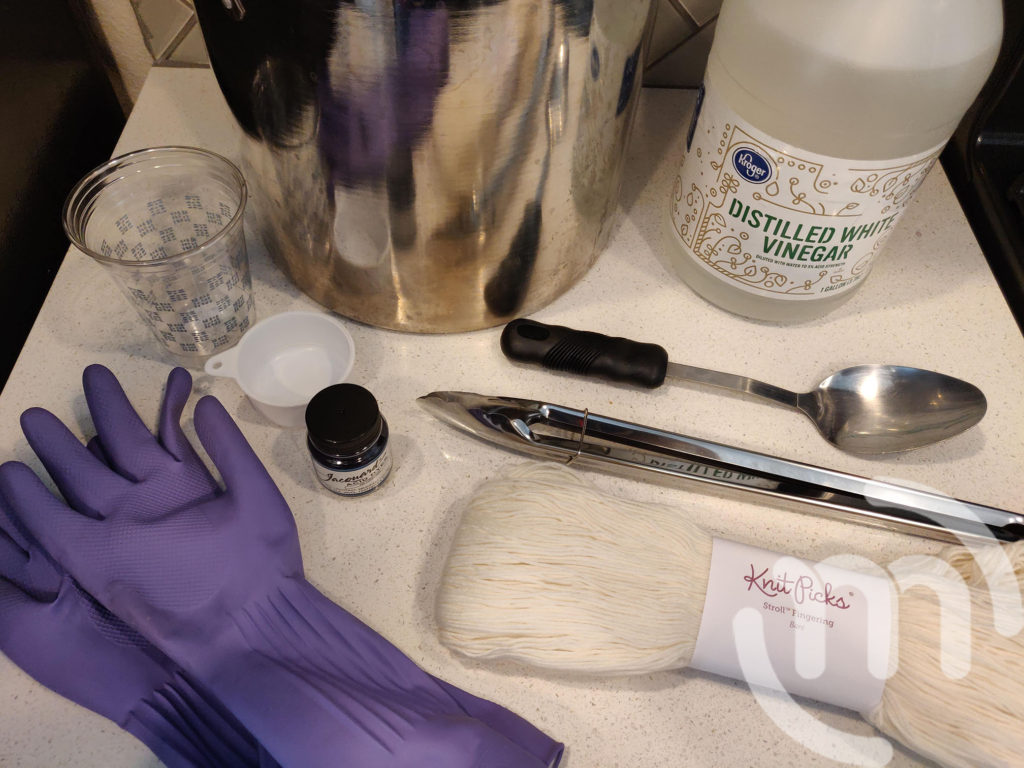
Materials:
- 100 Grams of Bare Yarn
- 0.1 OZ Jacquard Acid Dyes in Turquoise
- 2 Tablespoons White Vinegar
- Big Pot
- Tongs
- Colander
- Kitchen Scale
- Plastic Cup and Spoon
- Zip Tie or Shower Curtain Ring
- Gloves
- Ventilator (optional, but recommended)
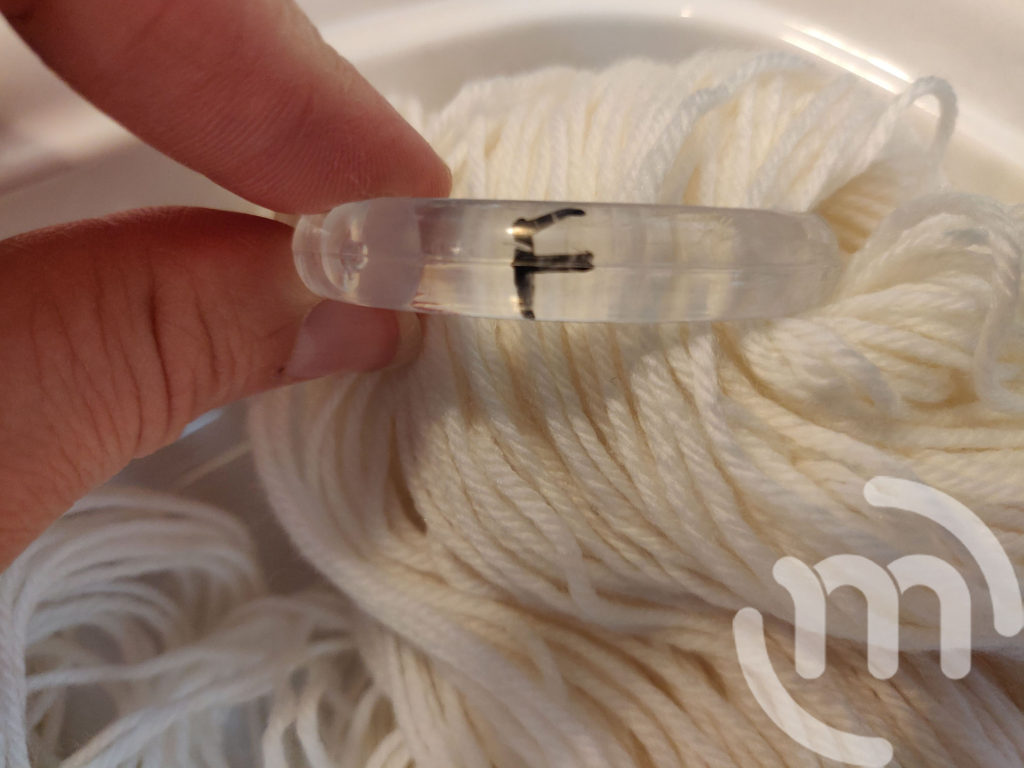
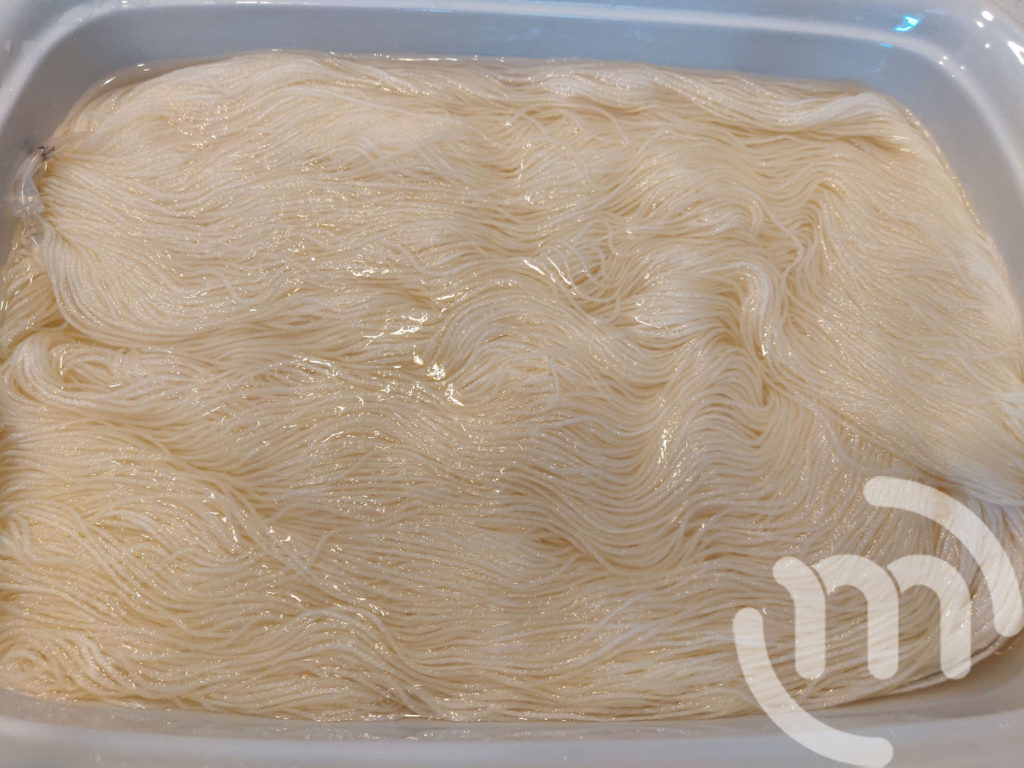
Step 1:
Place either the zip tie or the shower curtain ring around the yarn to keep it from getting tangled in the dyepot. Place the yarn in a big bowl or casserole dish and allow the yarn to pre-soak for a minimum of 30 minutes in normal room temperature water.
Step 2:
Heat up 8-16 cups of water depending on how large your pot is until boiling. NOTE: You cannot use this pot for making food after using it for your acid dyes! I went to a local thrift store to purchase a separate pot that will only be used for dyeing yarn and never food. This also goes for any utensils or anything you use that touches the acid dyes.

Step 3:
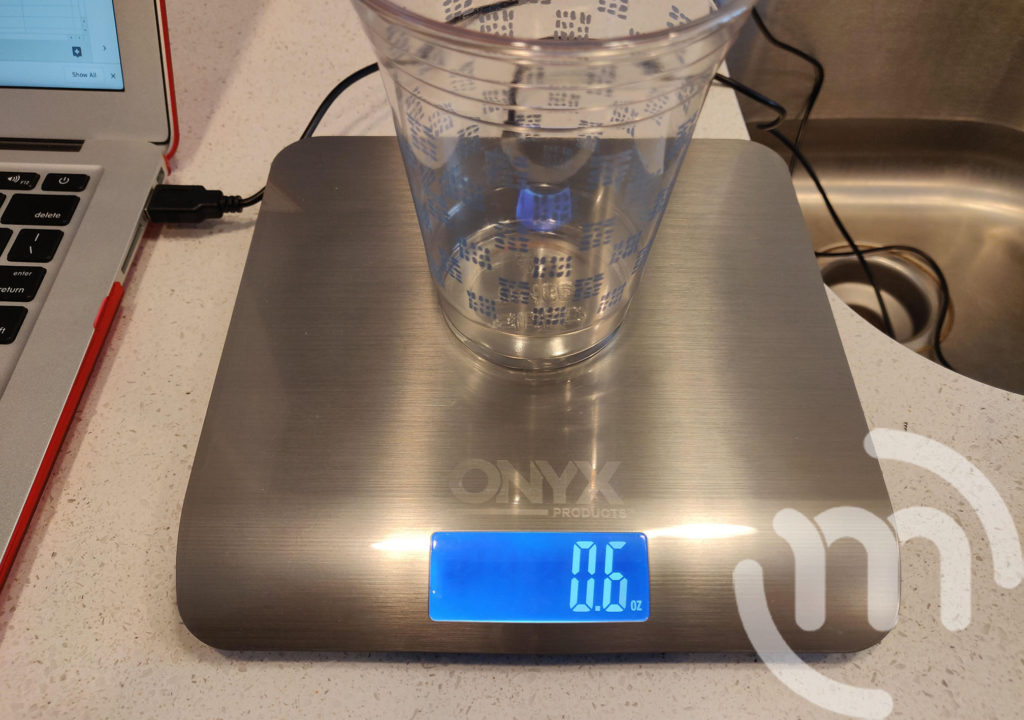
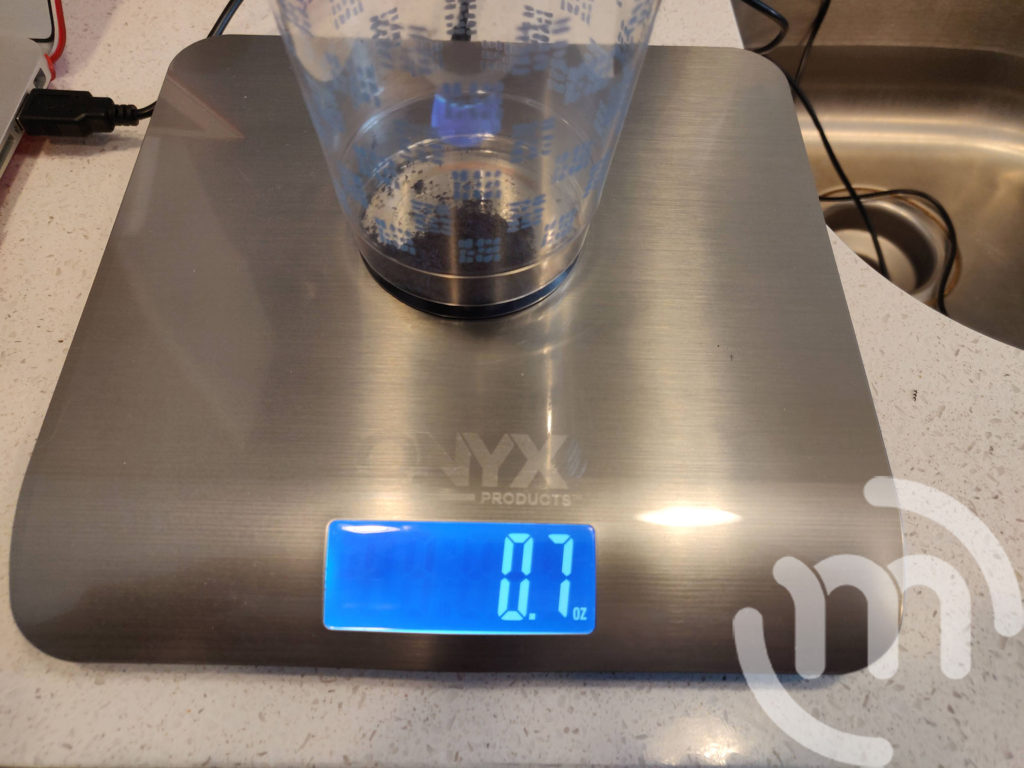
While your water is heating up, mix up your acid dye for your yarn. I used my shipping scale, but a kitchen scale would be much more accurate. I first weighted the plastic cup, and then I slowly added enough dye until it said .1 oz (more than the cup) on the scale. This should be enough dye for 100 grams of yarn.
Step 4:
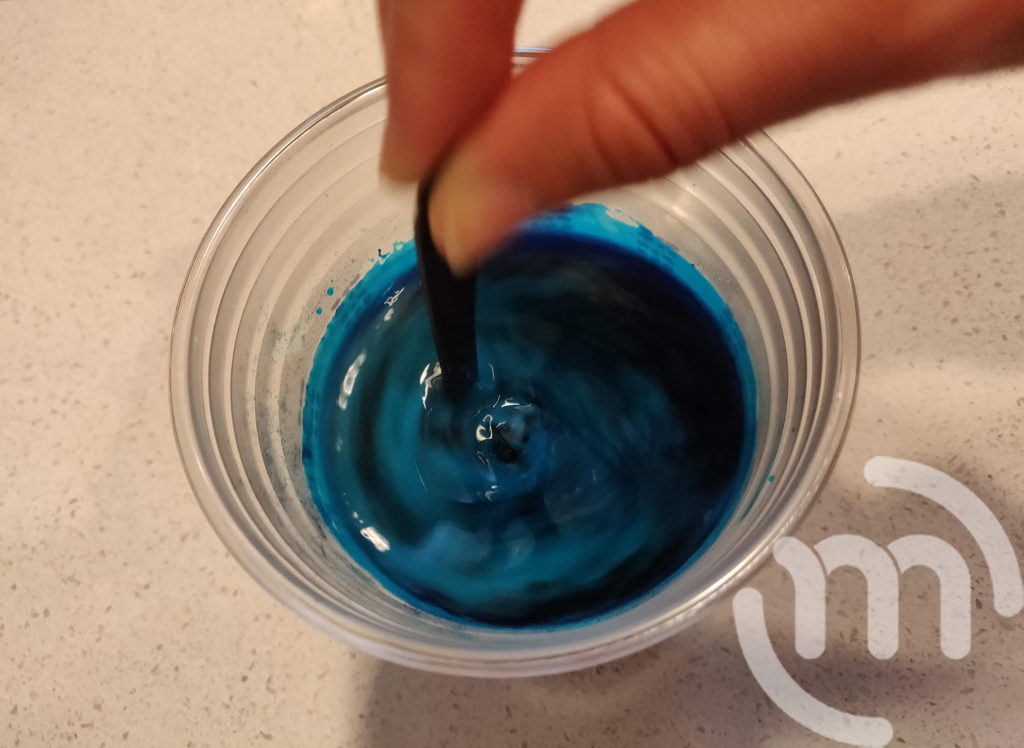
Slightly heat up some water in a coffee mug in the microwave just so it’s hot, but not boiling. Slowly add it to your powder dye and mix with your plastic spoon. I liked using the plastic cup and spoon because you can just throw them away after use.
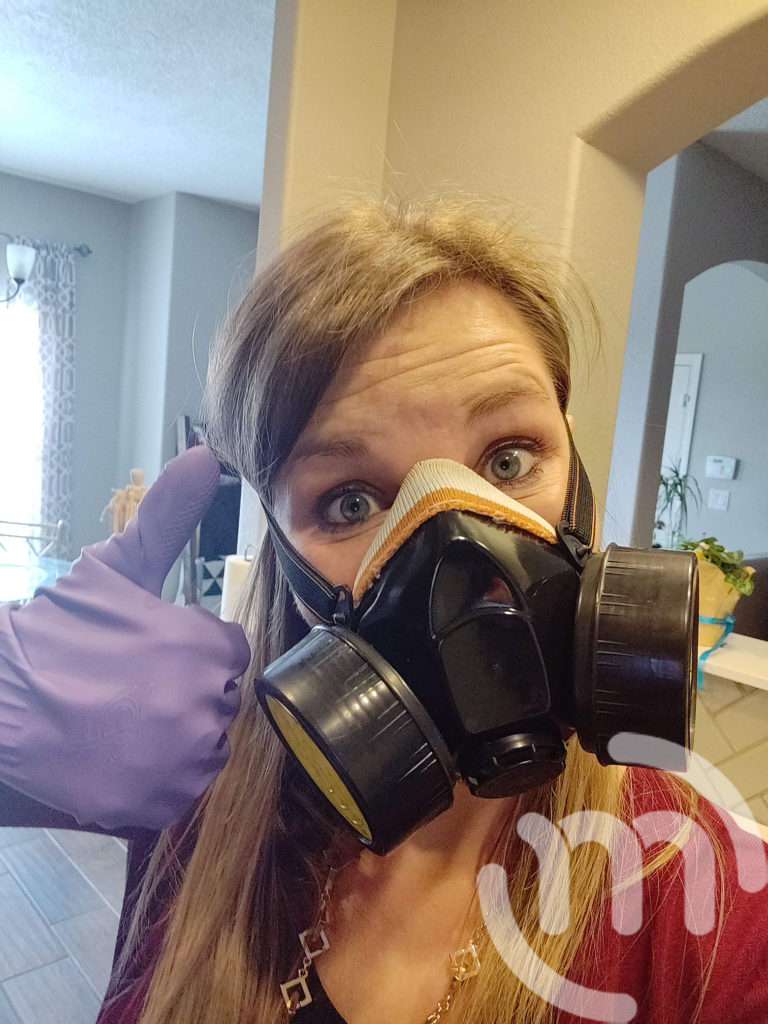
This is when I would recommend wearing your gloves and ventilator just in case some of the powder particles fly into the air.
Step 5:
Right before the water in your pot is boiling, add in your white vinegar. Mix it to combine it with the water.

Step 6:
Once the water is boiling, lower the heat to low. Add your dye and mix to combine well. Ring out the yarn that was pre-soaking and slowly add it to your dyepot.
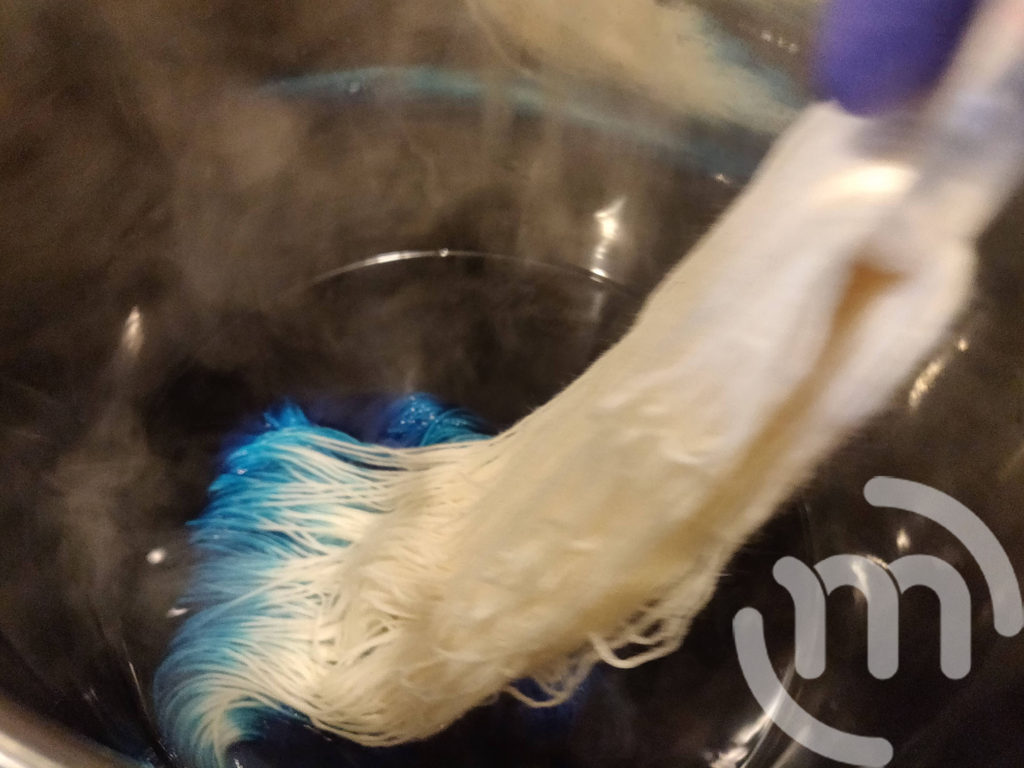
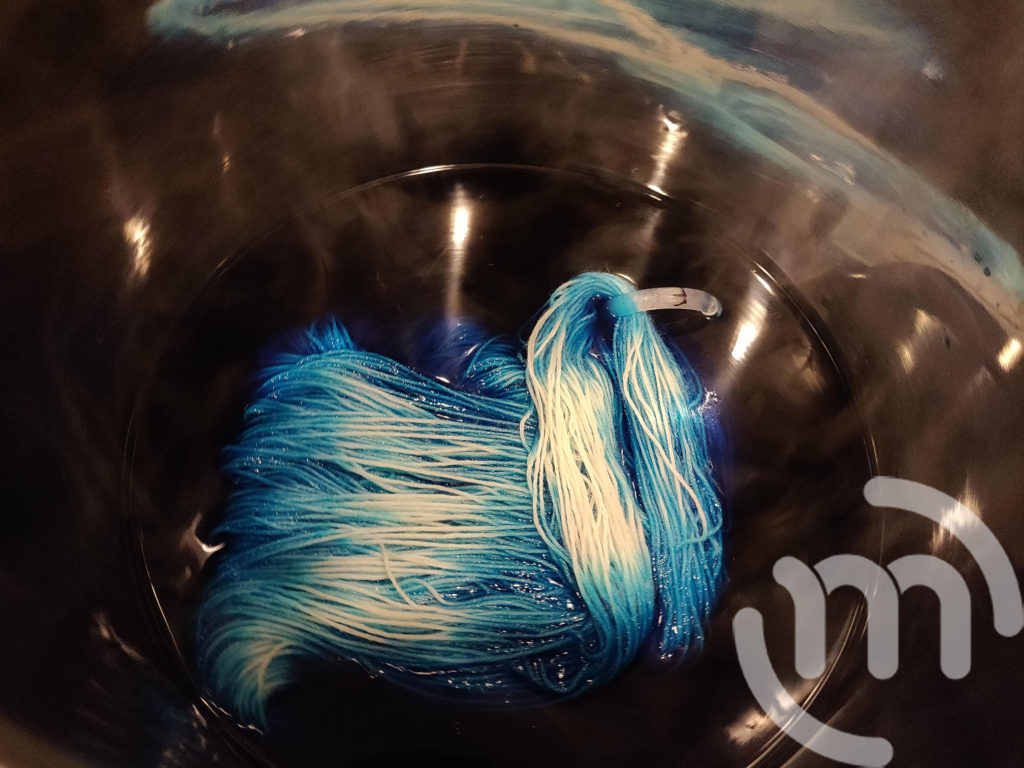
Step 7:
Mix around the yarn a bit to make sure that all parts of the yarn are getting the dye (if you’re going for a solid look like I am).
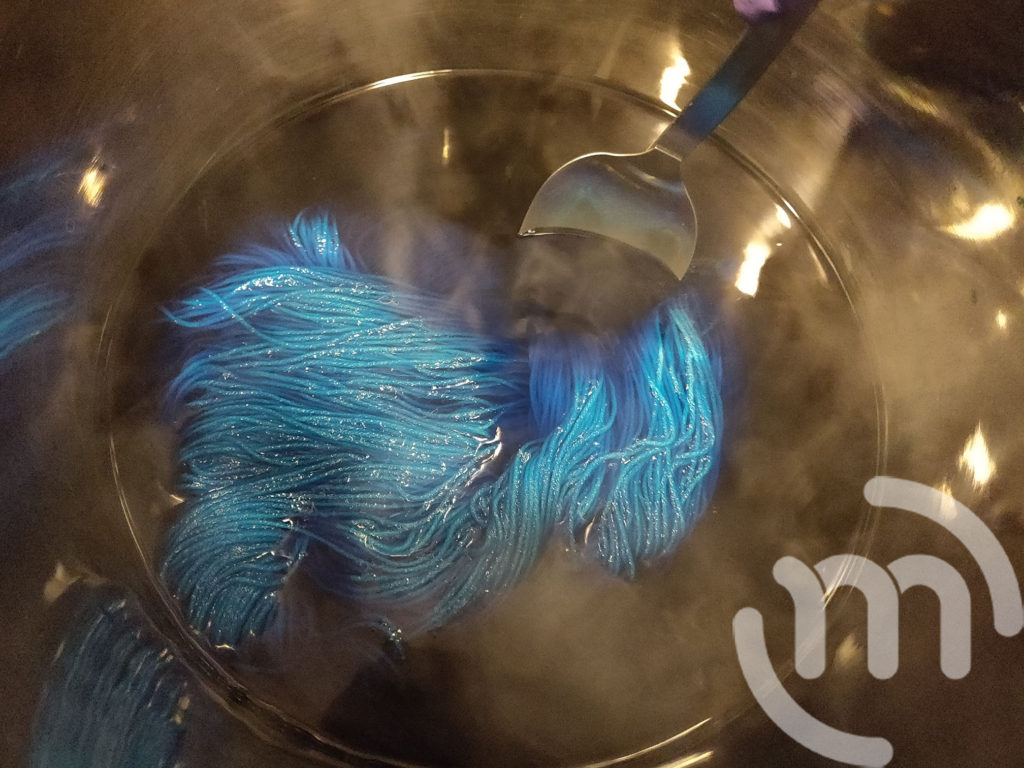
Set a timer for 10 minutes. Every 10 minutes, check to see if the dye has exhausted from the dyepot. On this particular batch, I used a little too much dye in my pot and therefore, it couldn’t exhaust all the way. Usually though, it will or if you need to add a little more white vinegar to help it along, that’s okay.
Step 8:
Once the dyepot color has exhausted. Turn the heat off and let it cool in the pot. It’s important that you don’t shock the yarn by moving it from extreme heat to extreme cold. You can also remove it from the dyepot and put it in a colander in the sink to cool a little faster.
Step 9:
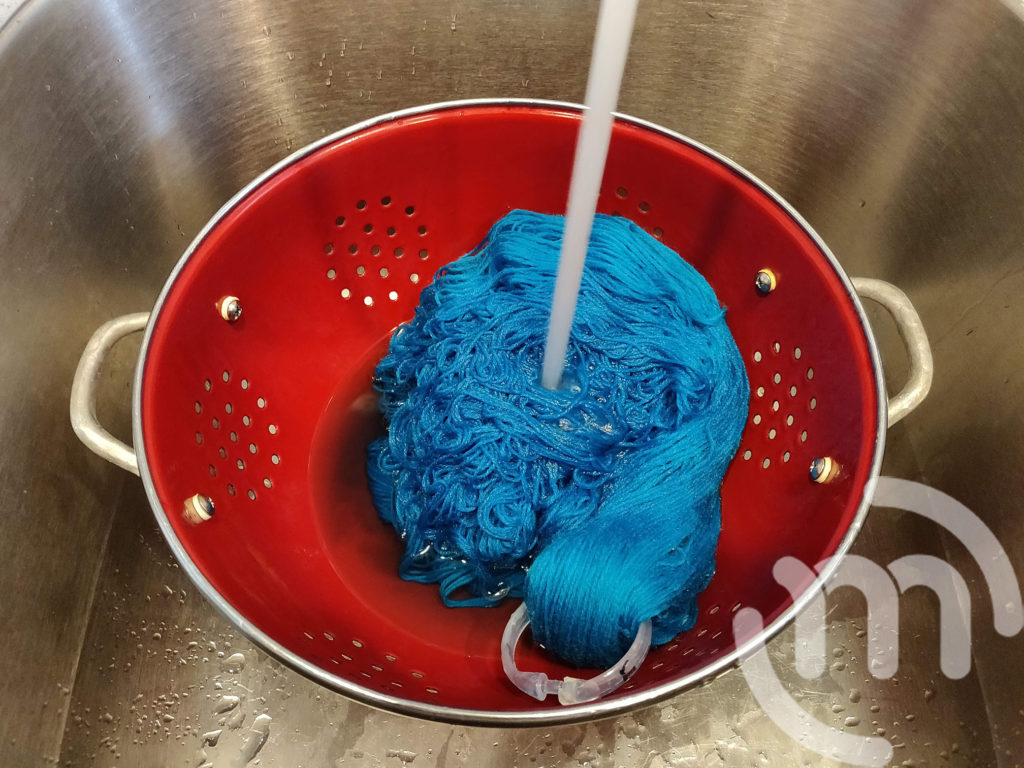
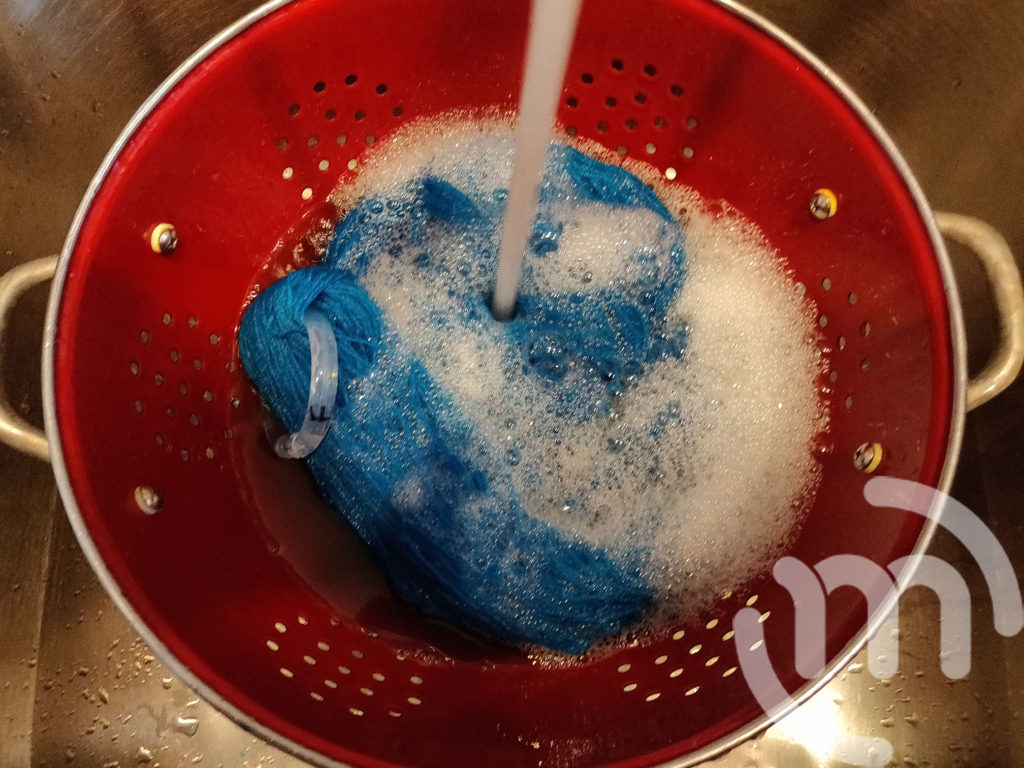
Once the yarn is cooled down, you can wash it to get any excess dye out of the yarn. I don’t know if it was just this specific color, but I had to do a fair amount of washing to get all of the dye to come out. I just use normal tap water and some dawn soap, let it soak a little and then rinse it out. Repeat this process until the water runs clear.
Step 10:
Ring out the excess water and hang it up to dry. I personally like to use my yarn Swift to hang my yarn on while it’s drying. Once it’s fully dry, you are free to ball it up and knit!