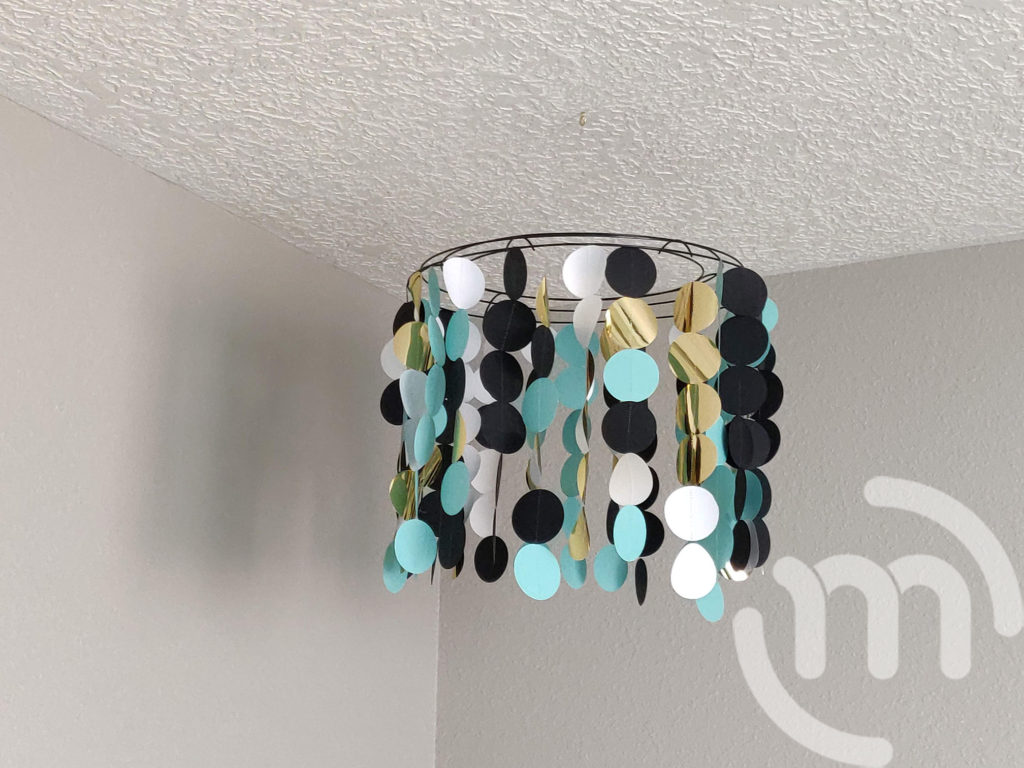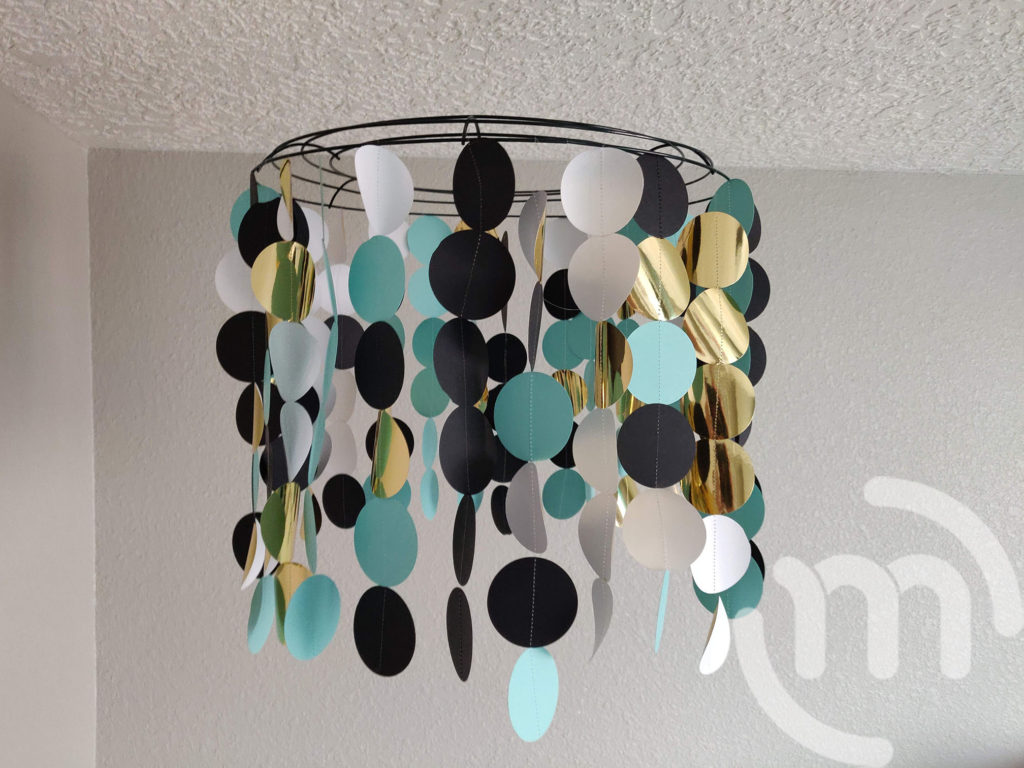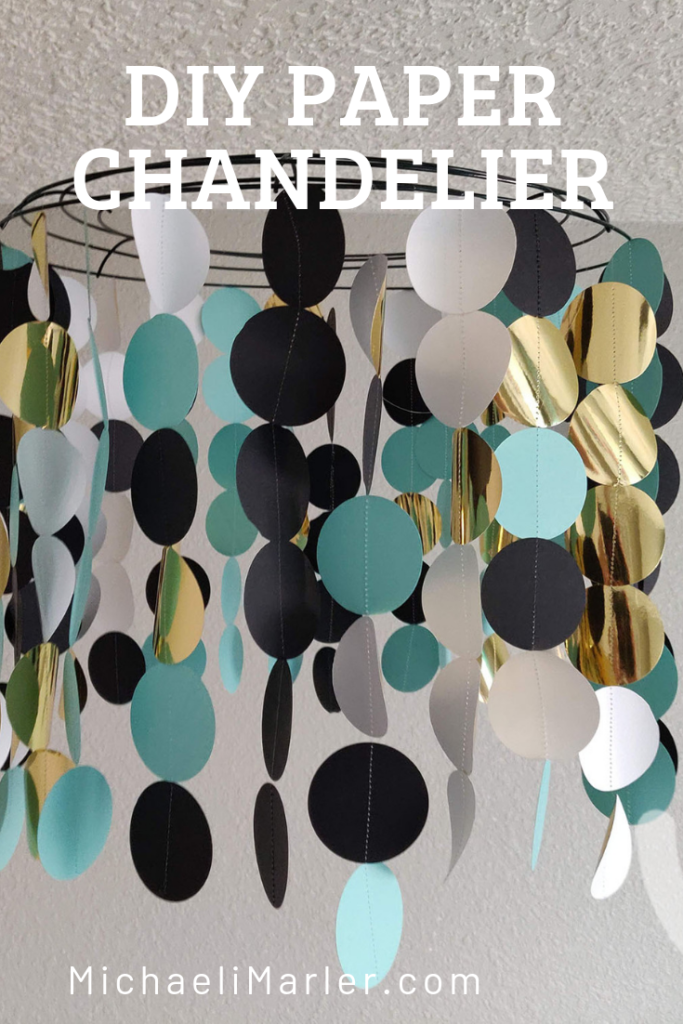
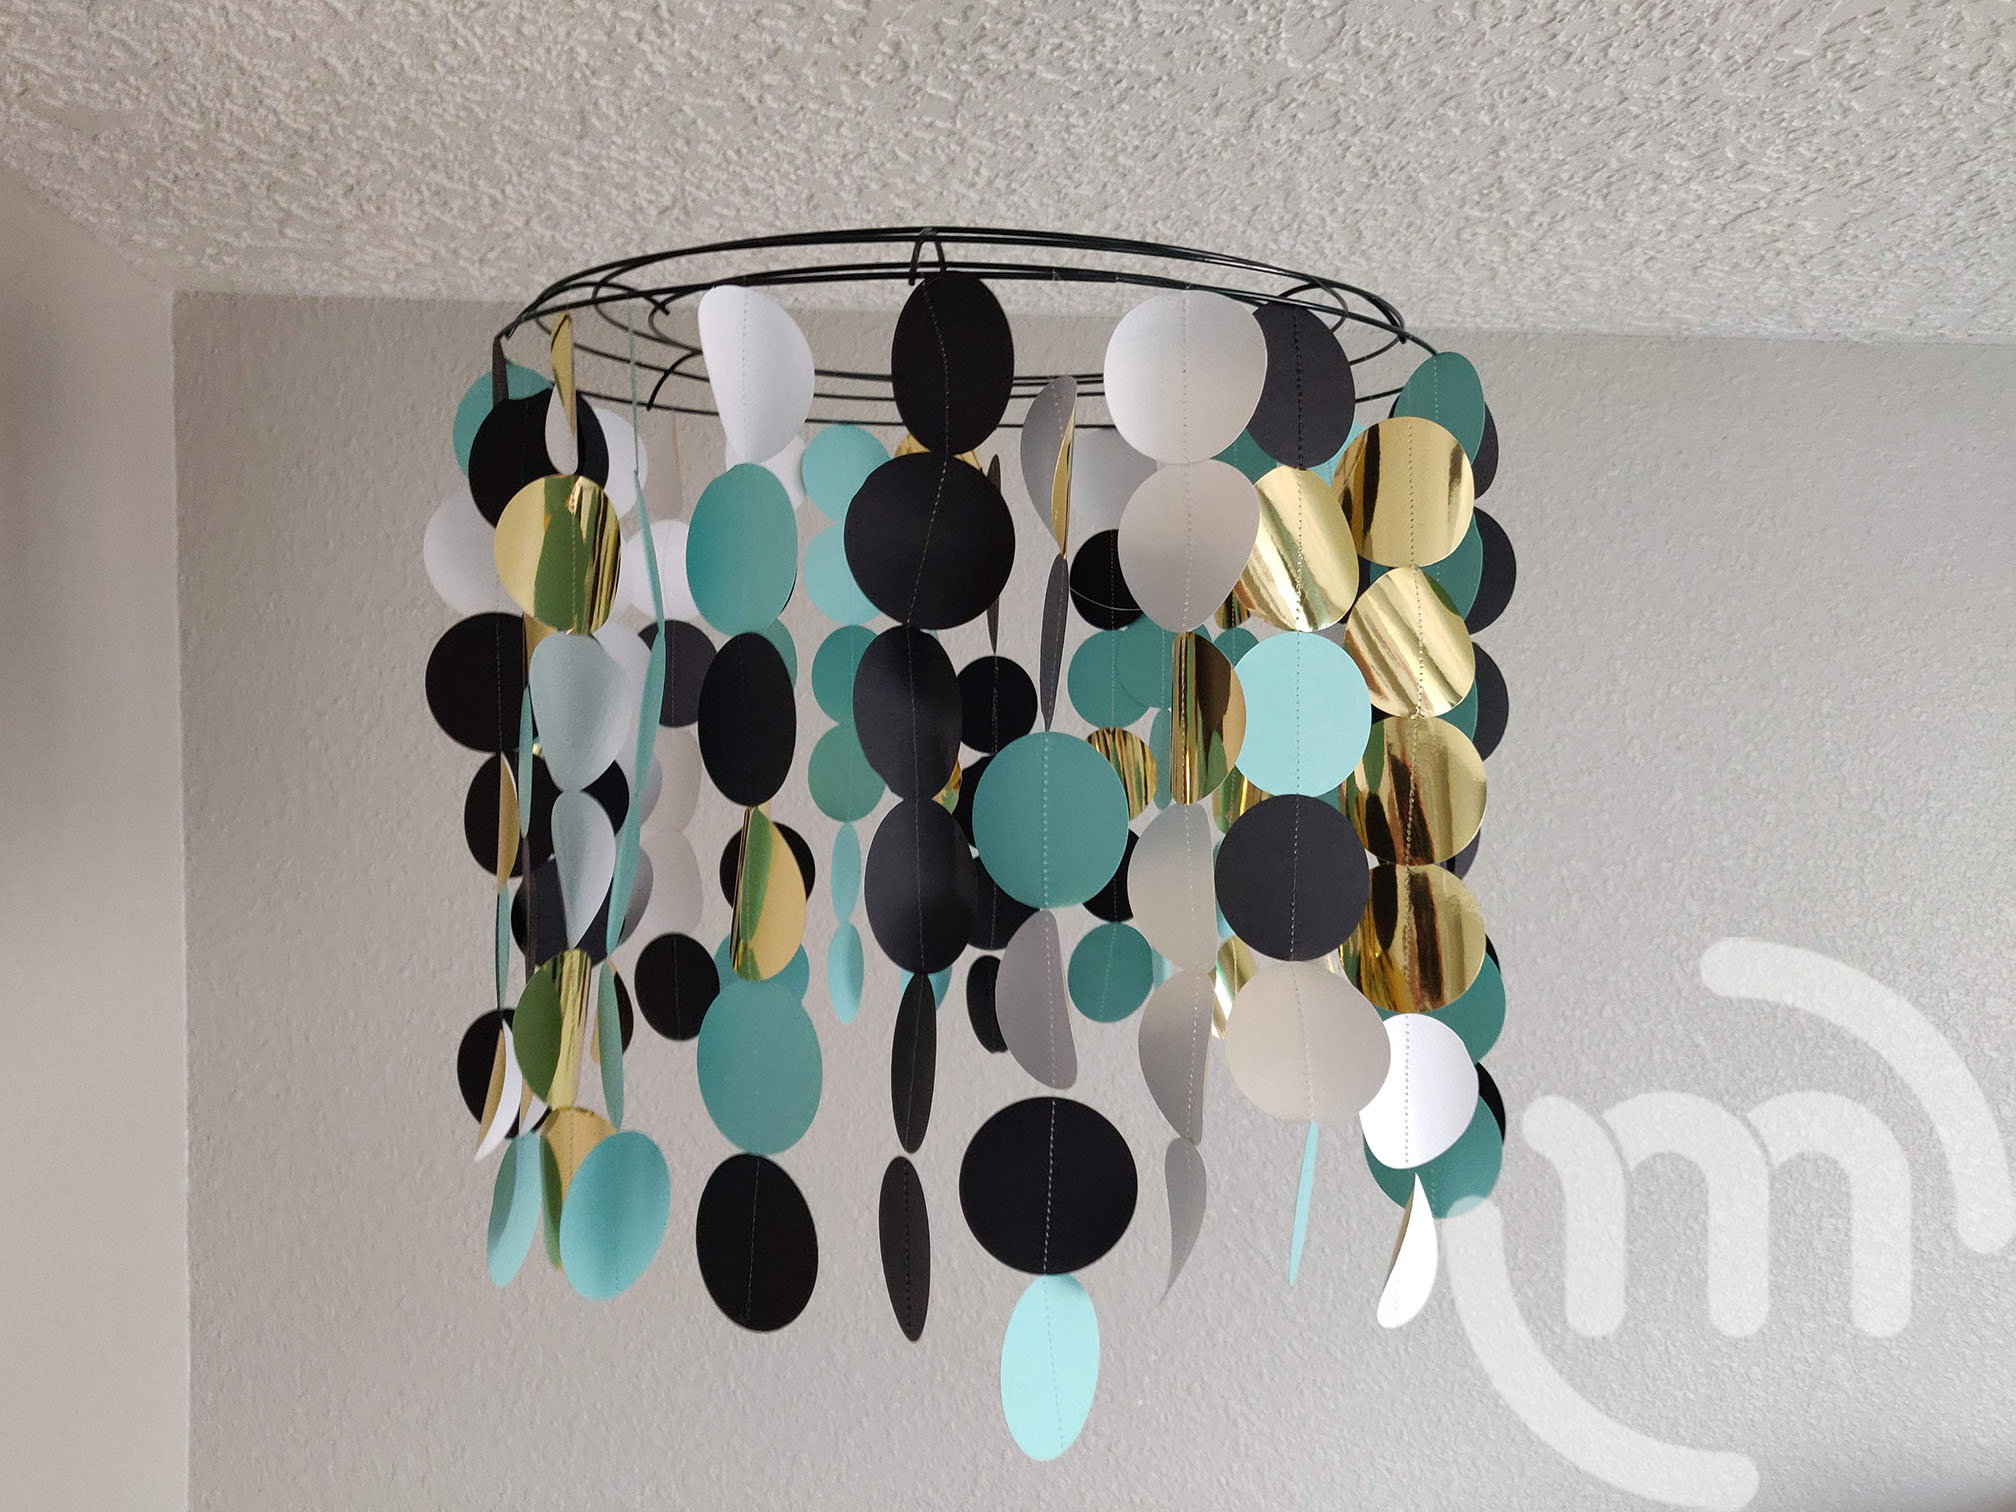
I wanted to make a fun paper chandelier to go in the baby’s nursery to go with her polka dot theme! This turned out better than I imagined!
*This post may contain affiliated links. For more information on this and how you can support my blog, please see my Disclosure page!*
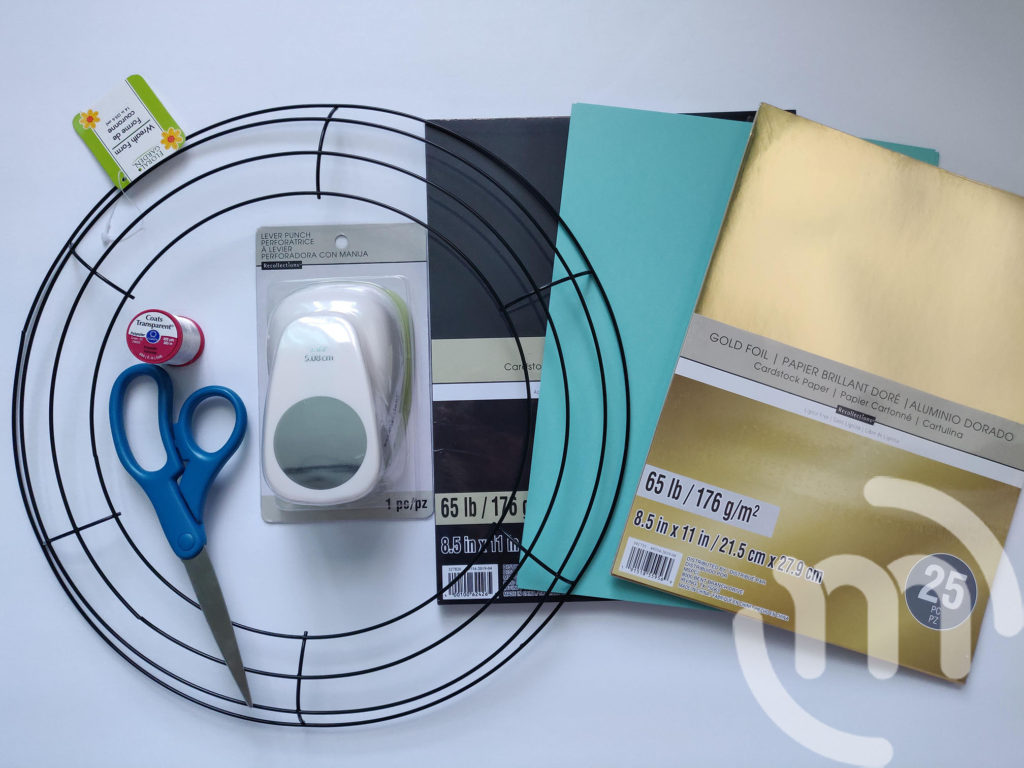
Materials:
- 65lb Cardstock Paper in colors of choice
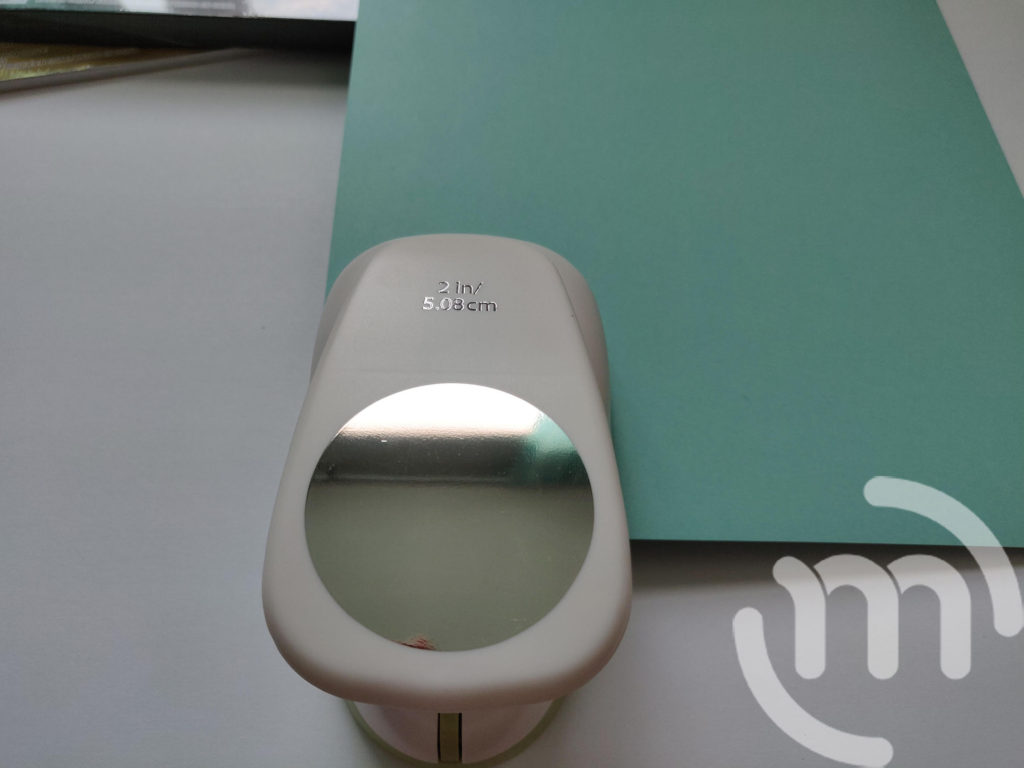
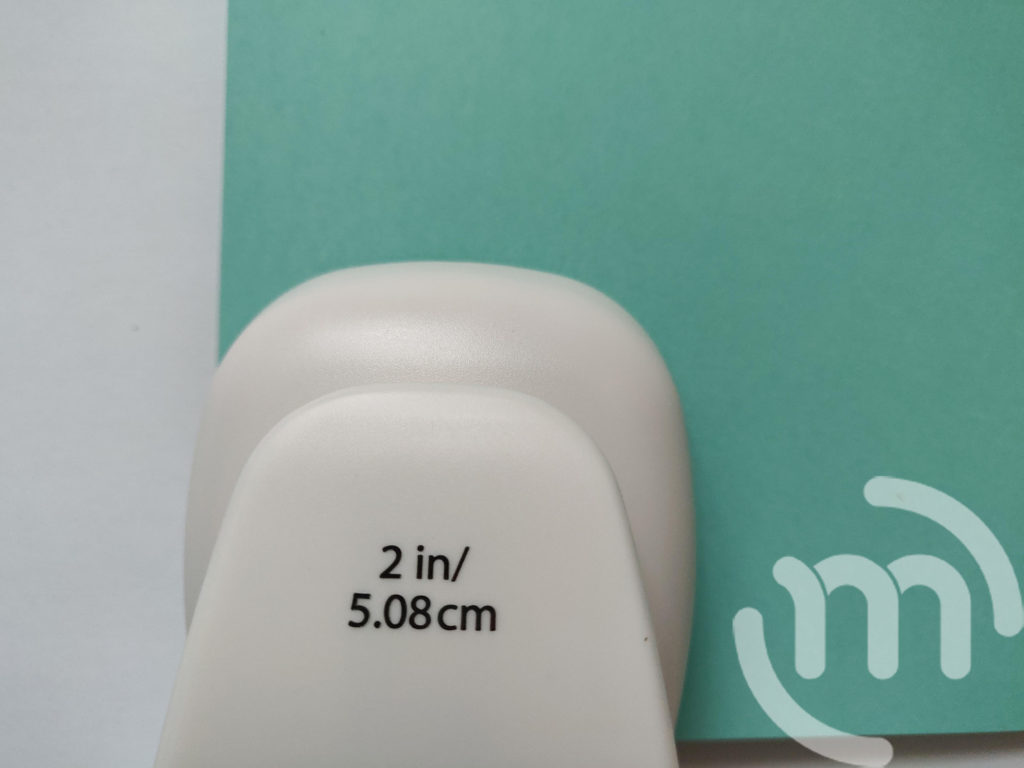
- 2” Circle Hole Punch
- Sewing Machine
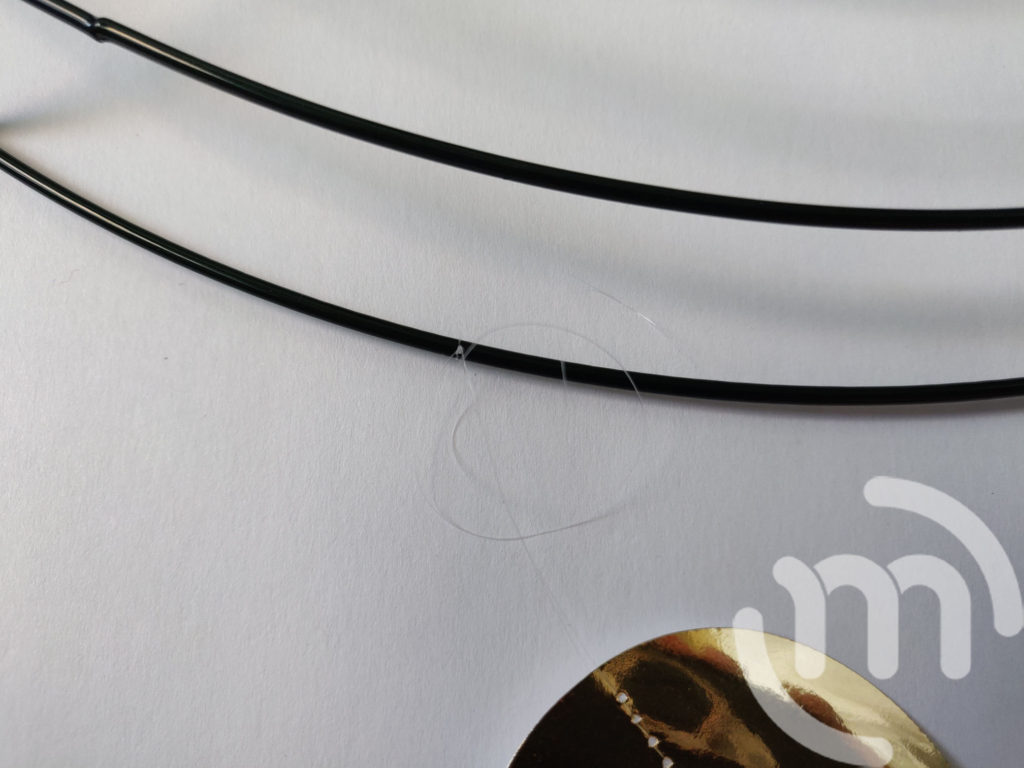
- Metal Wreath
- Clear Thread
- Scissors
Step 1:
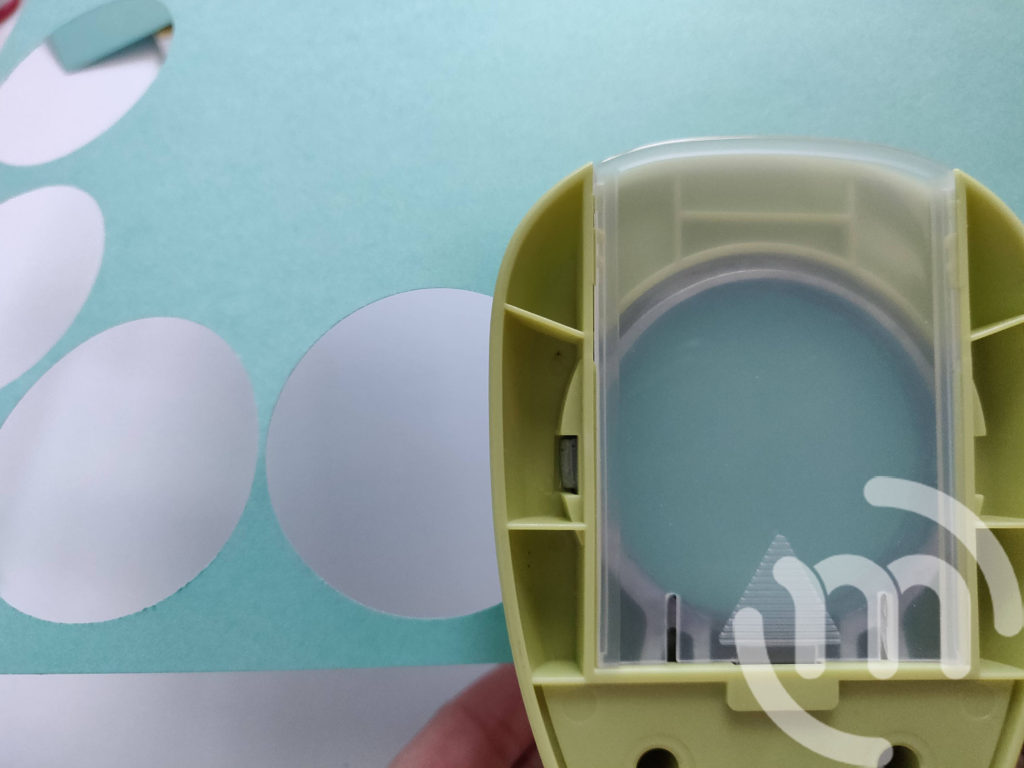
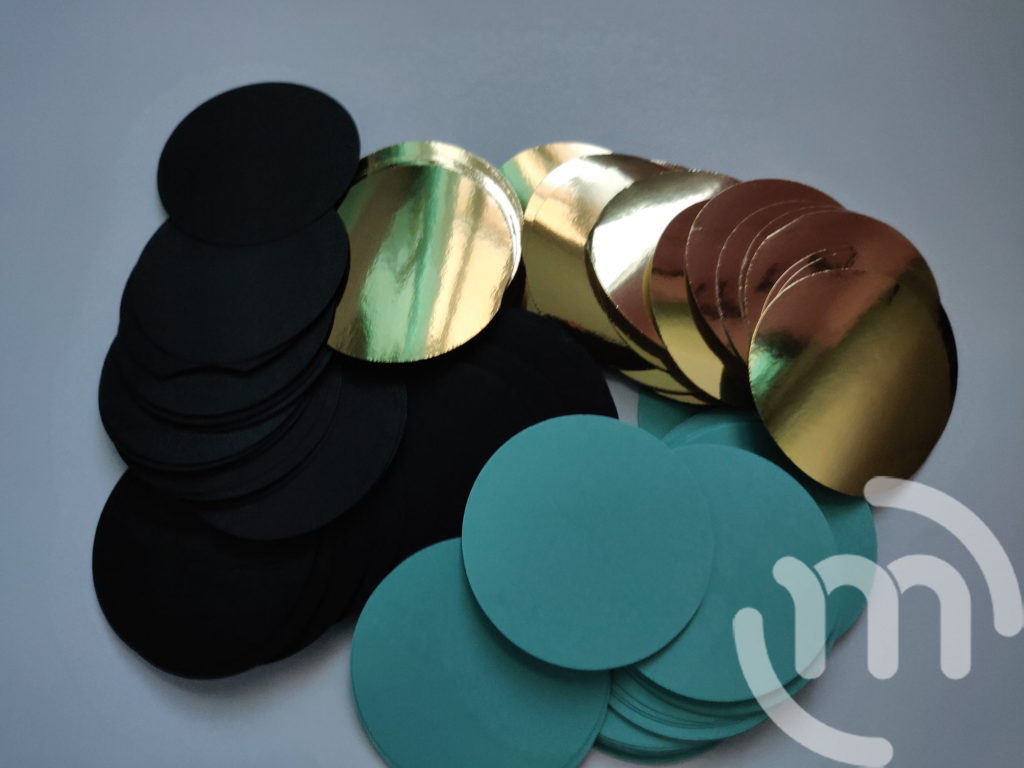
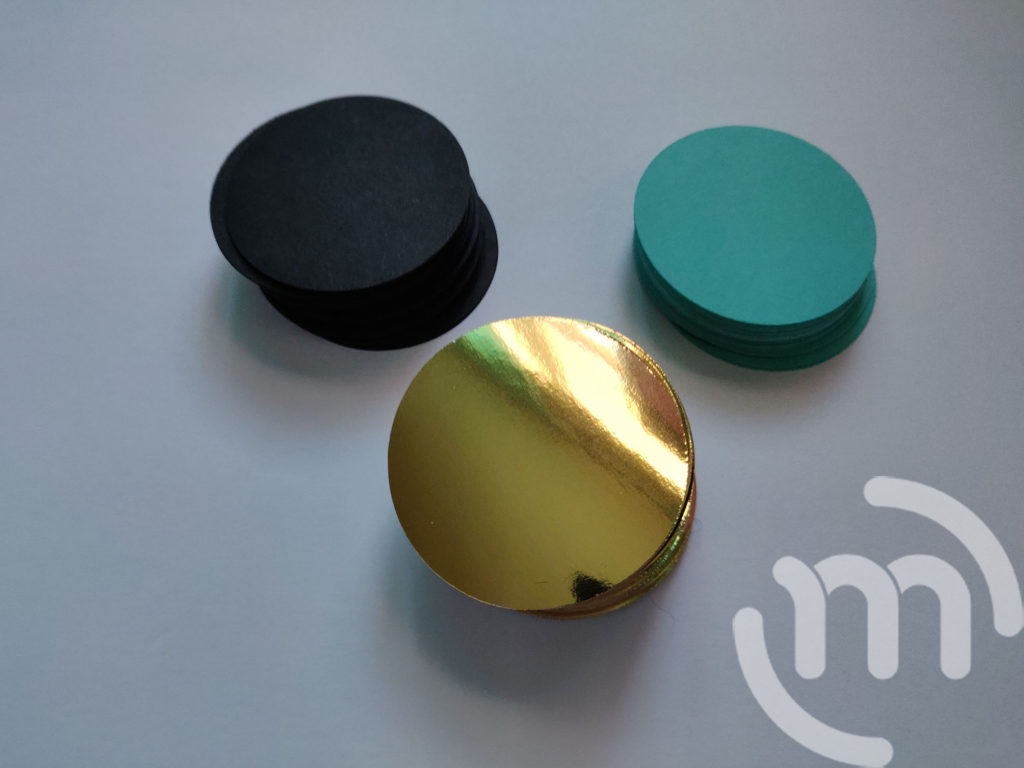
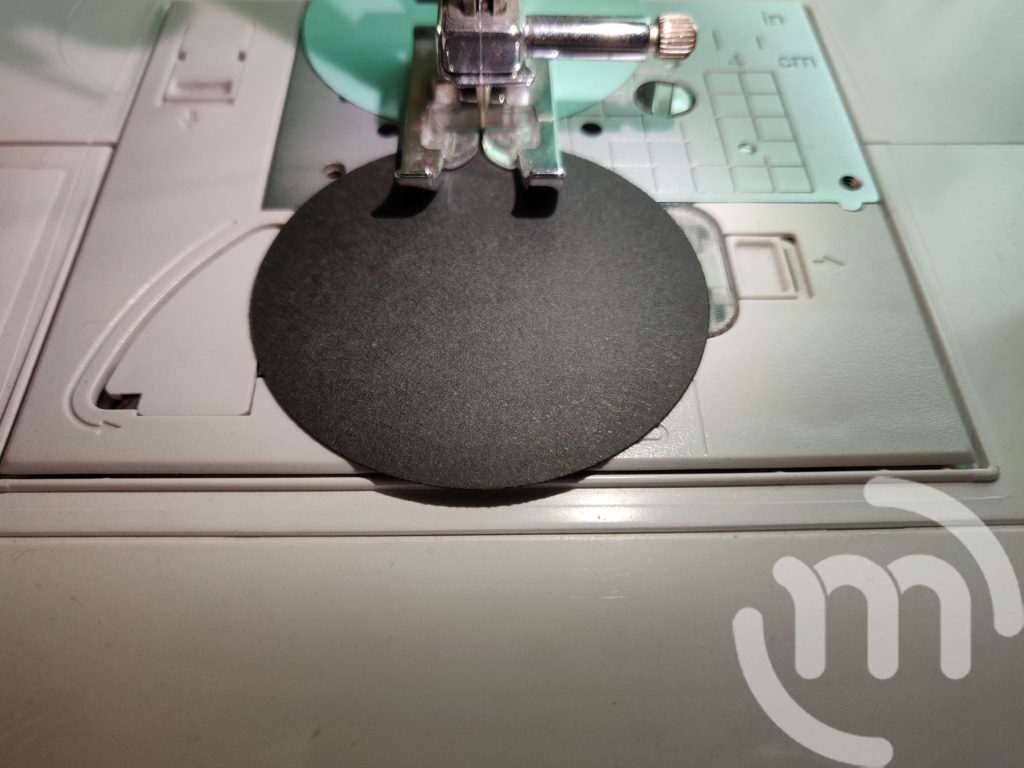
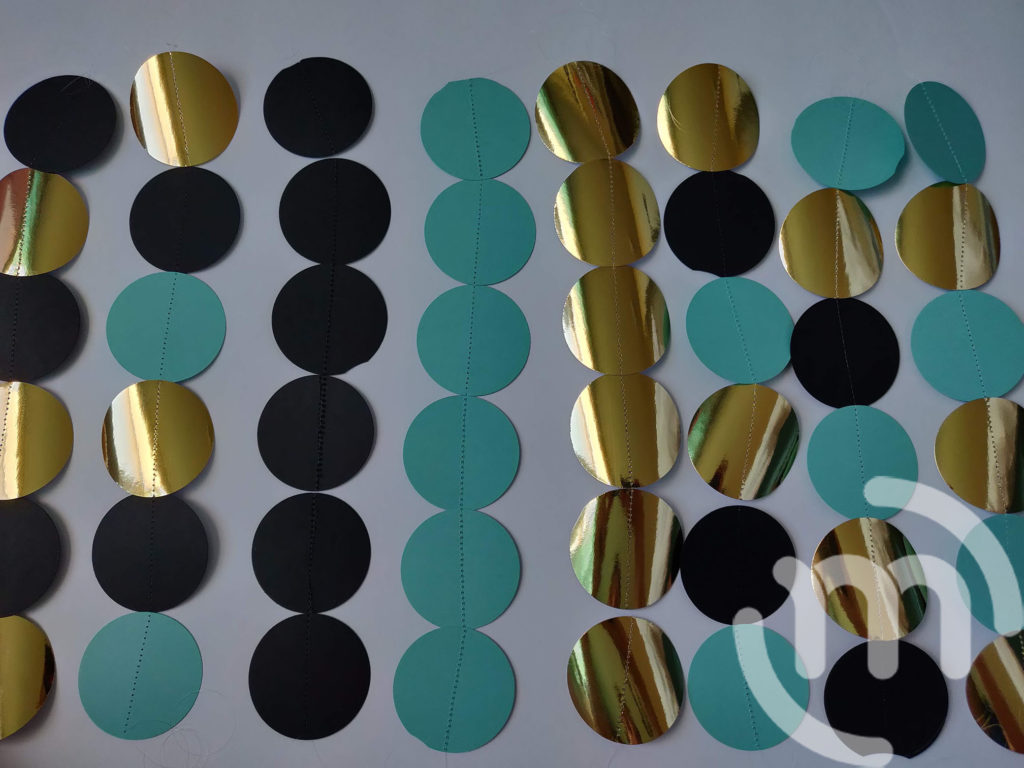
Cut out 2” circles with the hole punch in colors of your choosing. I chose to go with Black, Gold, and Mint Green for my nursery colors.
NOTE: If you punch the paper upside down, you can see how close you are to the edge so you can get the most punches out of each piece of cardstock paper. Go all the way around the paper perimeter and then cut the middle paper out and hole punch more. You should be able to get about 15 hole punches out of each piece of a paper.
Step 2:
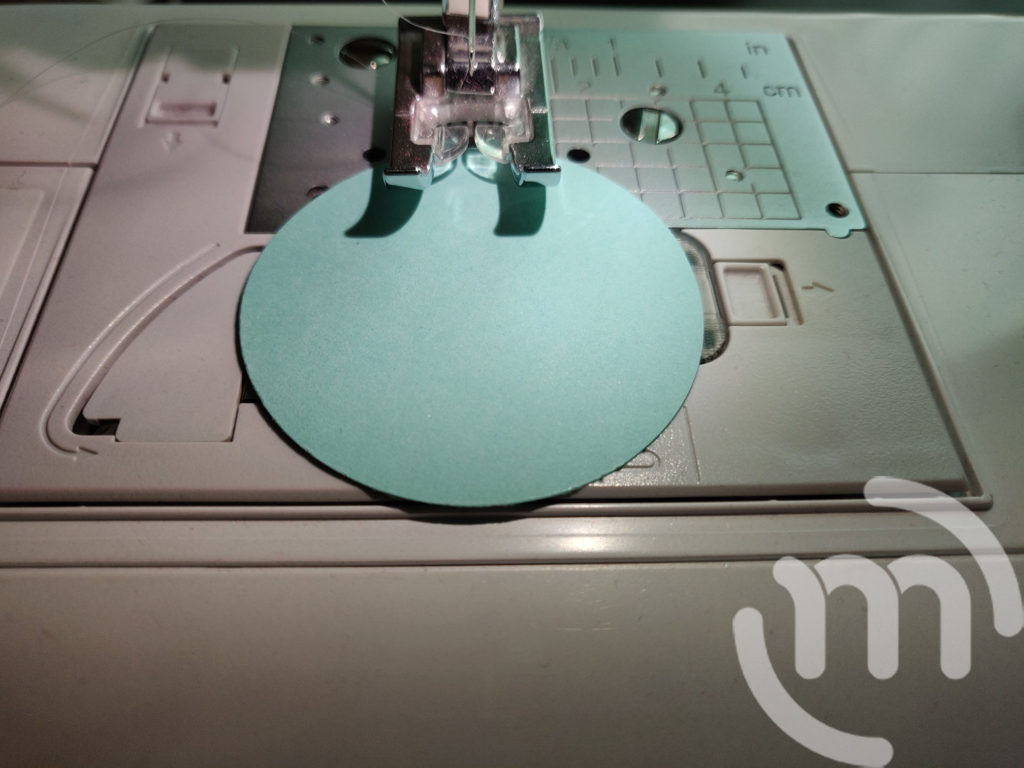
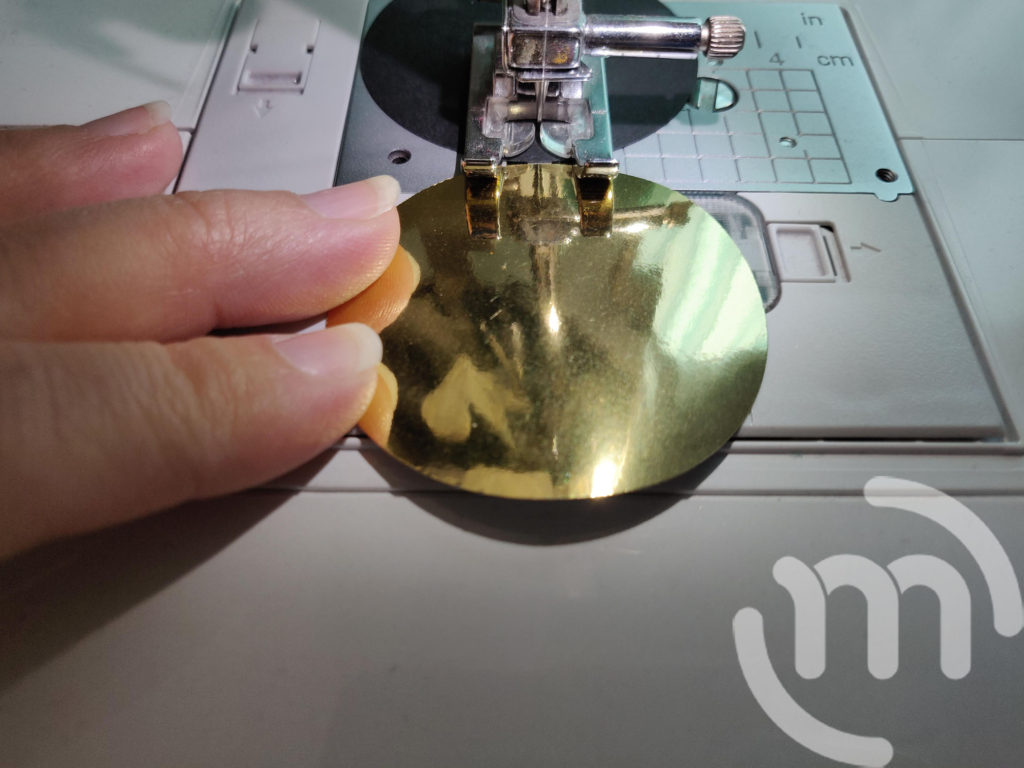
Arrange your paper in the order you would like them and feed them through you sewing machine one at a time with them back to back.
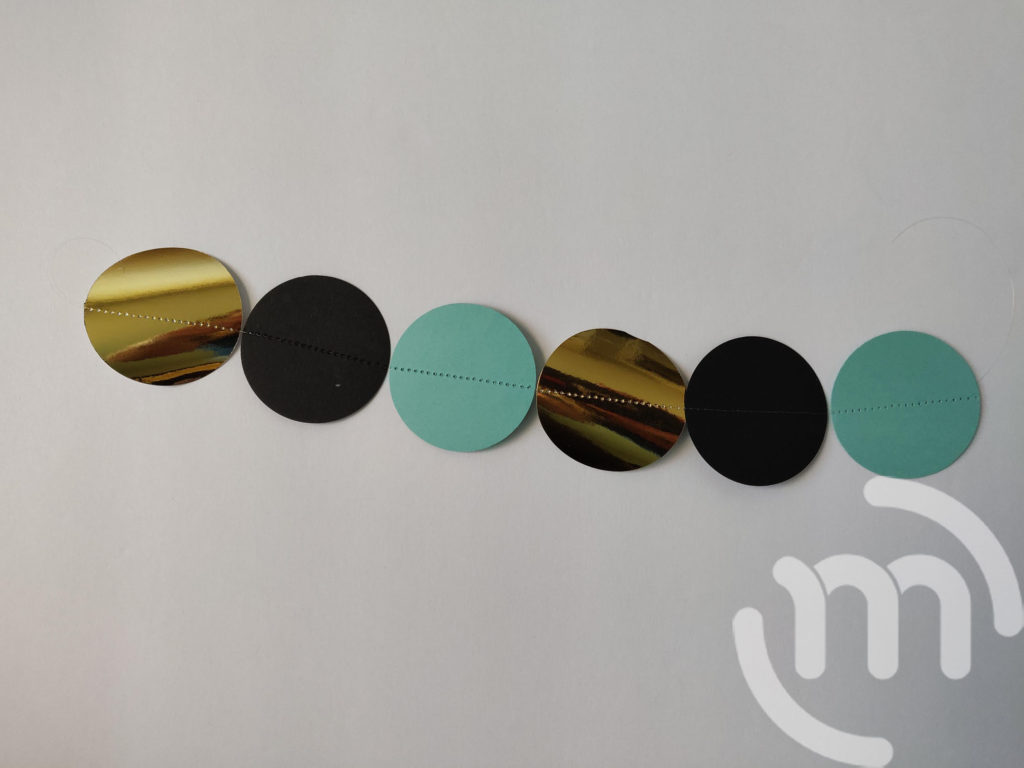
I chose to do some patterns with the paper, and then some solid rows of one color.
Step 3:
Sew together six pieces of cardstock in one row leaving a tail at the end (or the beginning) of the row to attach to your wreath.
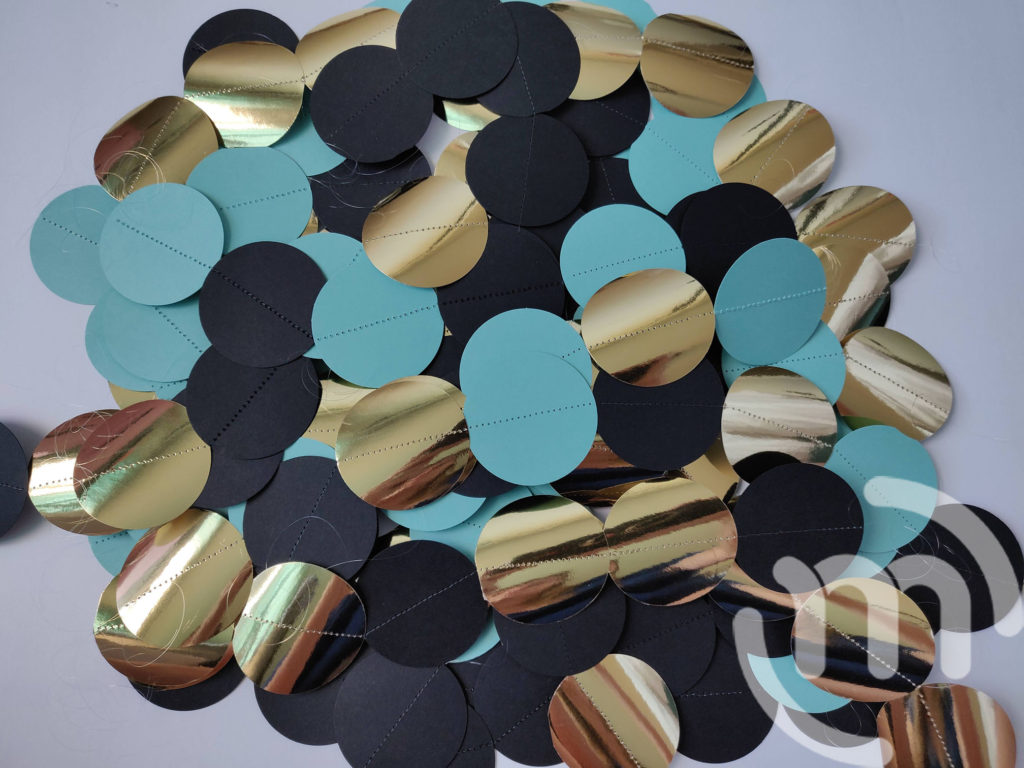
Continue sewing until you have approximately 36-40 rows.
Step 4:
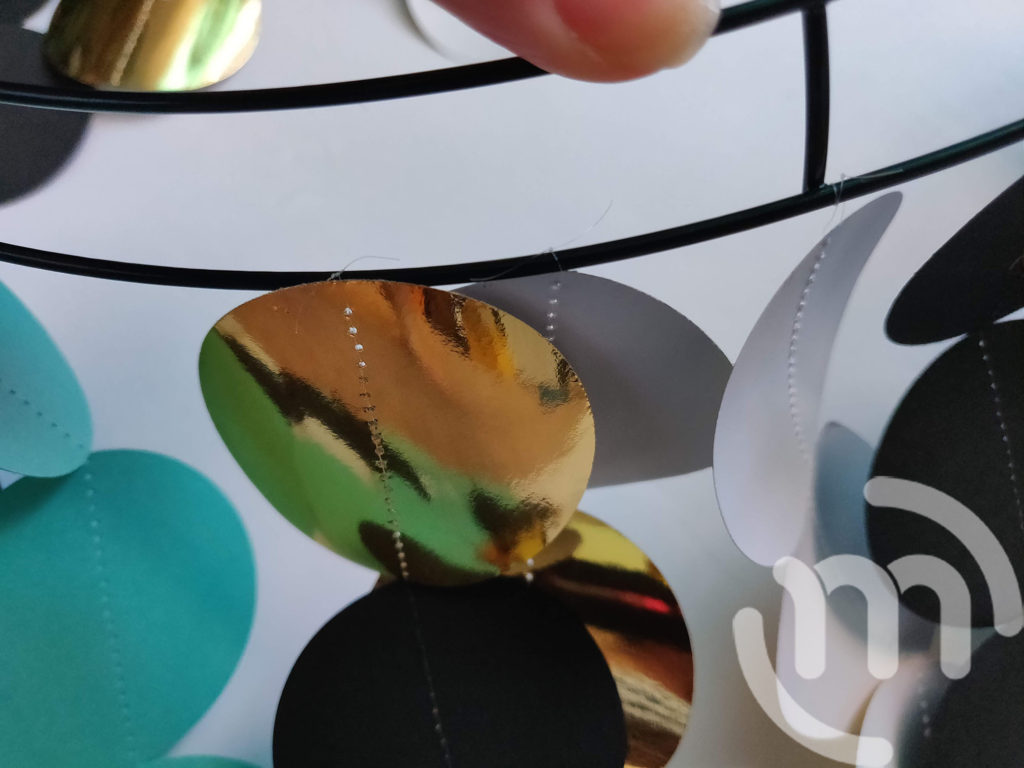
Attach each row of circles to the edge of your wreath in any pattern you would like to all the way around the wreath. They should be evenly spaced.
Step 5:
Cut any excess thread off of the wreath to clean up the edges and the bottoms of each row of circles.
Step 6:
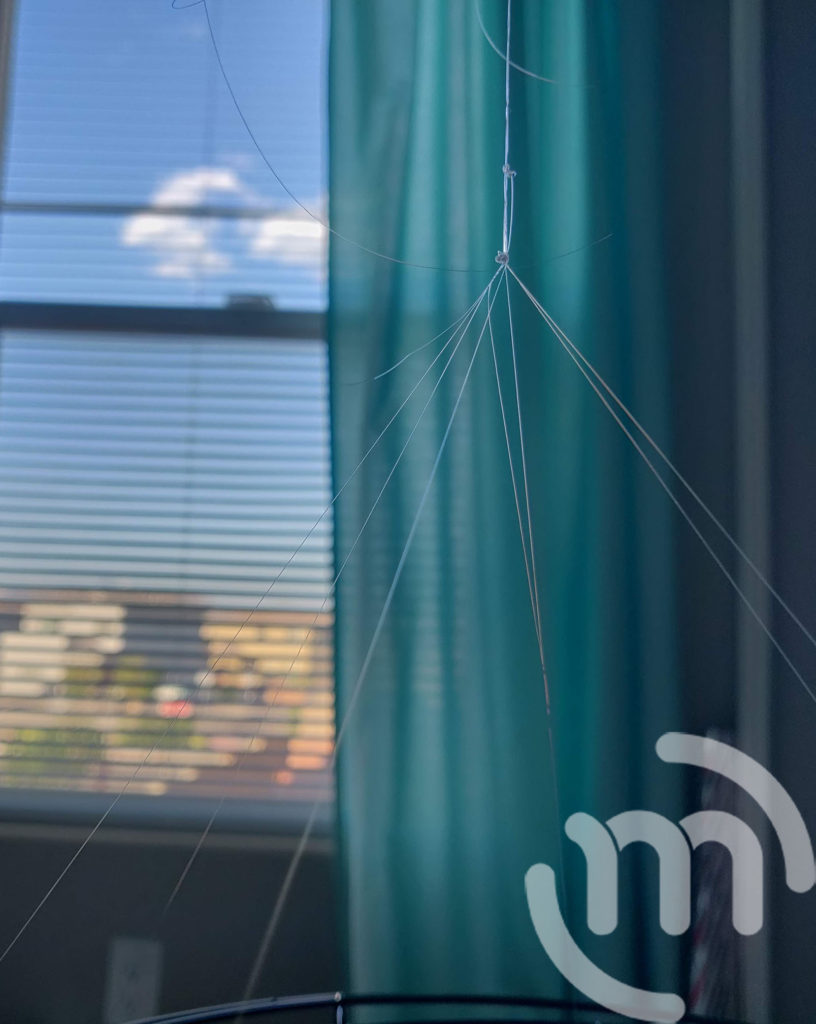
Attach thread to several different areas of the wreath so you can hang it like a chandelier. Pull all of the thread ends to meet in the middle, tie a knot.

Step 7:
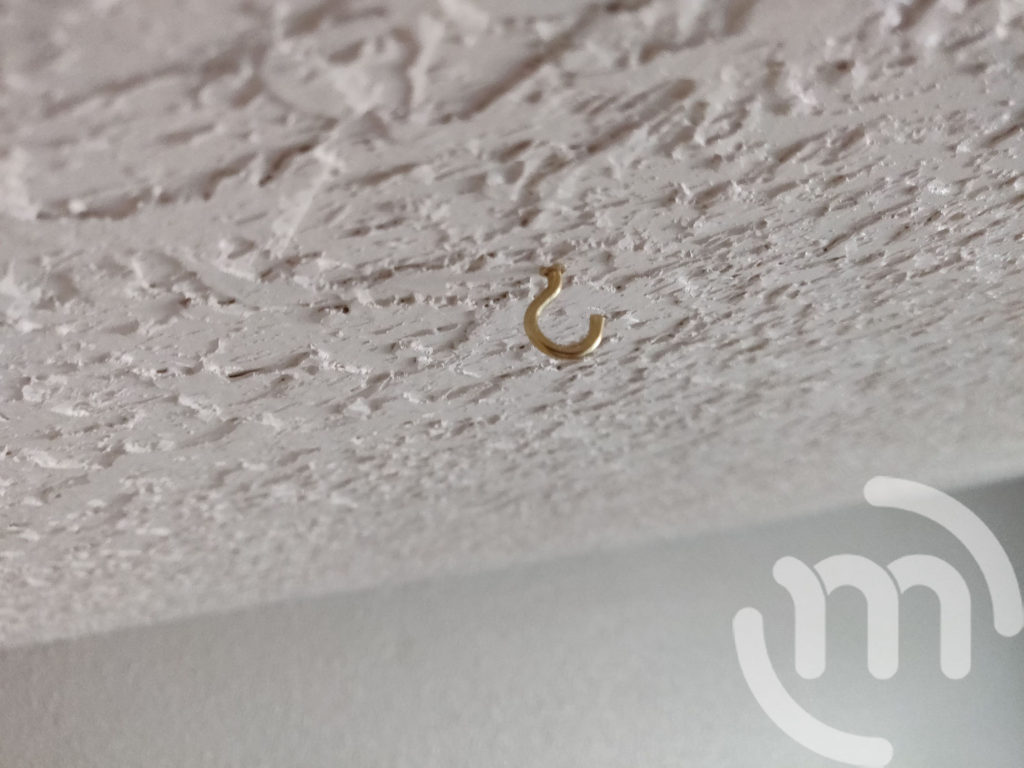
Hang the chandelier from the ceiling using an eye hook or something similar and enjoy your masterpiece you just created!