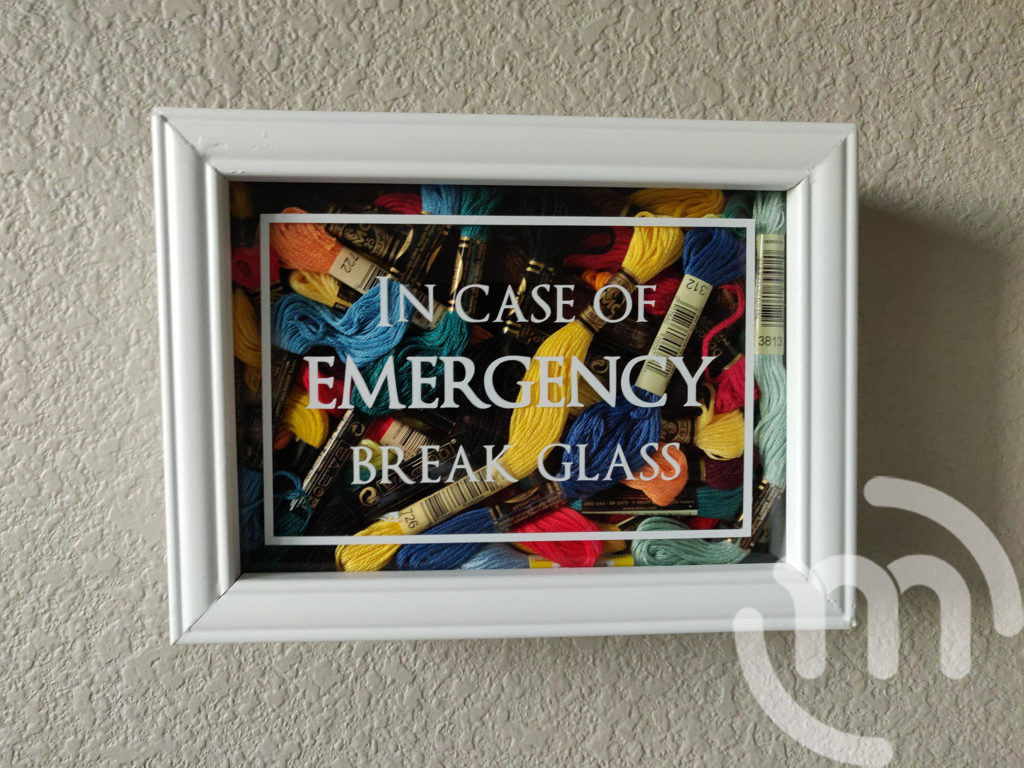

This is a super neat way to display all of your embroidery thread as artwork and if you ever need it, you can still get to it! 🙂
*This post may contain affiliated links. For more information on this and how you can support my blog, please see my Disclosure page!*
Materials:
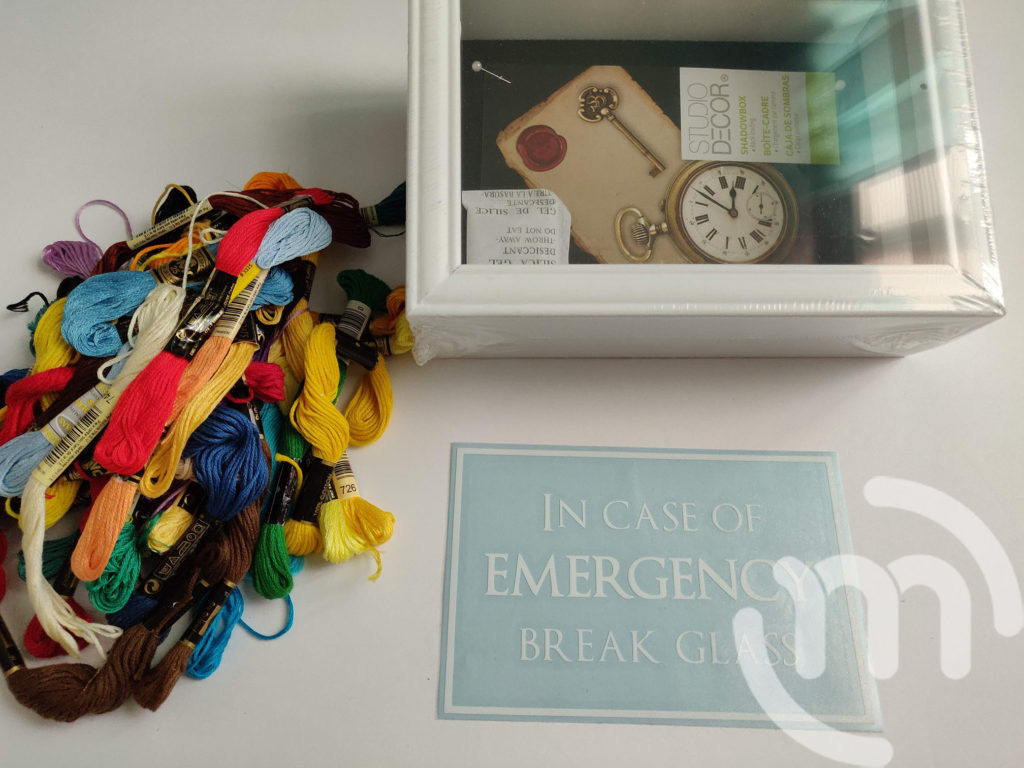
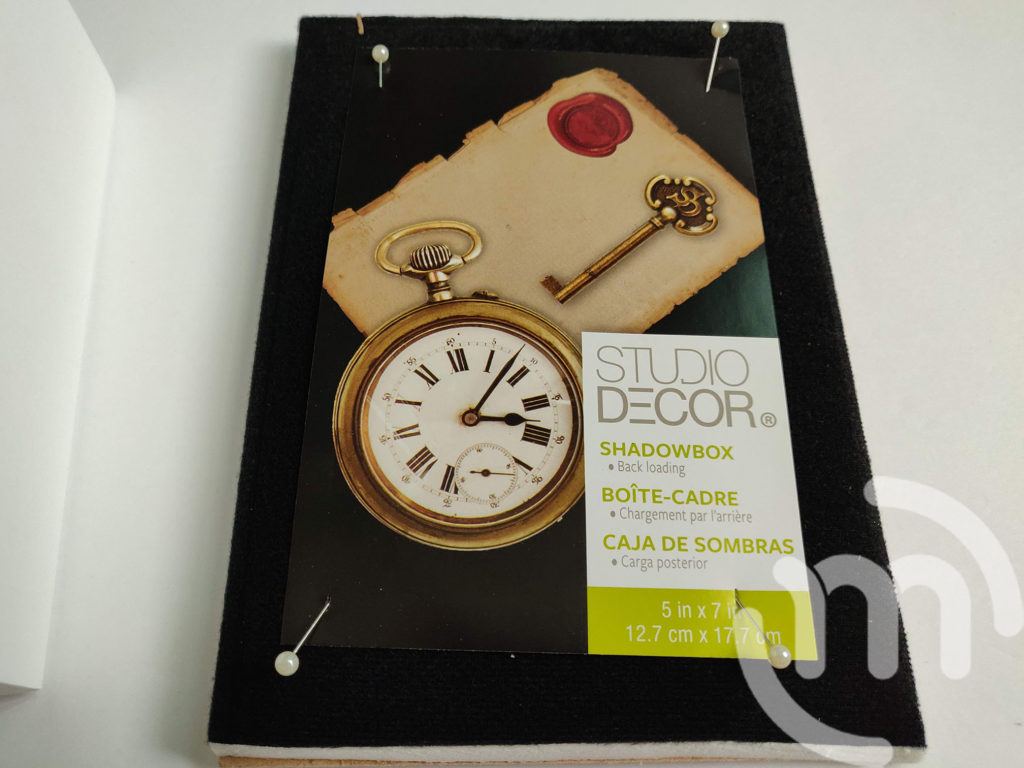
- Shadow Box 5” x 7”
- Embroidery Thread
- Fun Sticker from AmberRockstar on Etsy
Step 1:
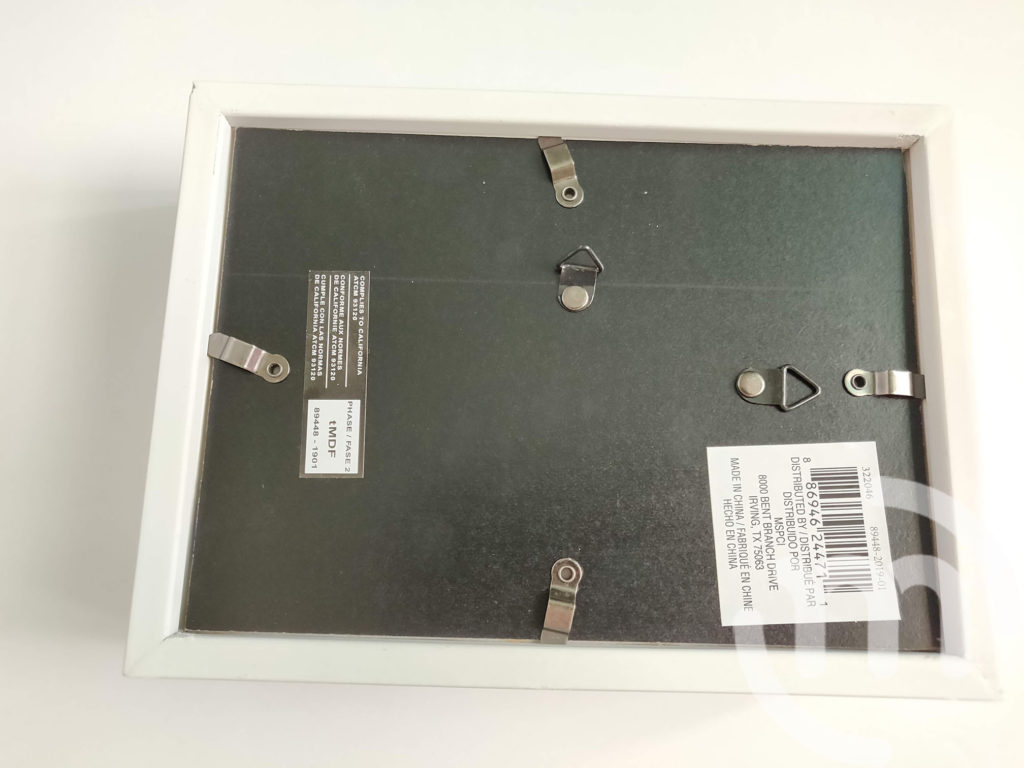
Remove the wrap and backing from the shadow box along with all of the contents from inside of the shadow box.
Step 2:
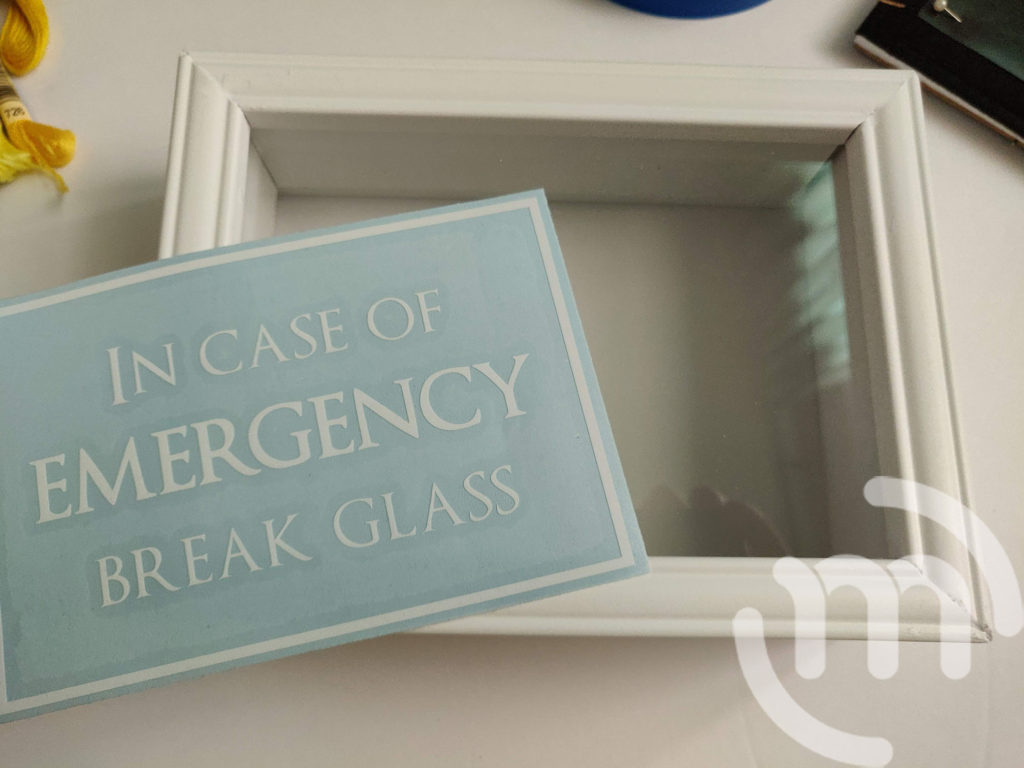
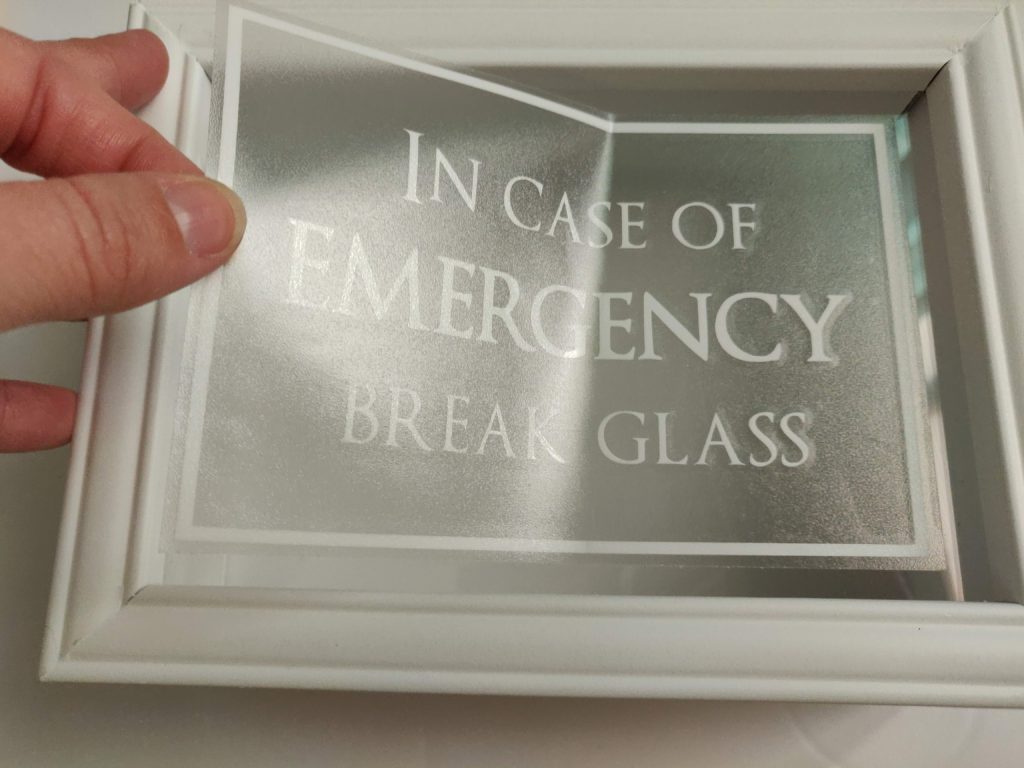
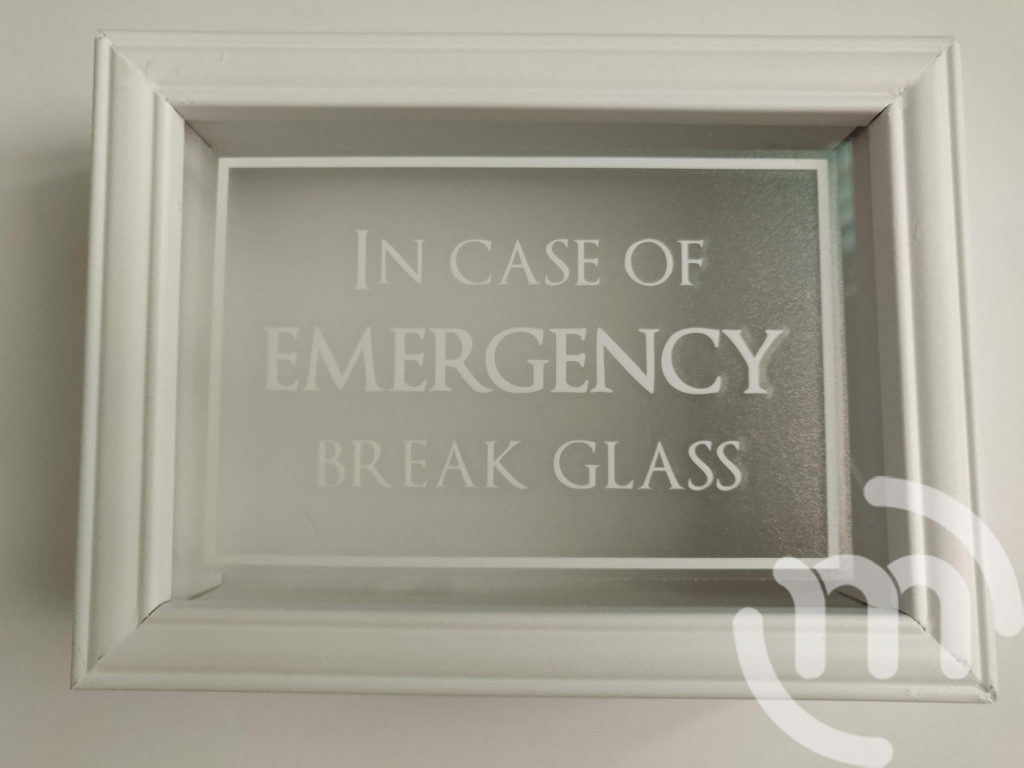
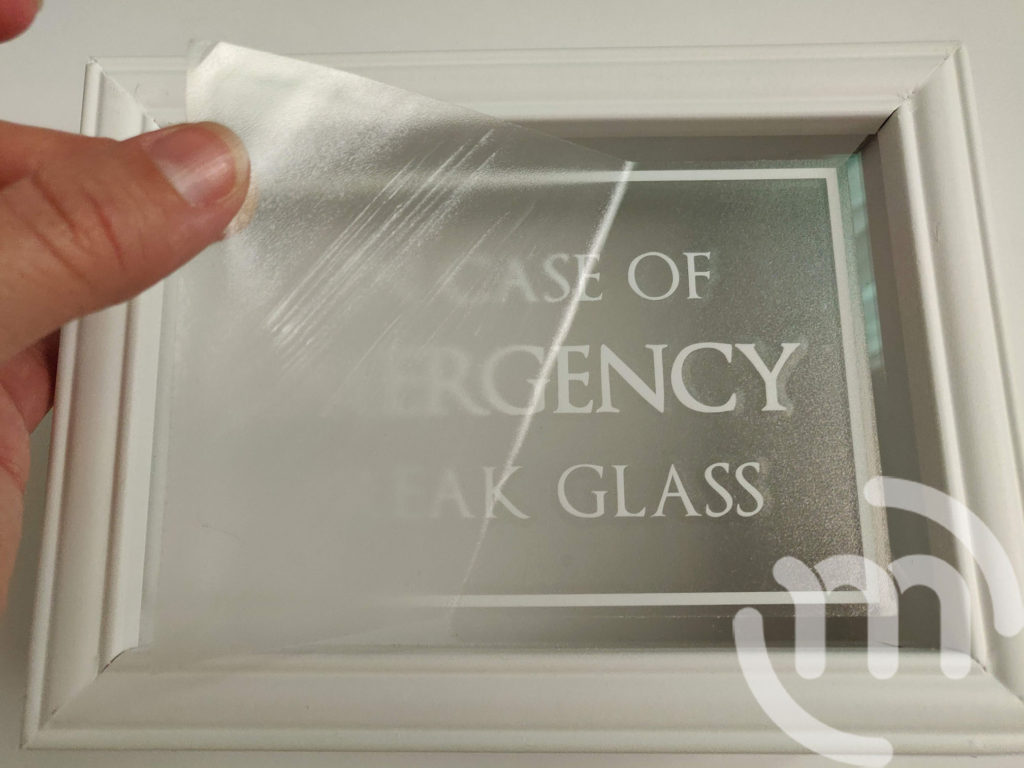
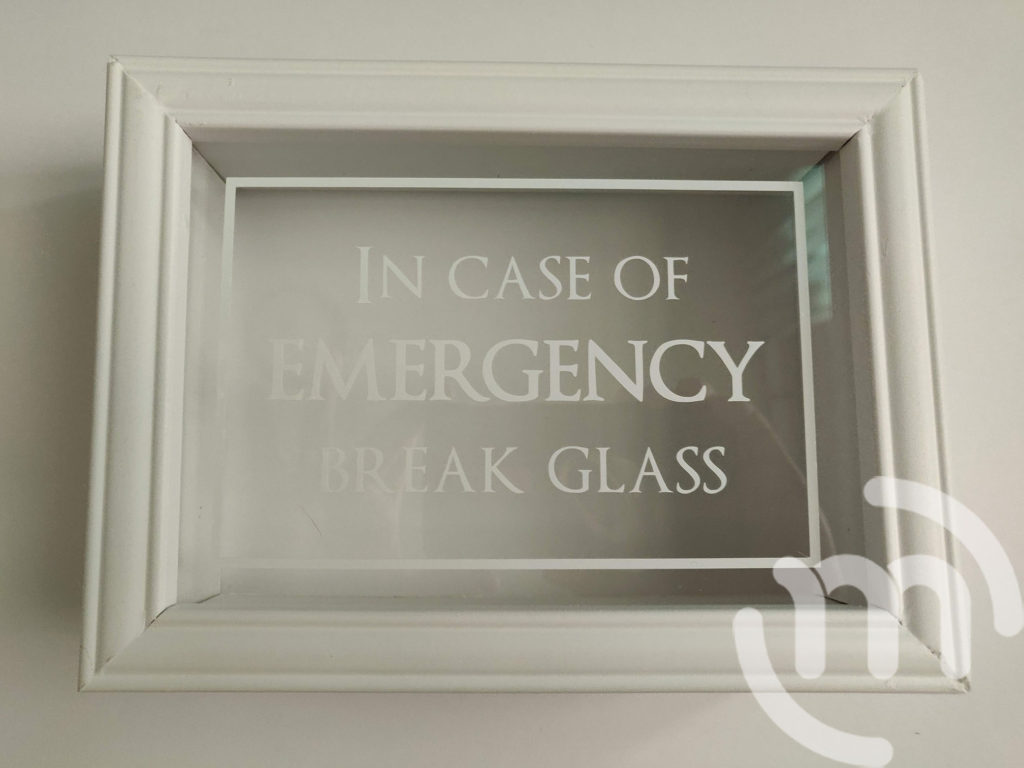
Add the sticker decal to the glass on the outside of the shadow box. Be sure you get it as straight as possible before pressing it down fully. This sticker comes with instructions, but it’s pretty simple.
Basically, you just place the sticker where you want it and press down hard over all of the decal areas. Start pulling one of the corners up slowly while still pressing down on the decal as you go to make sure it doesn’t lift at all.
Step 3:
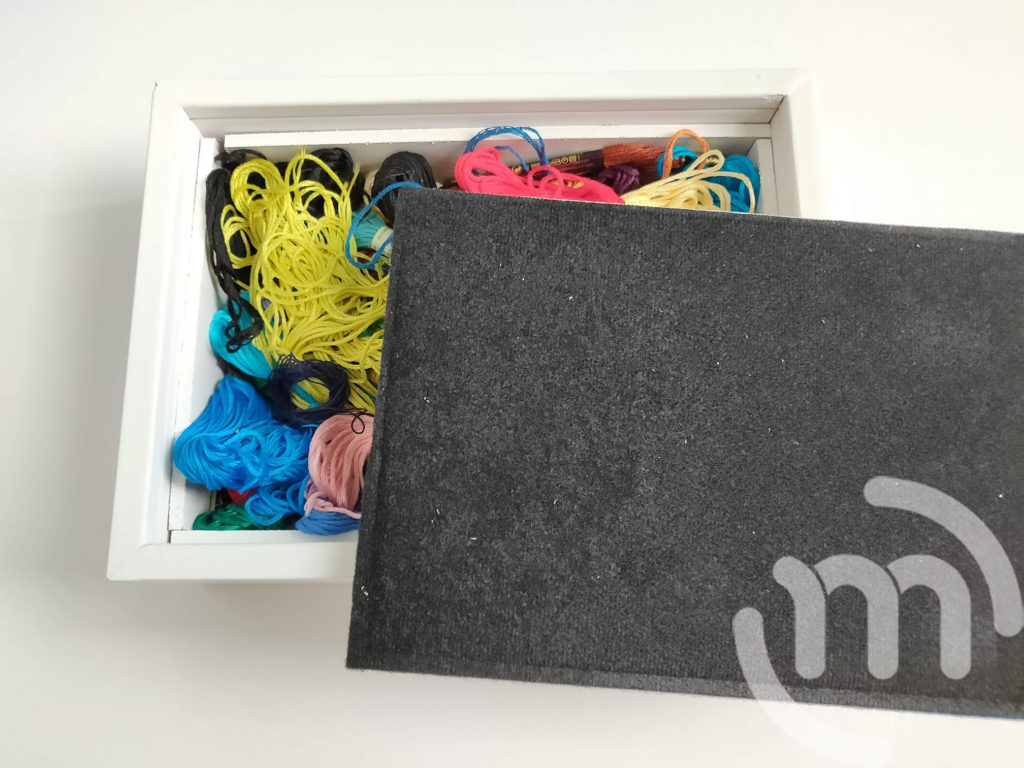
Add in your embroidery thread in whatever random pattern you want to display. I personally chose to put the nicer new embroidery packets in the front on the shadow box so that is what is displayed more. I also tried to spread out the colors a little bit so there wouldn’t be a bunch of yellow or something in one place.
Make sure that the shadow box is filled up so the embroidery thread doesn’t slip down when you turn it around. You want it to be snug.


Step 4:
Add back to the shadow box and close it up. Hang it on the wall to admire your new artwork!