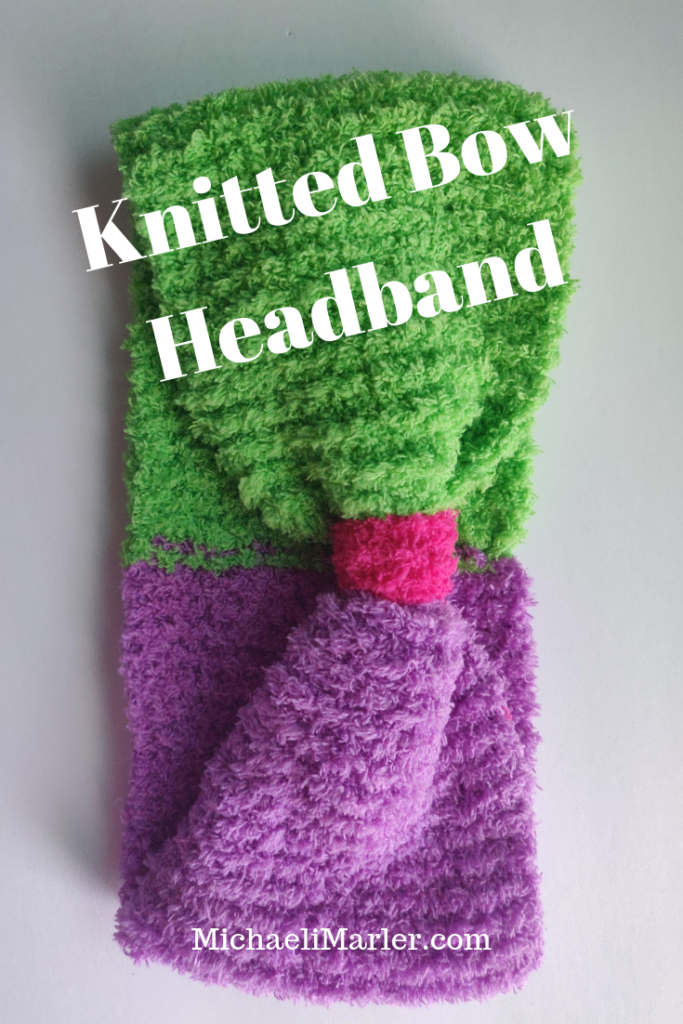
This headband is the perfect way to keep your hair out of your face while you’re out and about or while you’re washing your face!
*This post may contain affiliated links. For more information on this and how you can support my blog, please see my Disclosure page!*
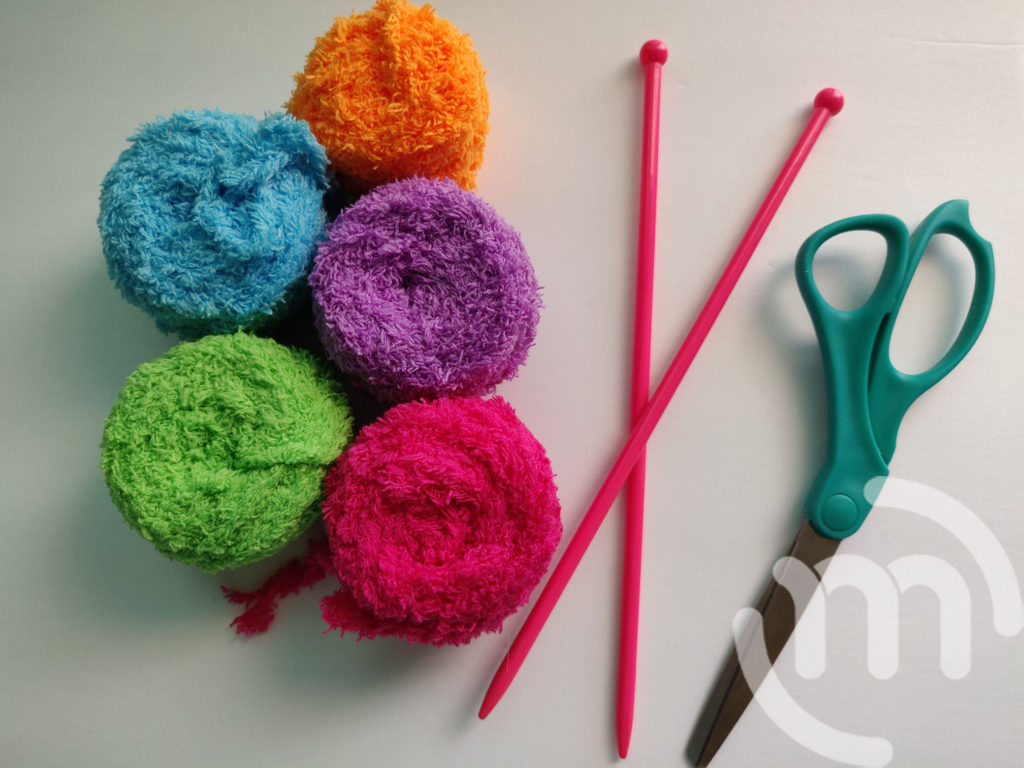
Materials:
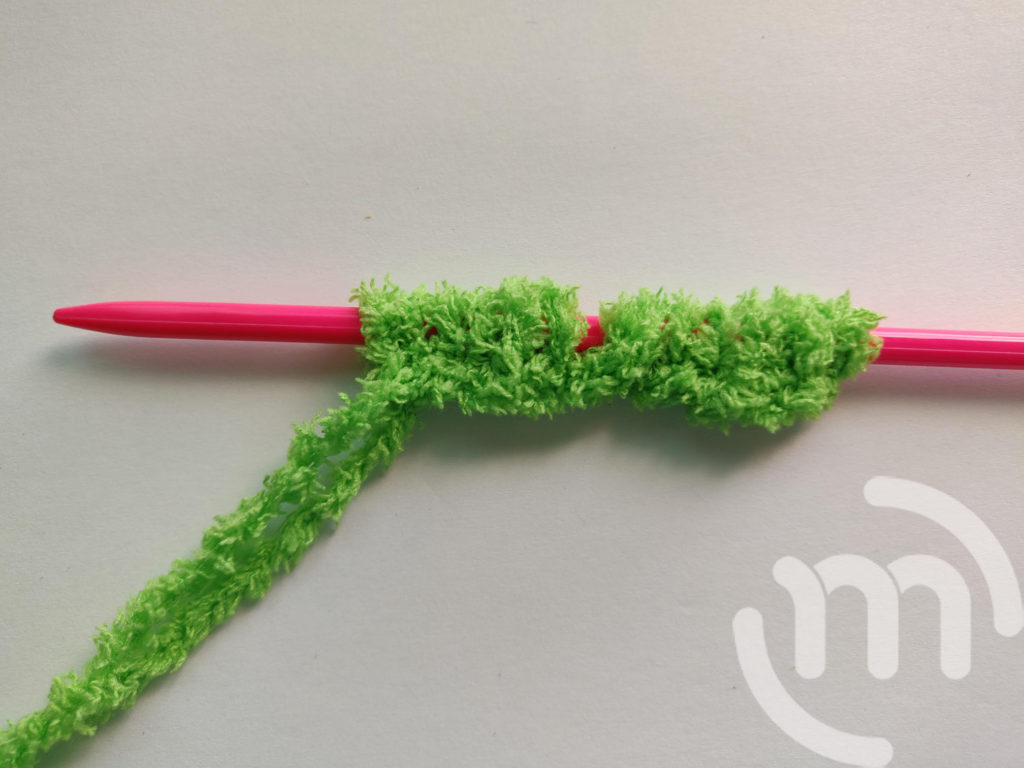
Step 1:
Pick a color to start with and cast on 15 stitches using either the long tail cast of method or the knit cast on.
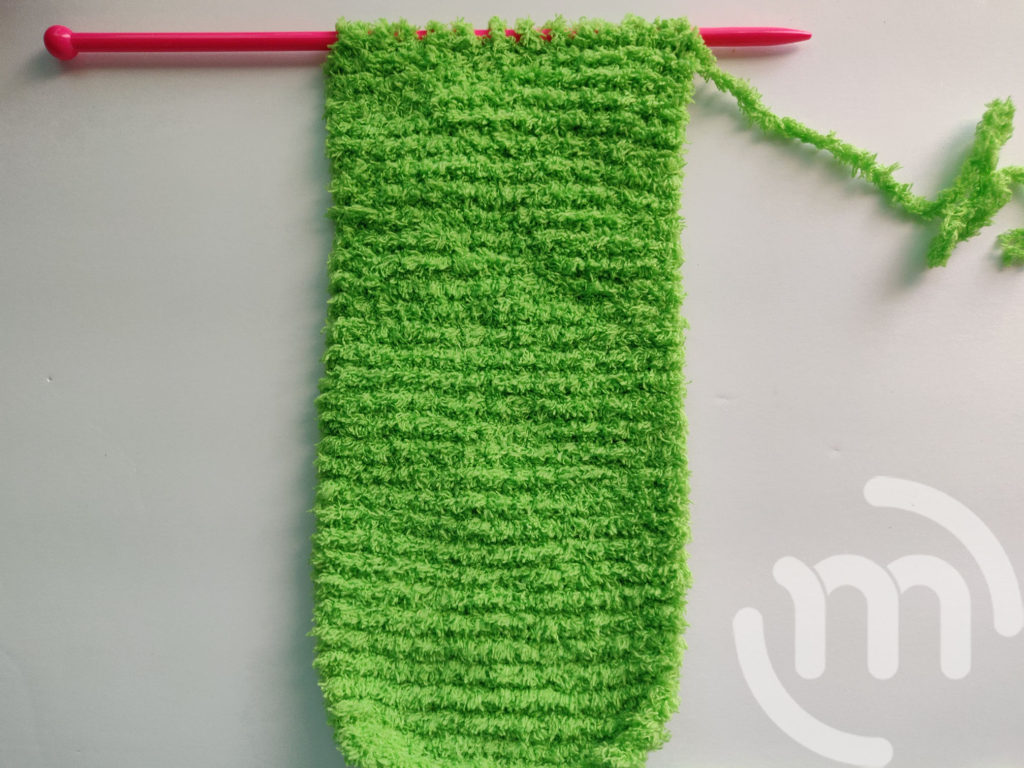
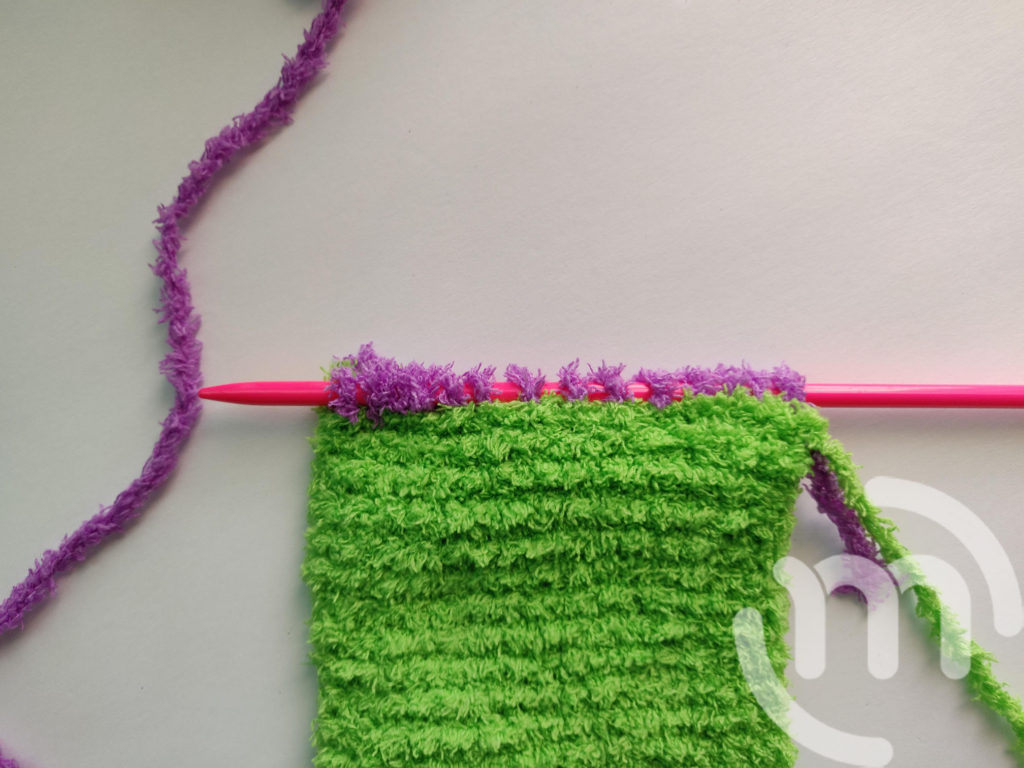
Step 2:
Knit until it is 21 inches long total. I used up all of my first skein of fuzzy yarn, so I had to switch colors. Attach your next color of yarn if you’re using yarn like mine and you run out! (Each color on mine was 10.5″ making it a total of 21″)
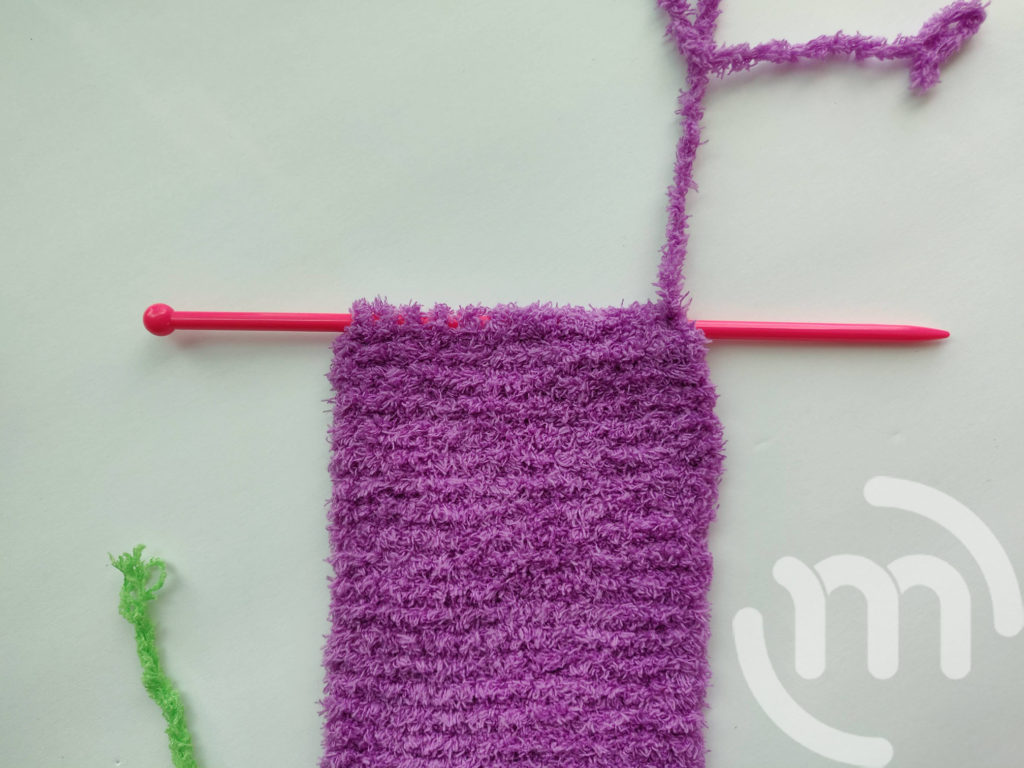
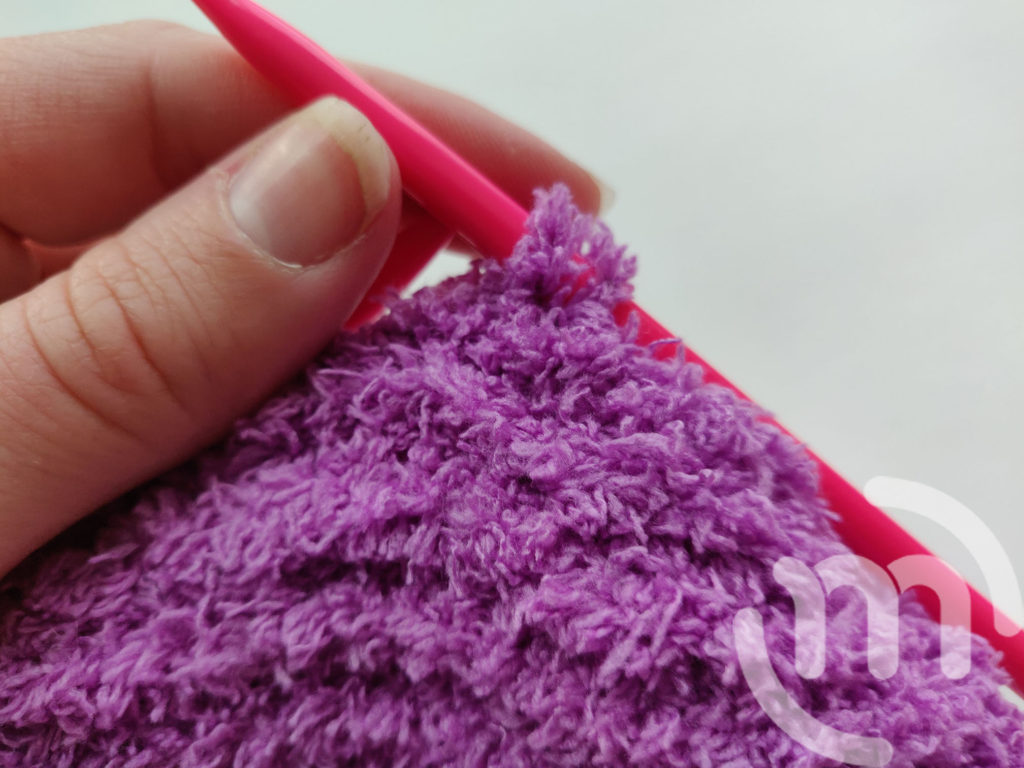
Step 3:
Once you get to your desired final length on your headband (21″ for mine), cast off your headband. Knit two stitches like normal, then pass the first stitch over the second and off the needle. Knit another stitch so you have two again. Continue to do this process until all of the stitches are off of your needles. Tie a knot to finish it off.
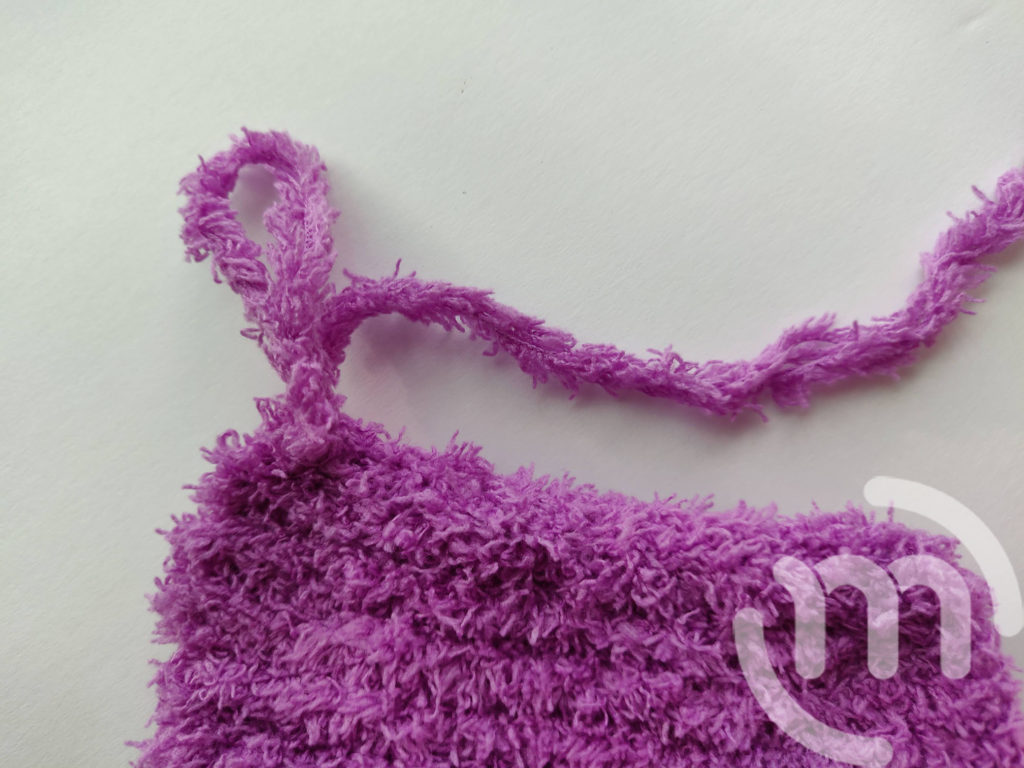
Step 4:
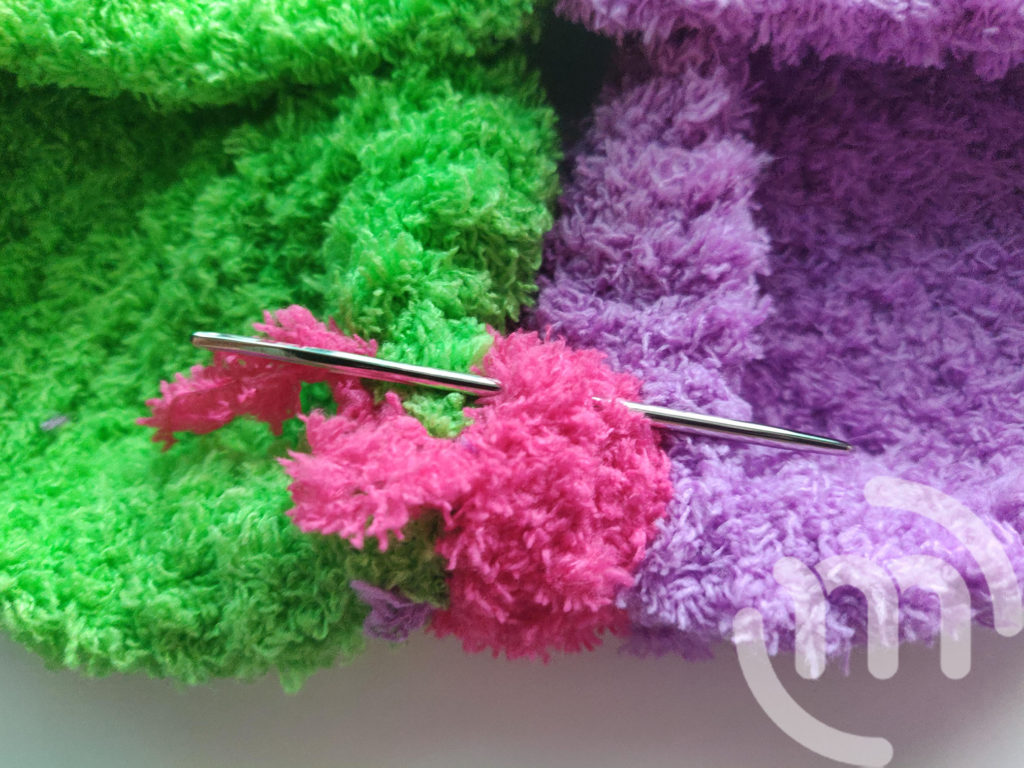
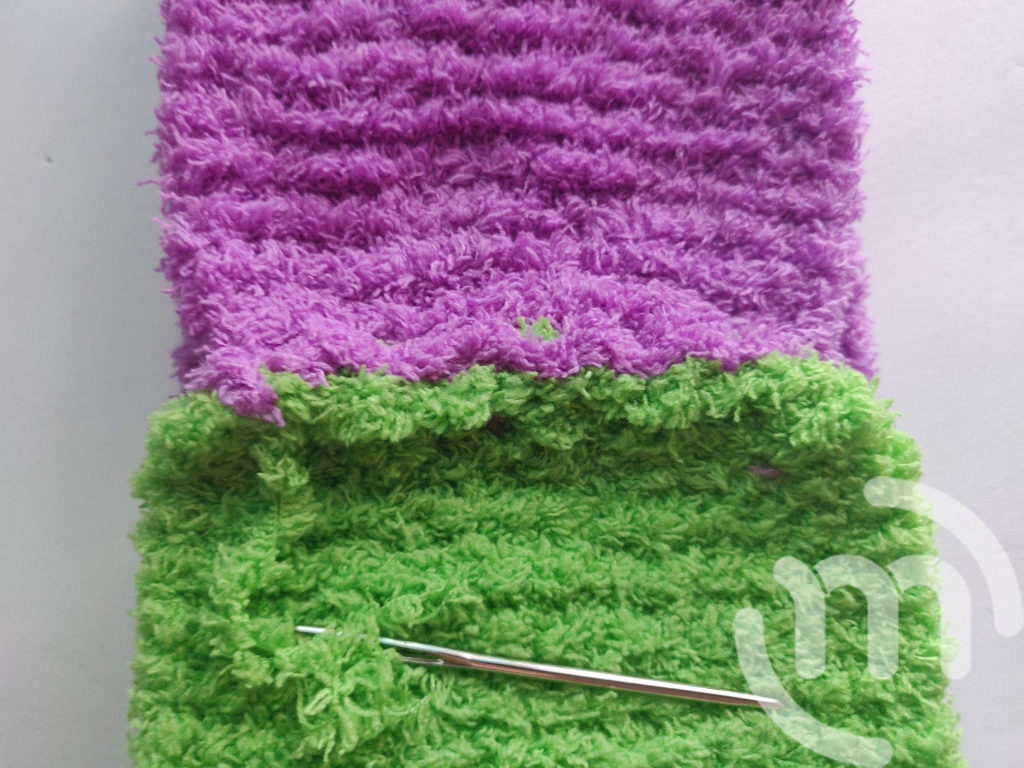
Weave in ends that you have from the middle of your headband. I like to use my yarn needle to make this process a little easier, but you can also use a smaller crochet hook.
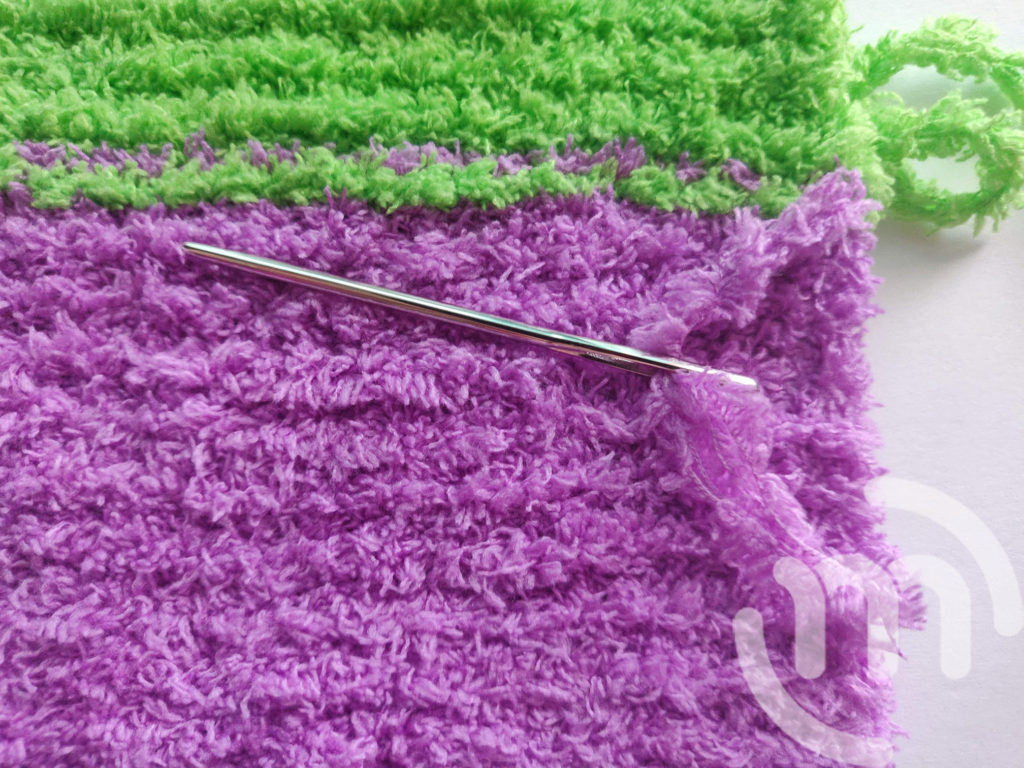
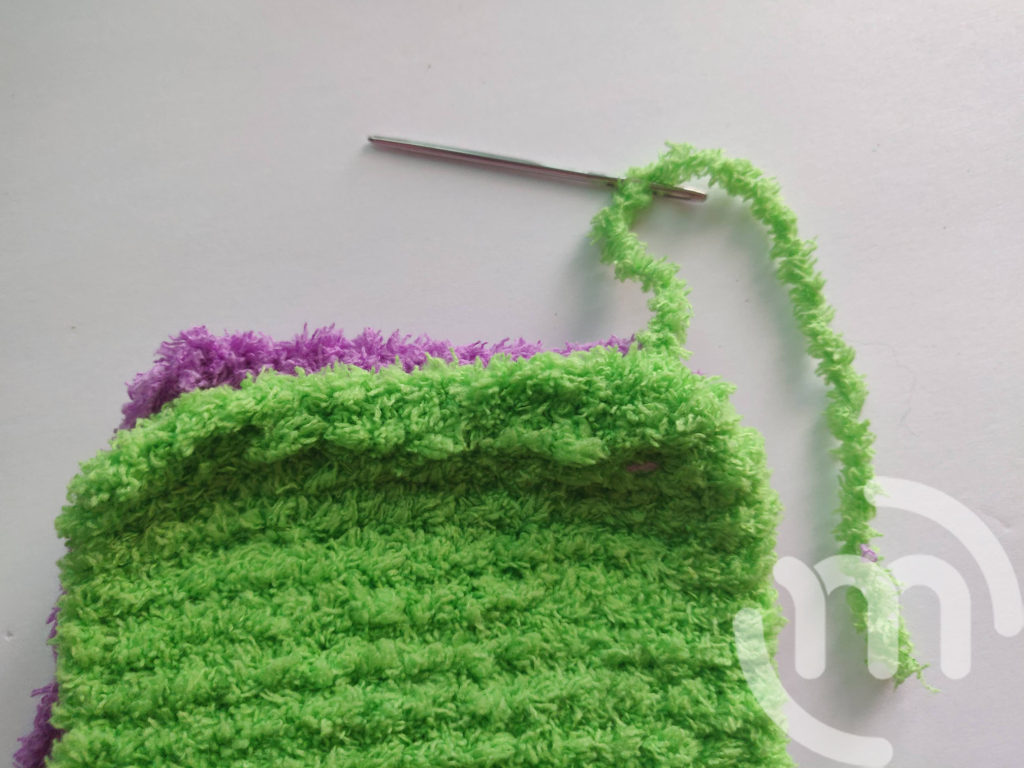
Step 5:
Place the two sides right sides together and sew the ends together with your leftover yarn tails. I used my yarn needle to sew them together.
Weave in any last minute ends and cut off any extra yarn. Turn your headband right side out.
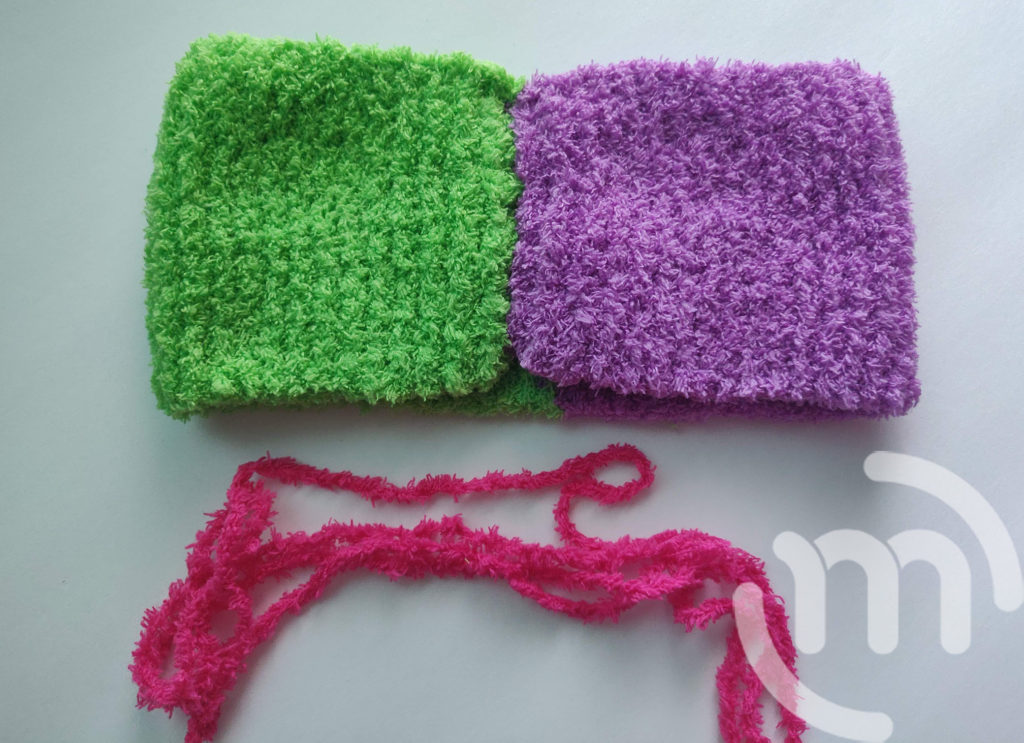
Step 6:
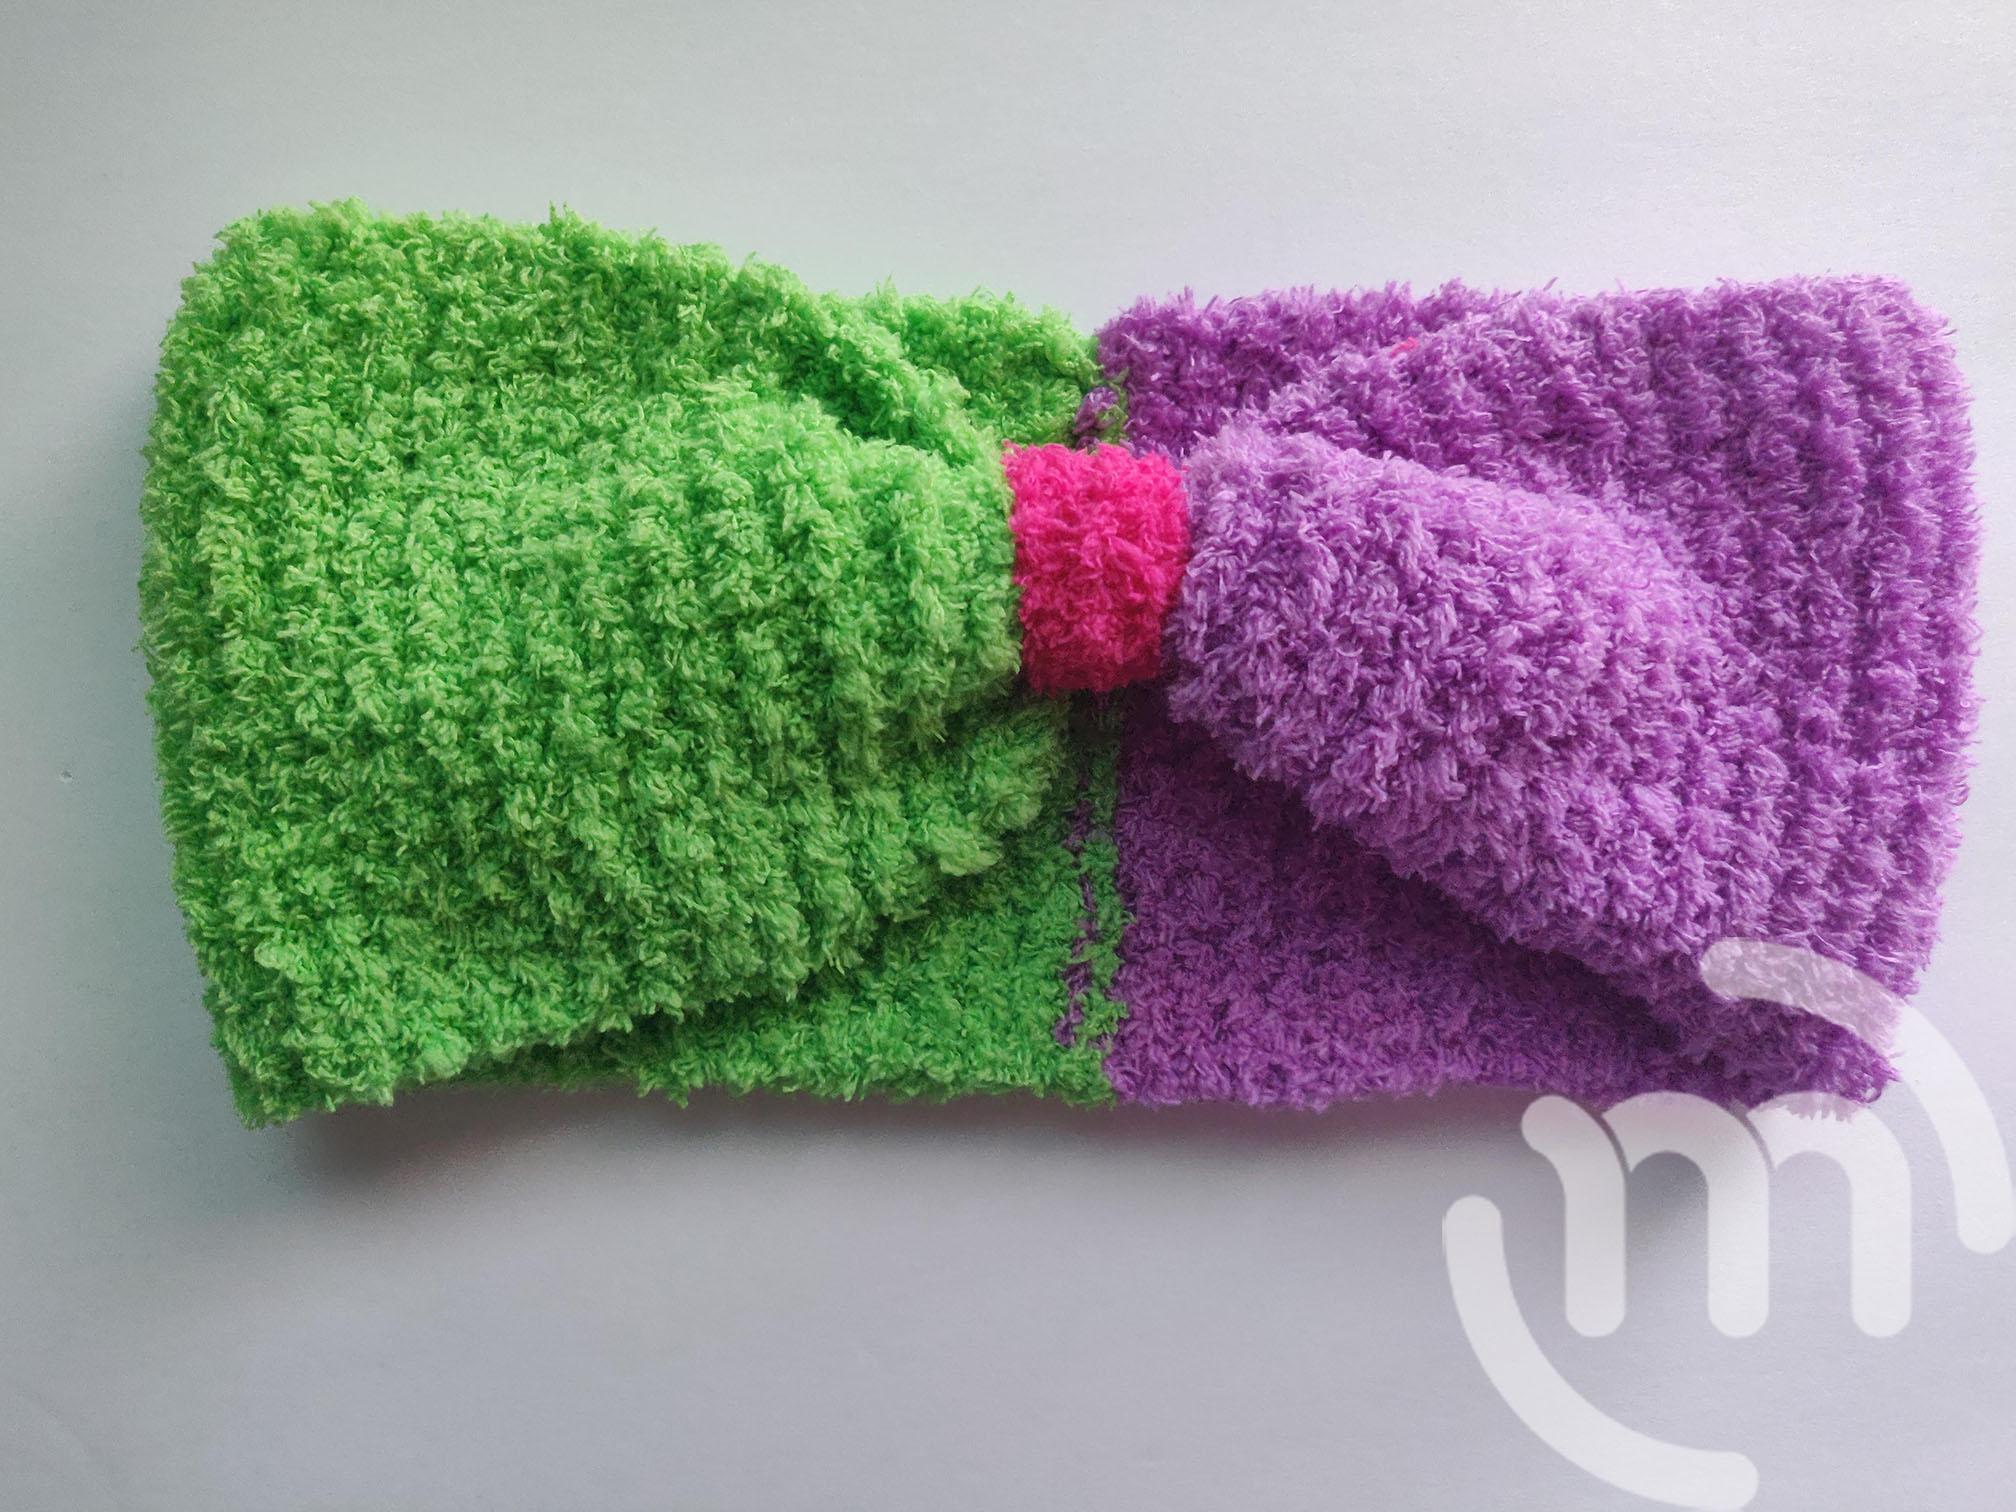
Cut another piece of yarn about 24 inches long. Attach the yarn to the middle of your headband where the two colors meet (if you did multiple colors) by tying a knot around the headband to form a bow.
I personally chose to do mine on the end where I sewed the ends together so I could hide any imperfections from sewing.

Wrap the yarn around and around being sure to cover the whole area of where the two colors meet. Weave ends and tie a knot to secure.
Cut off any excess yarn.