
Looking for a unique and special way to save your memories? Do some photo transfers onto fabric of your favorites!
*This post may contain affiliated links. For more information on this and how you can support my blog, please see my Disclosure page!*
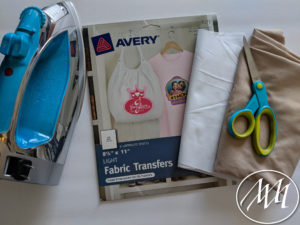
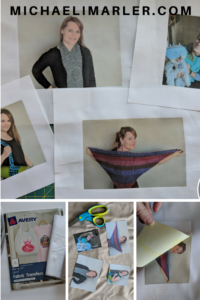
Materials:
- Avery 3271 Light Fabric Transfers
- Inkjet Printer
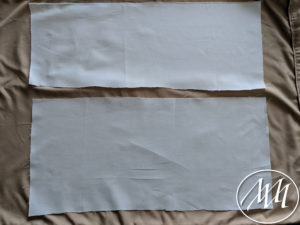
- Fabric (I chose white)
- Scissors
- Cotton Pillowcase
- Iron
Step 1:
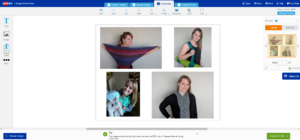
Go to https://www.avery.com/ and search for your product: 3271. Once you find your product, click on Start Designing.

Step 2:
Choose a design template (if you’d like), or choose a black page in portrait or landscape. I went with the blank landscape page.

Step 3:
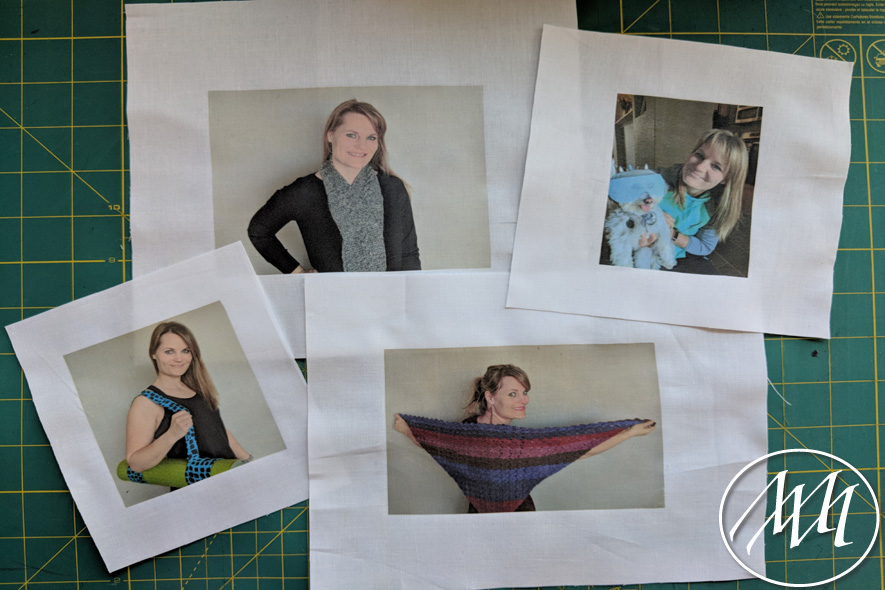
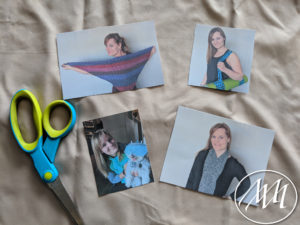
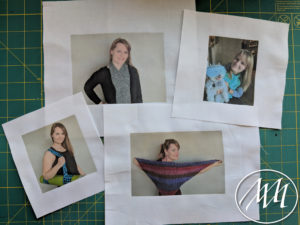
Add in your photos and text of your choice. I picked four photos from my first year of blogging and some of my favorite projects!
Step 4:
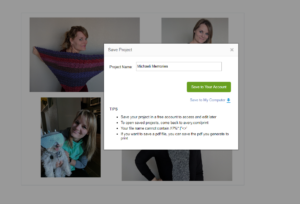
If you create an Avery account, you can save your design for later or you can print it right away. Your choice!
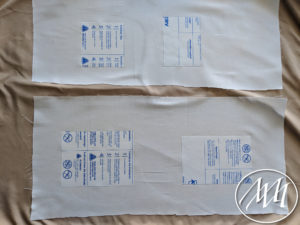
Print your design. It will download a PDF of your images (and words if there are any) backwards so when you iron the design on to your fabric, it will be the right side up.

Note: Put some scribbles on a normal page of paper and print out your design to make sure you will print your design on the correct side of the transfer paper without wasting any. With mine, I had to put it in with the words (back) facing up.
Step 5:
Cut out your designs if you should desire. I cut my four pictures out so I could have a little bit of a border around each photo.
Step 6:
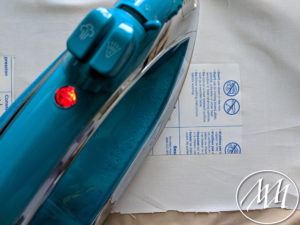
Heat up your iron on the cotton setting for a good 5 minutes before ironing your design transfers. Make sure it has no water in it and the steam settings are all turned off.
Get a flat non-heating surface, like a wooden table, to use as your ironing surface. Put the cotton pillowcase on the surface. Put the fabric on top of the pillowcase and iron both surfaces flat.
Note: You will be unable to use an ironing board for this part.
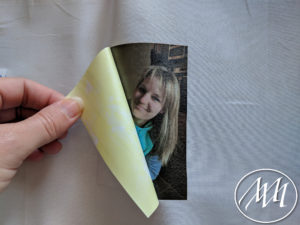
Step 7:
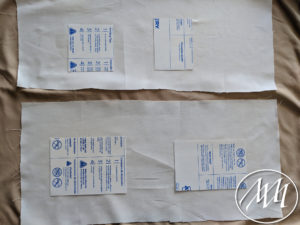
Place each photo transfer face down on your fabric of choice. Place the iron on top of each photo and press hard being sure to focus on the corners of each photos for about 3 minutes each.
Step 8:
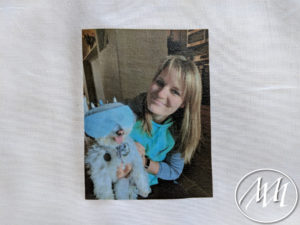
Let the photo transfer completely cool before trying to peel off the backing. If you do it while it’s still warm, it will peel up the edges with the backing and ruin the photo. Once it’s cooled, slowly peel up the edges of the backing making sure that no part of the photo is peeling up with the backing. If it does start to peel up, place the iron back down on top of the backing and repeat steps 7 and 8.
Step 9:
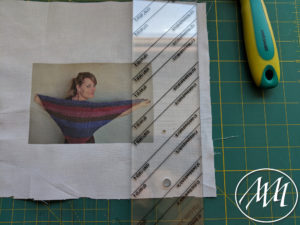
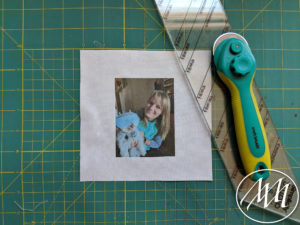
Once all the photos are transferred to the fabric, you can cut out your pieces. I like to use my quilting edge and rotary cutter with rotary mat to make the cuts clean and straight the first time.
Step 10:
You can add your photos to a memory quilt or whatever project you had in mind! 🙂 Allow them to dry for over 24 hours before trying to wash the fabric.
Neat idea, I didn’t know it could be that easy!