
Have you ever wondered how to make self-striping yarn? I’ll show you one way to do it in this tutorial!
*This post may contain affiliated links. For more information on this, please see my Disclosure page!*
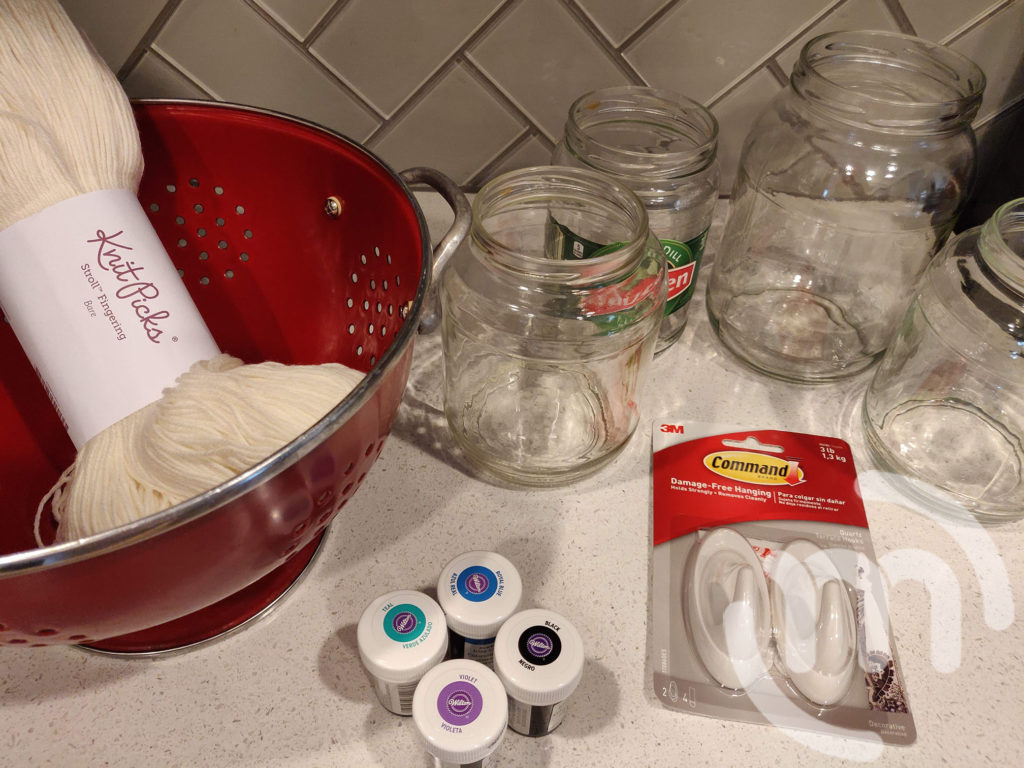
Materials:
- 100 Grams of Knit Picks Stroll Bare Yarn
- 2 Command Strips
- 4 Jars (I use recycled pickle jars!)
- 2-4 colors of Wilton’s Gel Food Coloring
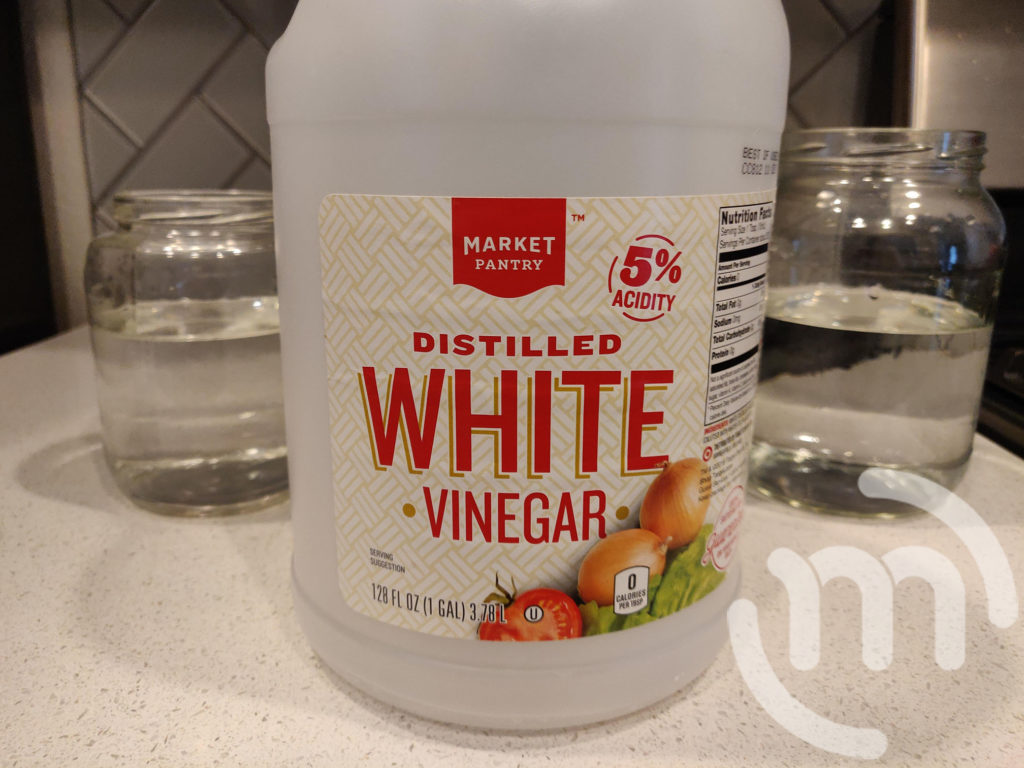
- White Vinegar
- Colander
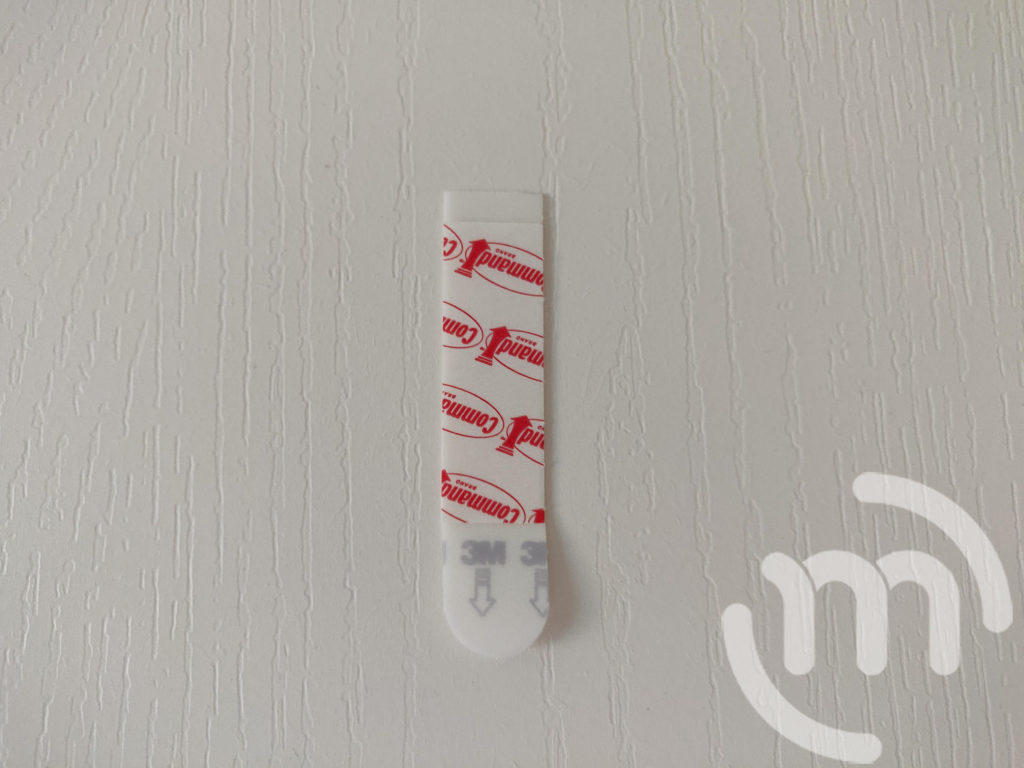
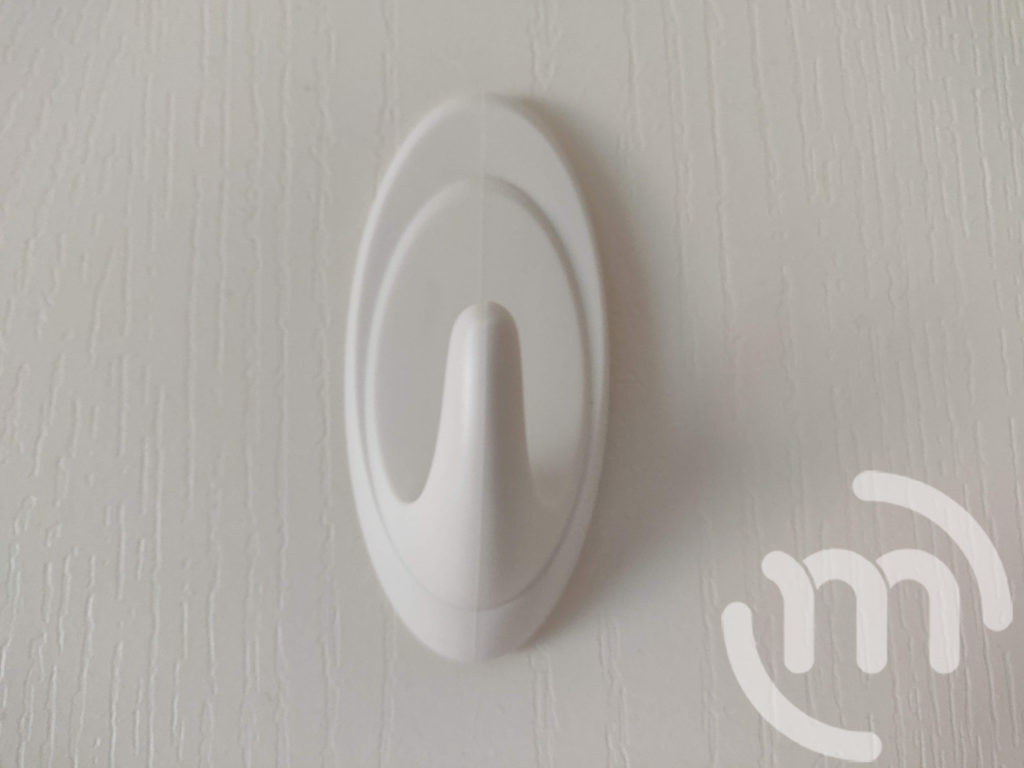
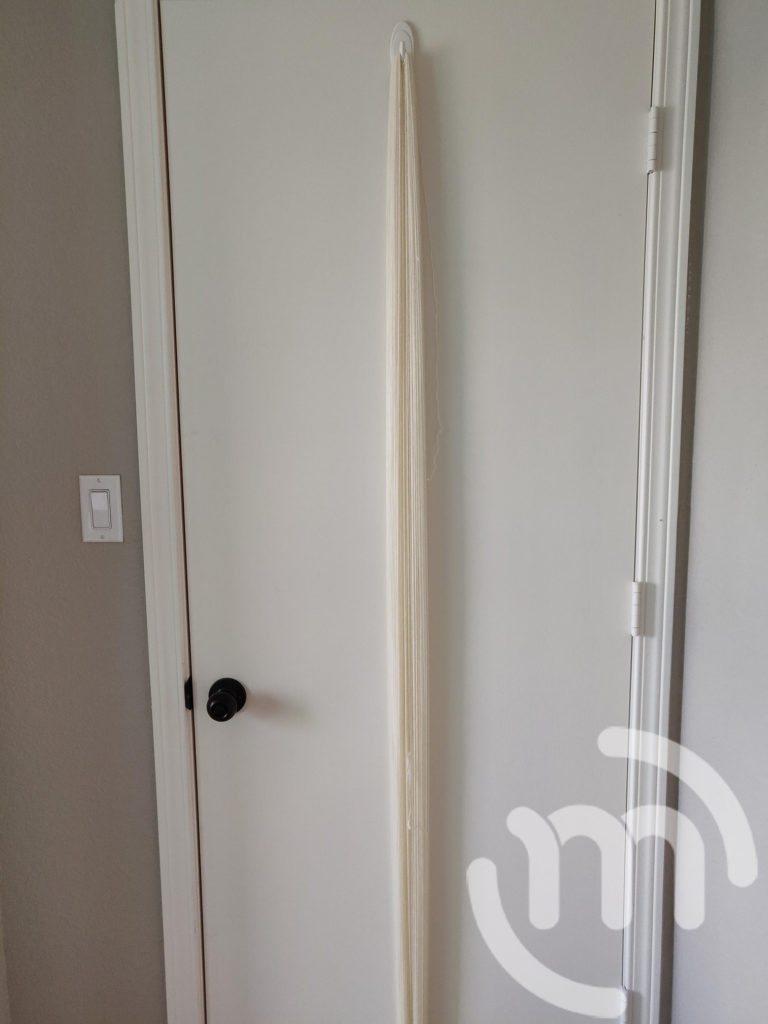
Step 1:
Place the command strips on a door. Place one right side up near the top of the door and one upside down near the bottom on the door.

Step 2:
Unravel your yarn carefully with your hands or with your swift. Tie a small knot around the top of your command strip and wrap the yarn around the command strips for the whole length of the yarn.
Step 3:
Use some scrap yarn to tie up your skein so it doesn’t turn into a crazy mess when you go to dye it. Loosely weave the scrap yarn around the yarn and tie a knot. I did this about 6 times in various areas.
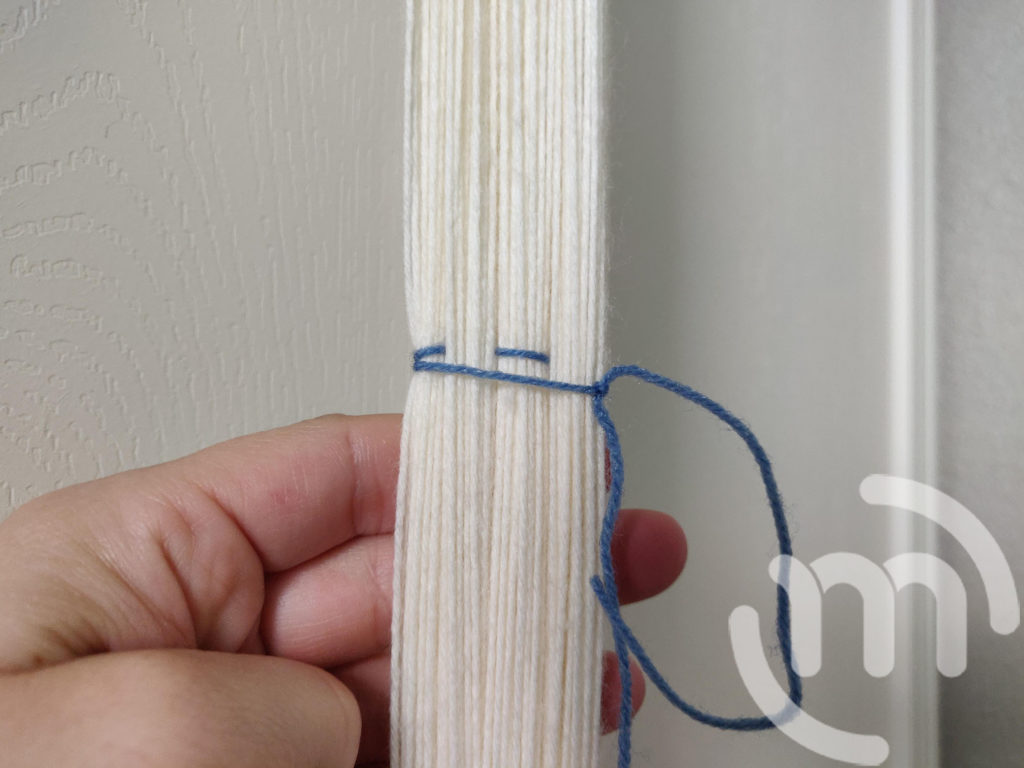
Remove the yarn carefully from the door and the command strips.
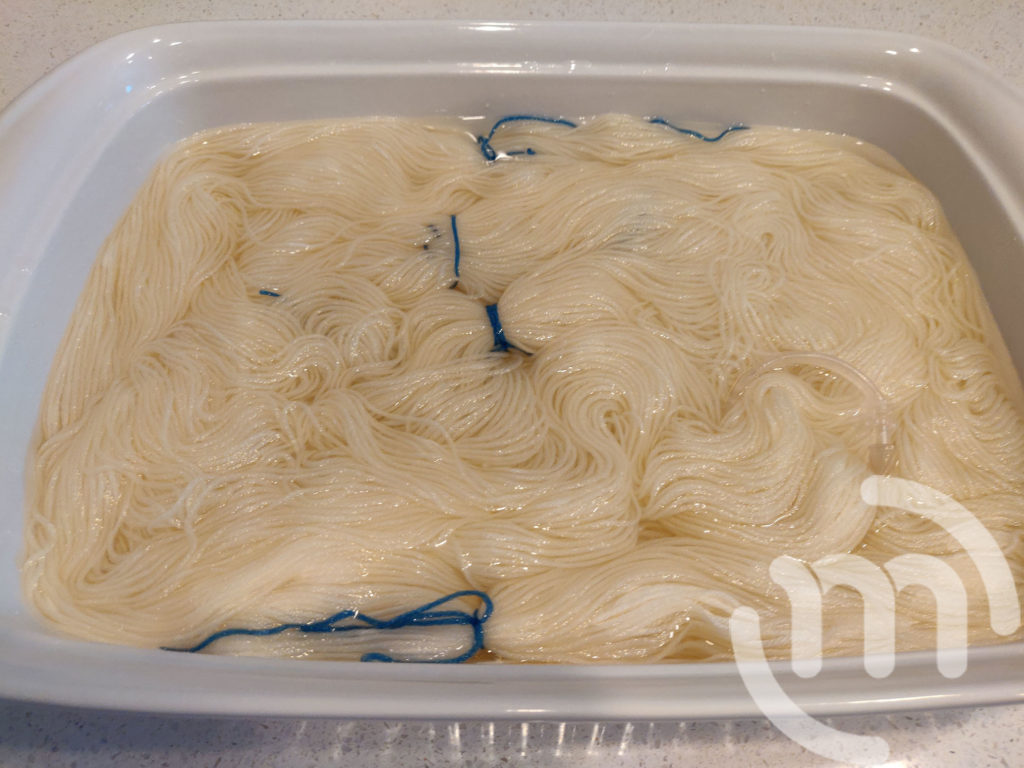
Step 4:
Place a zip tie or shower curtain ring around the yarn to keep it straight while dyeing. Place the yarn in a casserole dish and fill up with water. Pre-soak the yarn in room temperature water for a minimum of 30 minutes prior to dyeing.
Wring out any excess yarn before moving on to the next step.
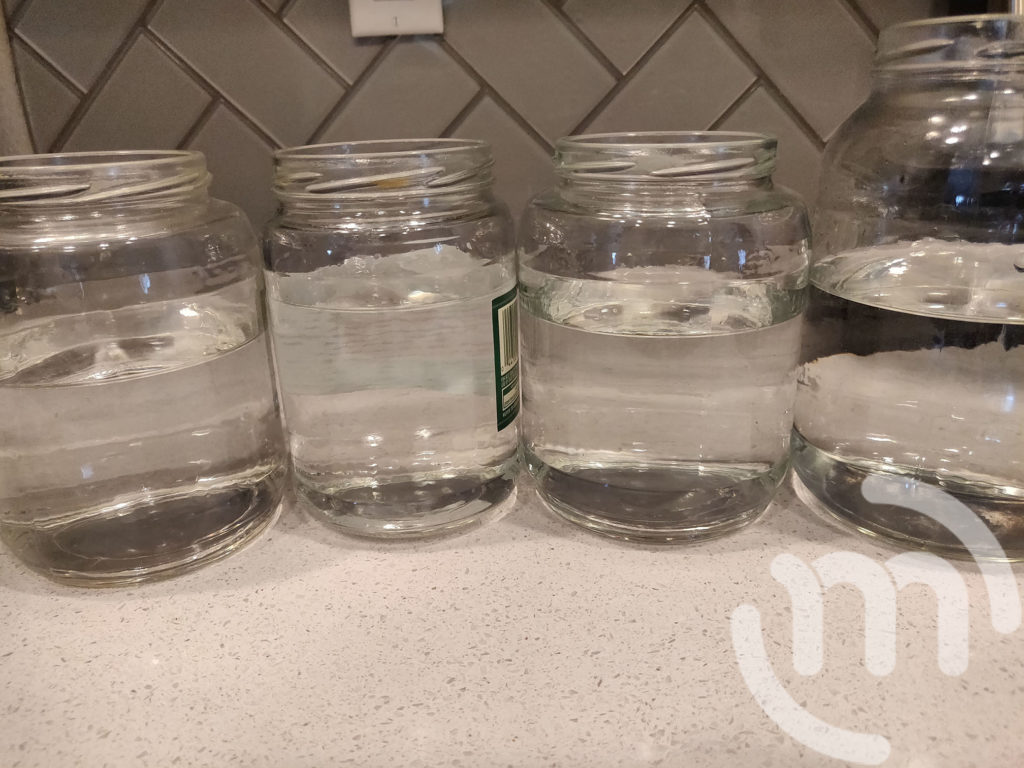
Step 5:
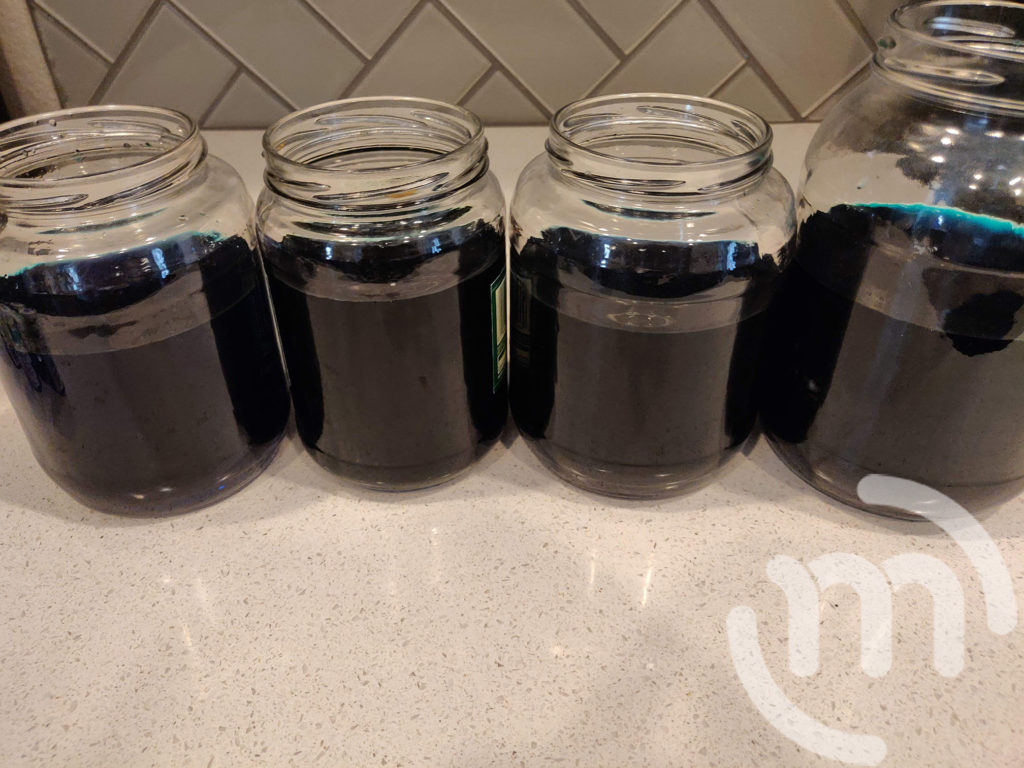
Add 3 cups or so of water to each jar (about ⅔ full) and microwave for 4-5 minutes to heat up the water. (I used some old pickle jars!)
Add about 1 teaspoon of white vinegar to each jar.
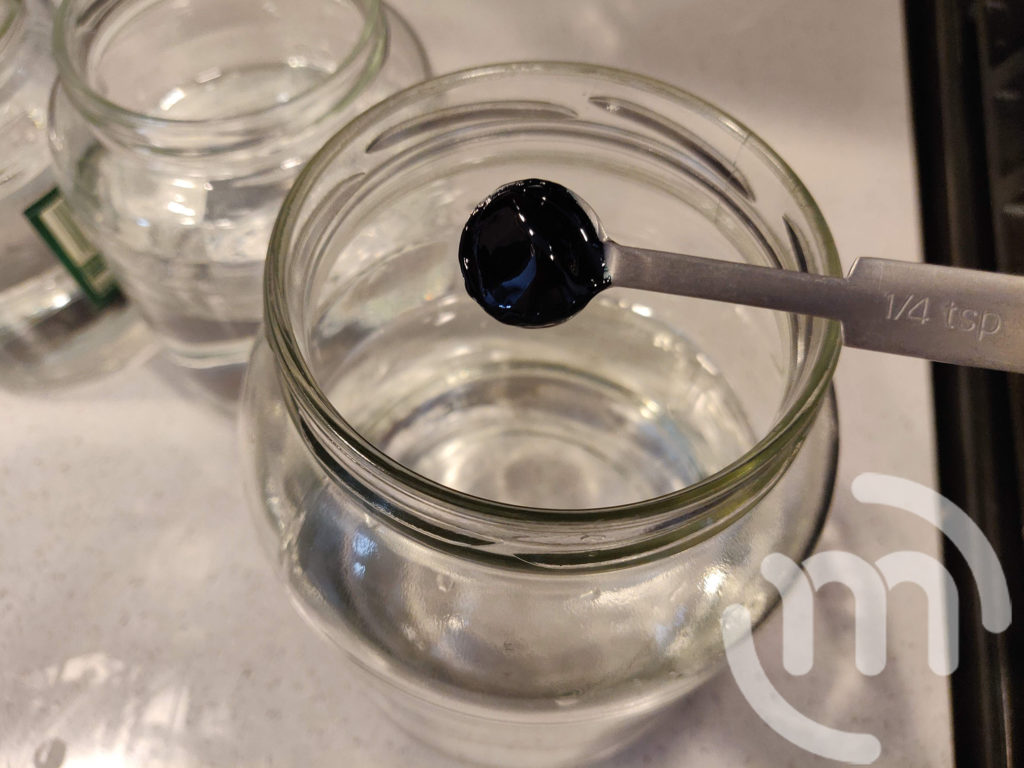
Mix in ¼ teaspoon of gel food coloring of your choice into the heated water inside the jar. I personally chose to do 4 colors, but you can do as few as 2. I chose to use teal, royal blue, violet, and black.
Step 6:
Lay down some plastic wrap on your counters or your workstation to avoid any splatters or stains on your surface.
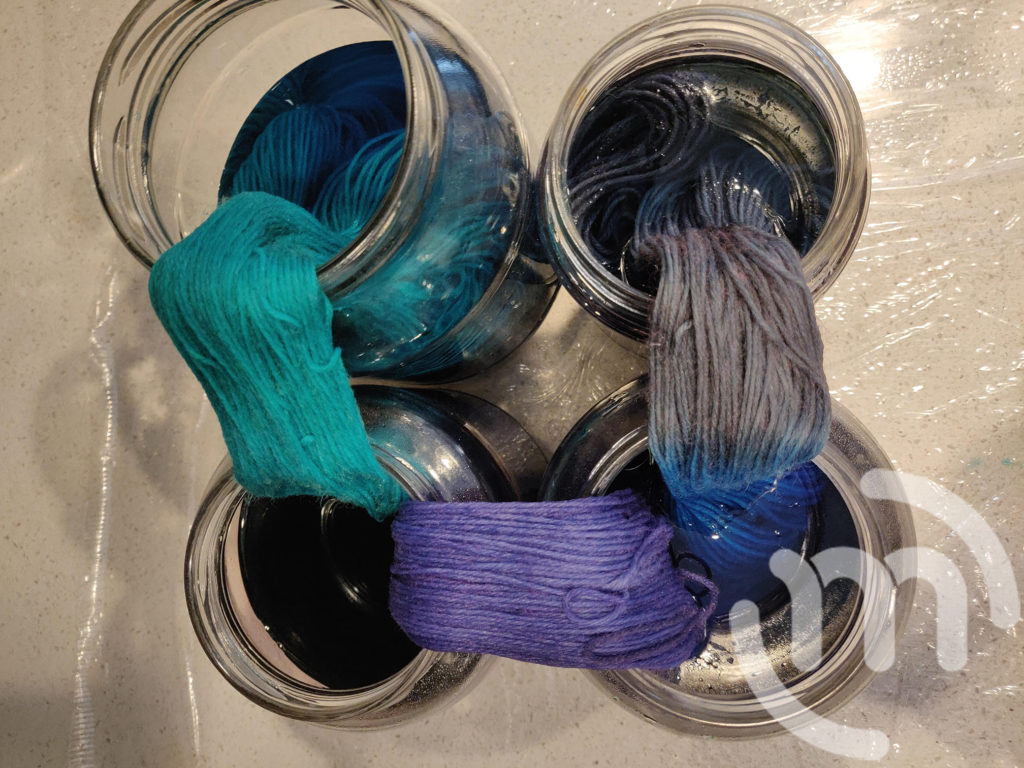
Carefully add ¼ of your yarn to your first jar of color. Then add the next bit into your next jar and so on until your yarn is in all of the jars.
Step 7:
Occasionally dip and move the yarn between the jars to one jar and then the other to make sure the transition between the colors is solid and there aren’t any white spaces.
Step 8:
When all the color (or most of it) is in your yarn and you’re happy with the colors, carefully remove the yarn from the jars and remove any excess liquid. Wrap the yarn up into the plastic wrap that was covering your workstation and microwave in 1 minute increments until it’s pipping hot. This step will help set the color more since the jars cooled over time.

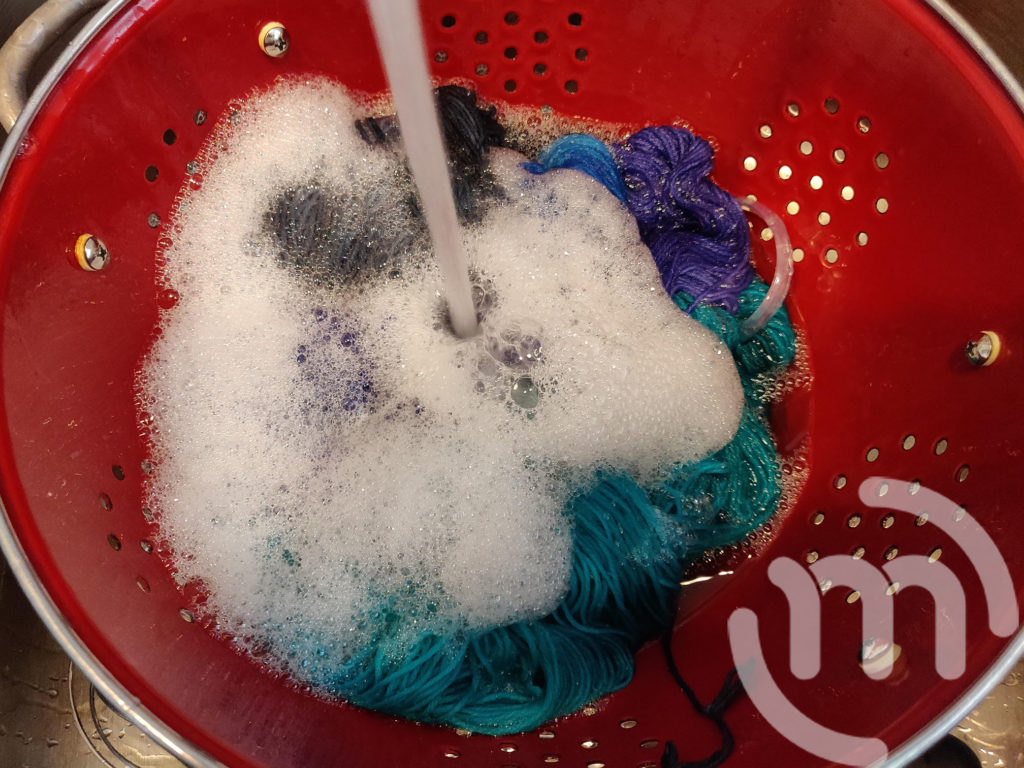
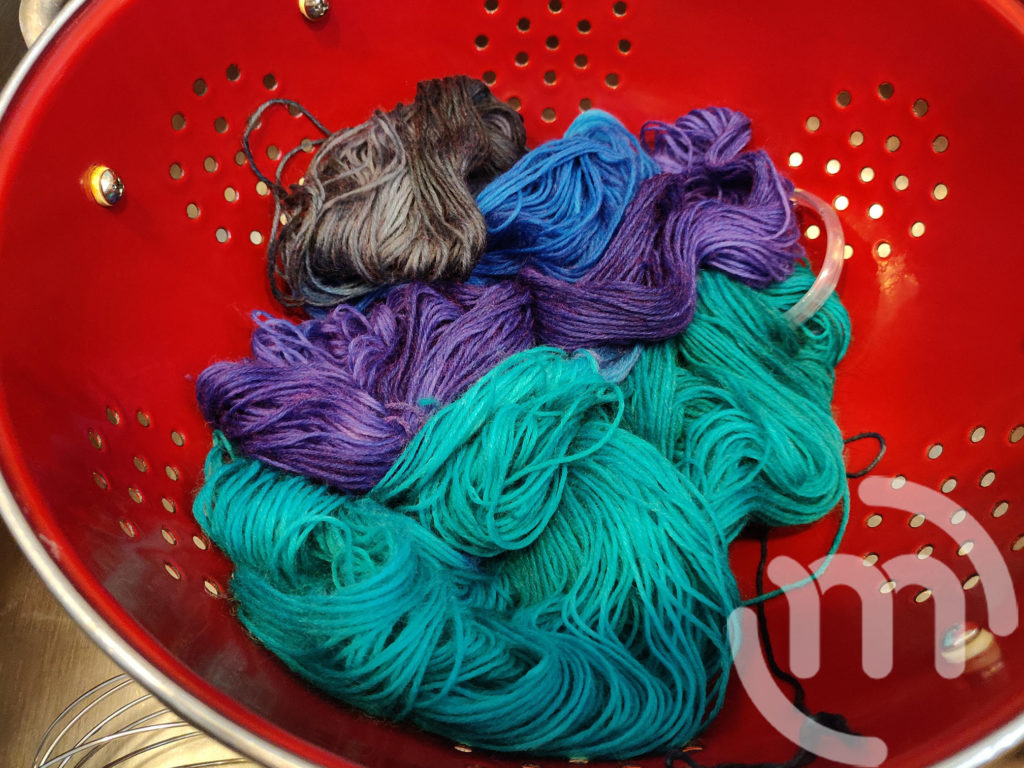
Step 9:
Once the yarn in the seran wrap has cool to the touch, remove the yarn and add it into a colander placed in your sink. Rinse the yarn in lukewarm water. Use a tiny bit of dish soap to wash the yarn and rinse until the water runs clear and there is no more dye coming out of the yarn. Remove any excess liquid from the yarn.
Step 10:
Hang the yarn to dry fully. I like to use my Swift for this step.
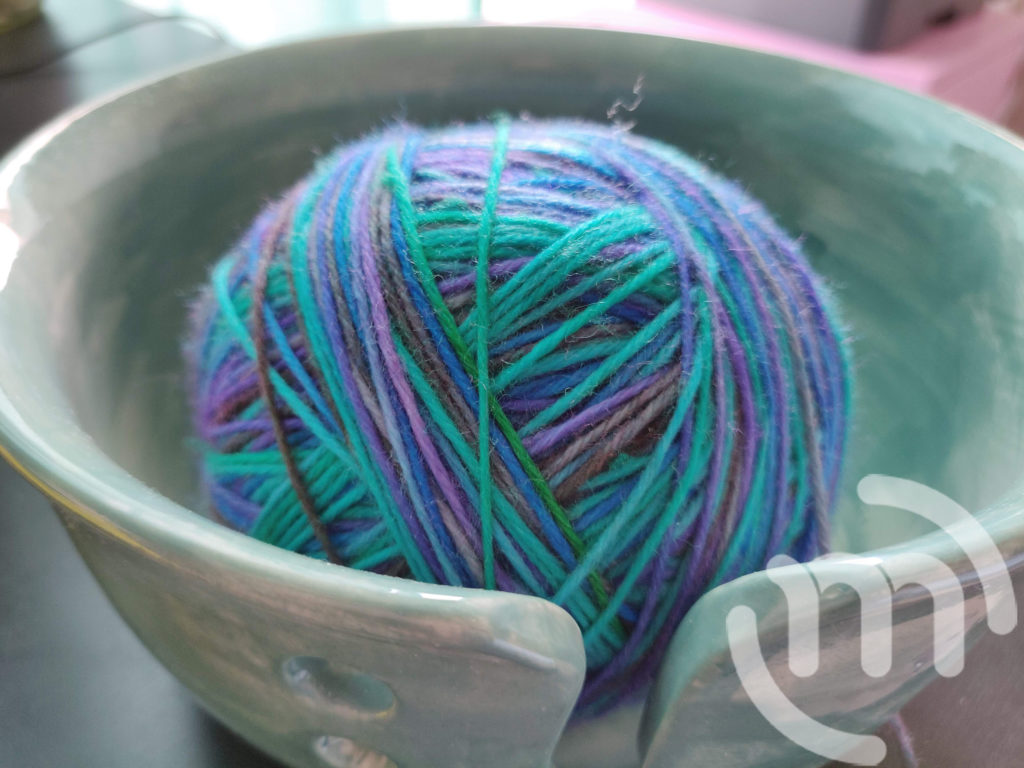
Step 11:
Once it’s all dry, carefully remove all the scrap yarn you added to the yarn to keep it straight. I laid the yarn on a big bed surface and began to ball up the yarn so it would be ready to knit. It was too big to use on my swift and ball winder, so I had to do it by hand.

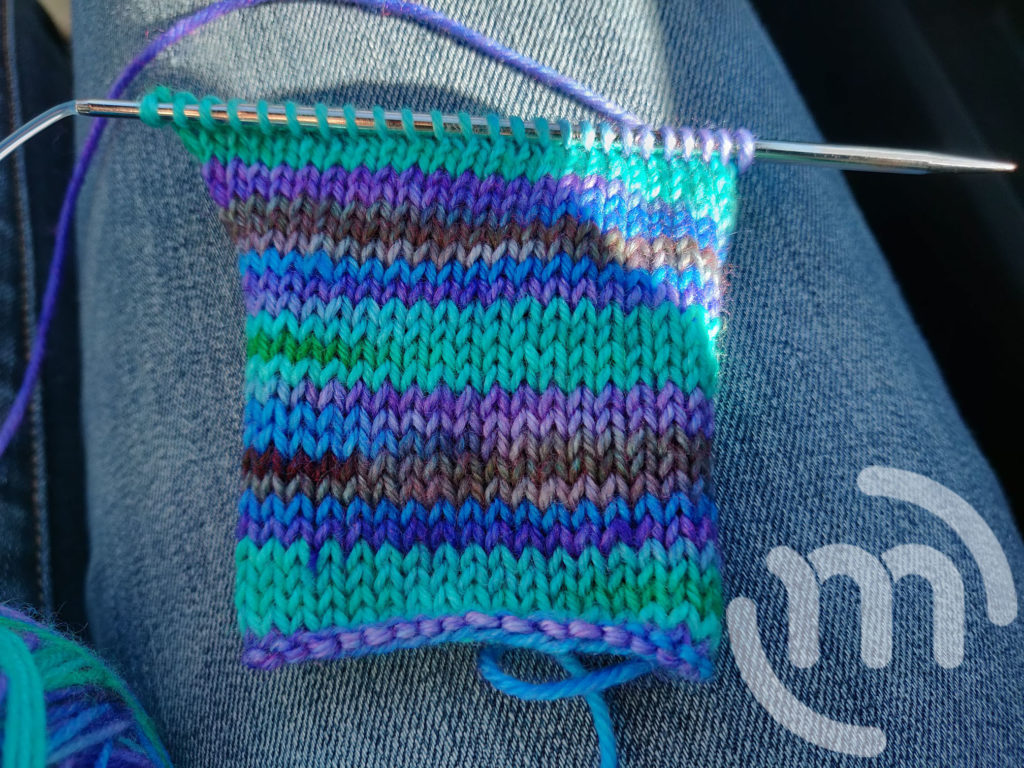
Step 12:
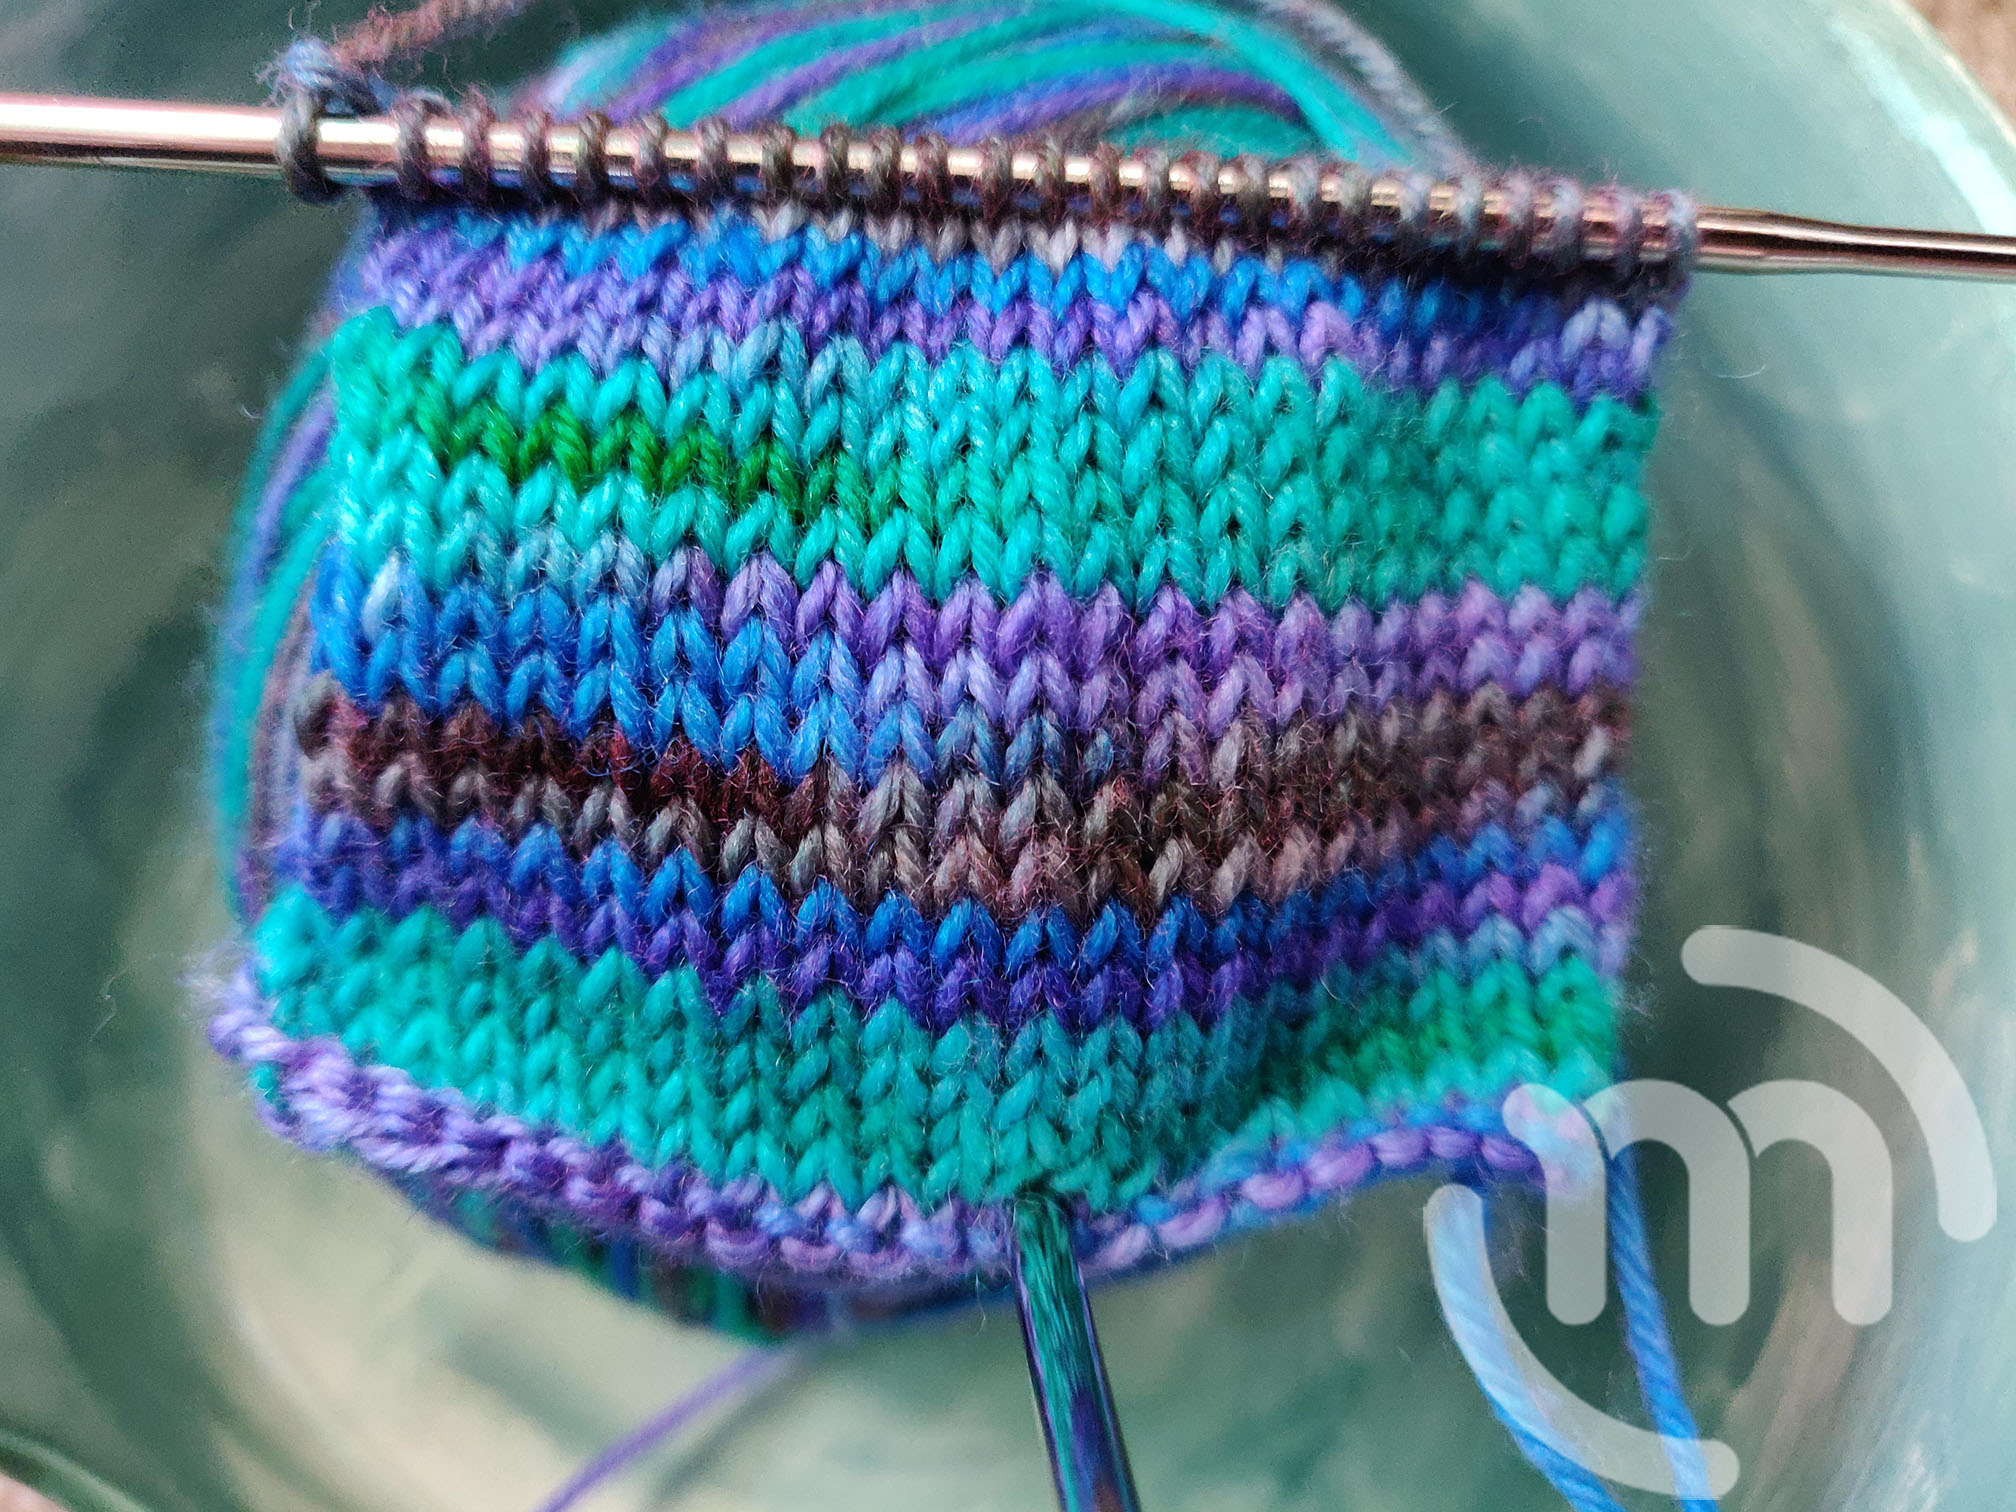
Knit up something with your new self-striping yarn and let the magic happen!

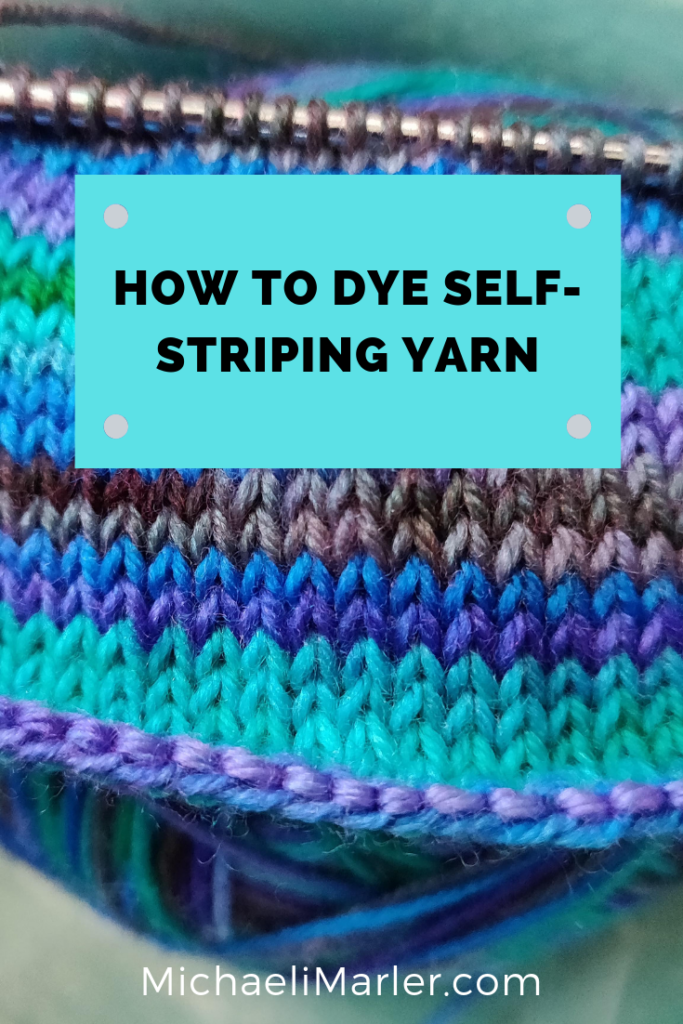
That’s not self striping yarn! You need to put the ties at a warping distance, it takes algebra