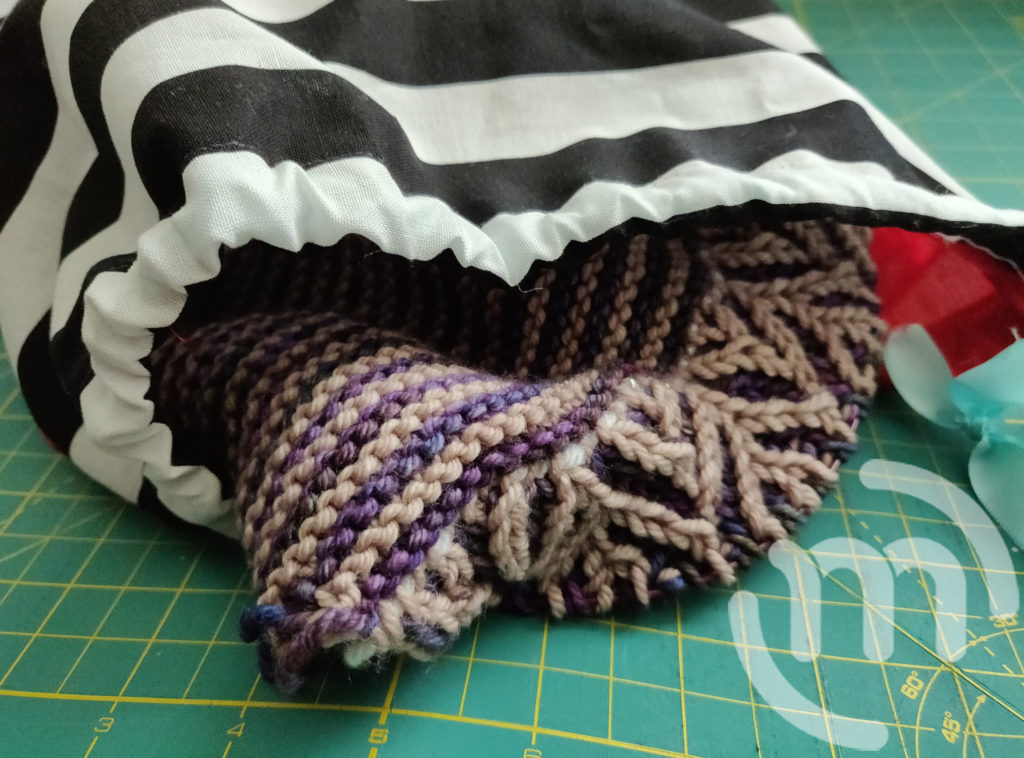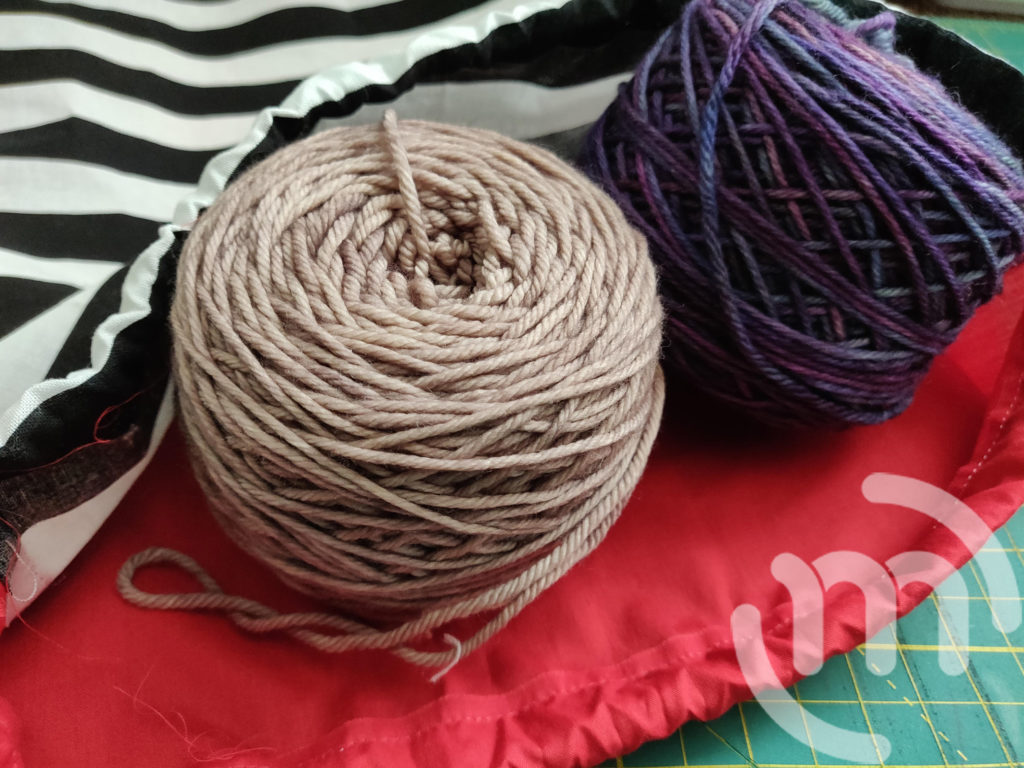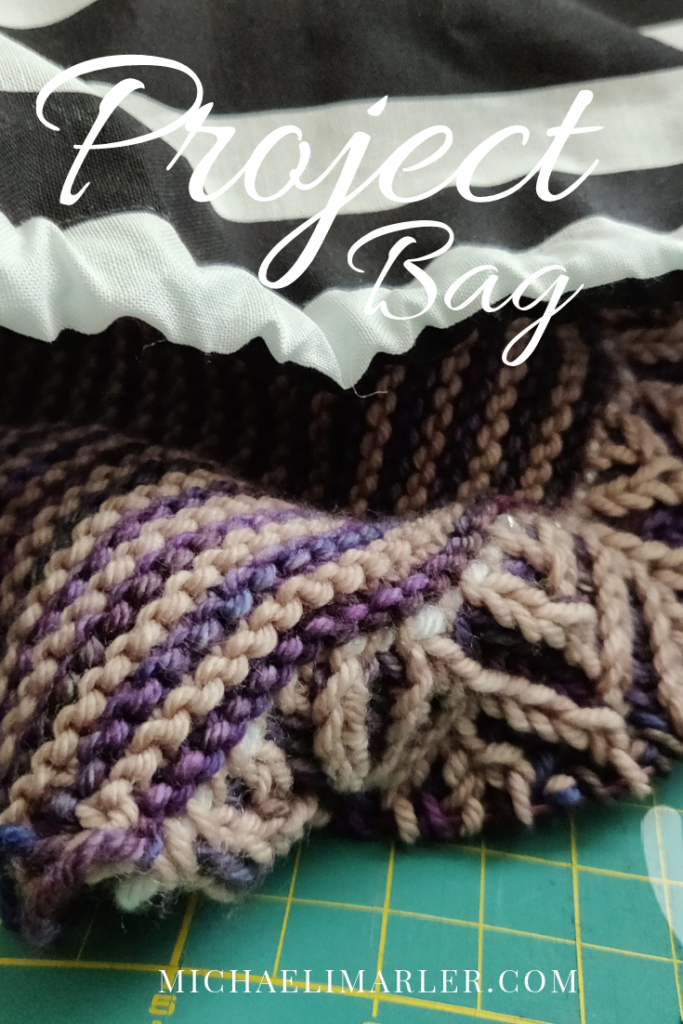
Use some leftover fabric to sew a drawstring bag for your knitting/crochet projects, or anything else you need a cute little bag for!
*This post may contain affiliated links. For more information on this, please see my Disclosure page!*
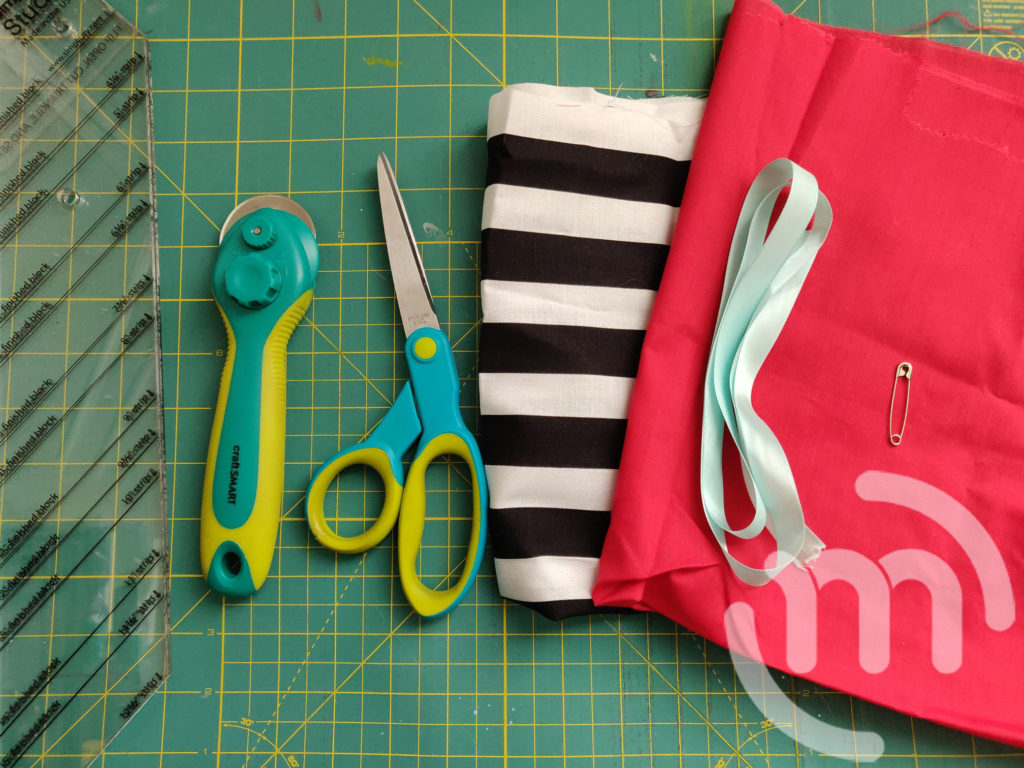
Materials:
- Fabric (Leftover fabric from This and That)
- Ribbon
- Scissors
- Sewing Machine
- Safety Pin
- Rotary Cutter
- Self Healing Mat
- Straightedge
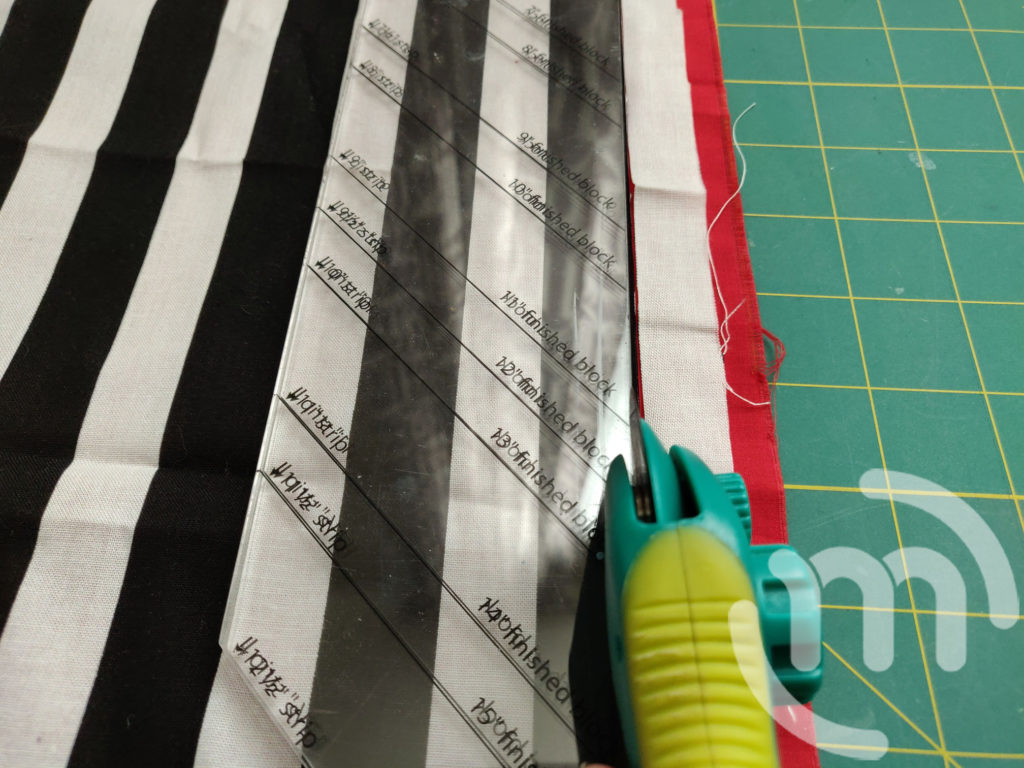
Step 1:
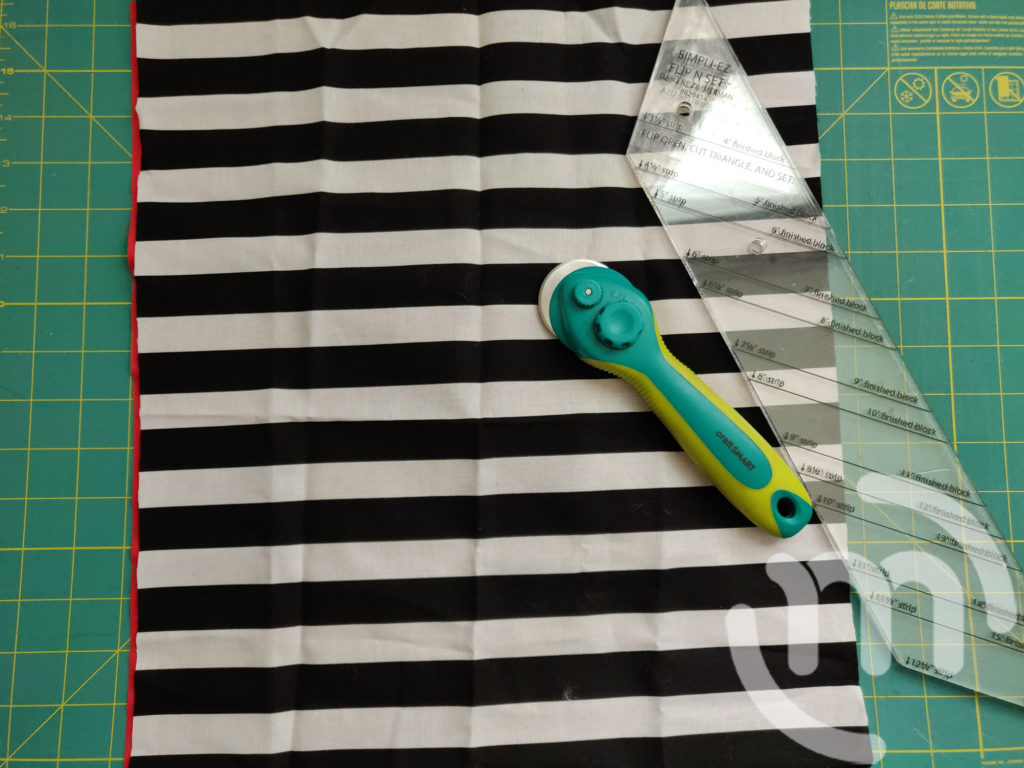
Cut your fabric piece for the size you would like your bag using your rotary cutter, self healing mat, and straightedge to get straight lines.
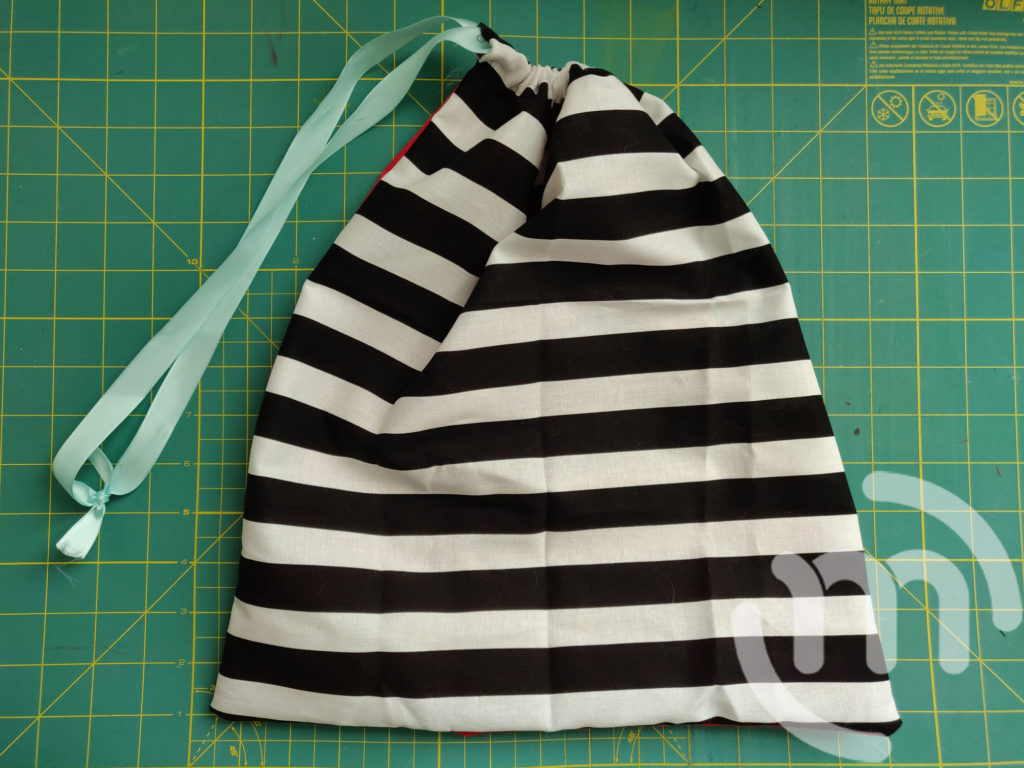
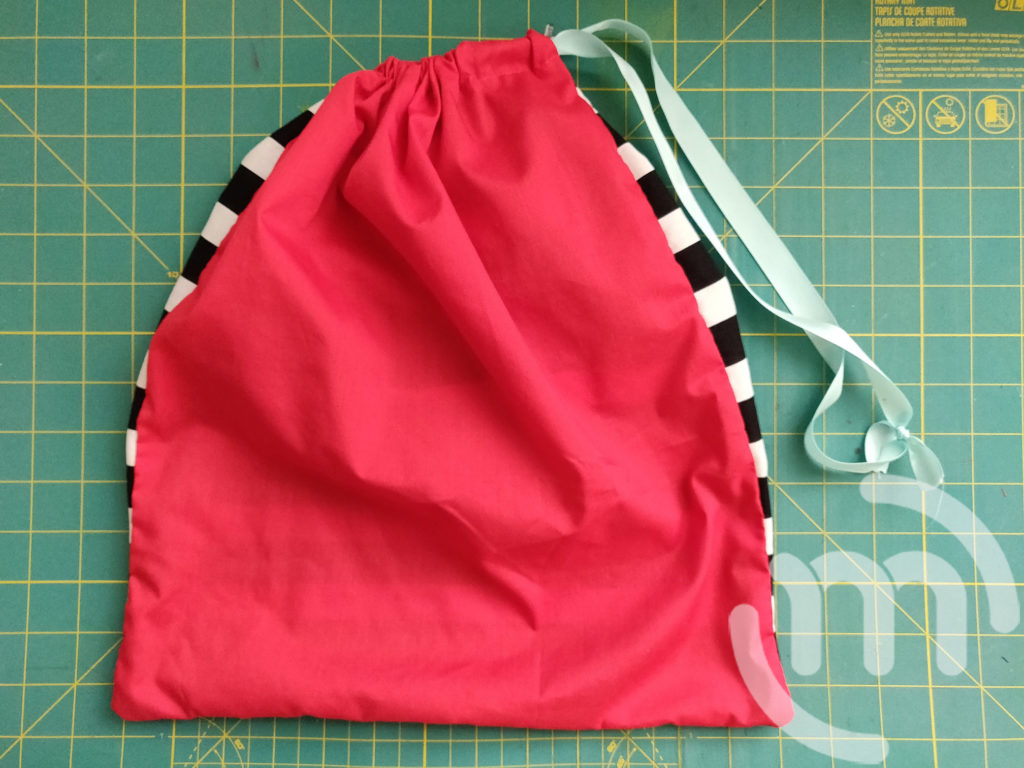
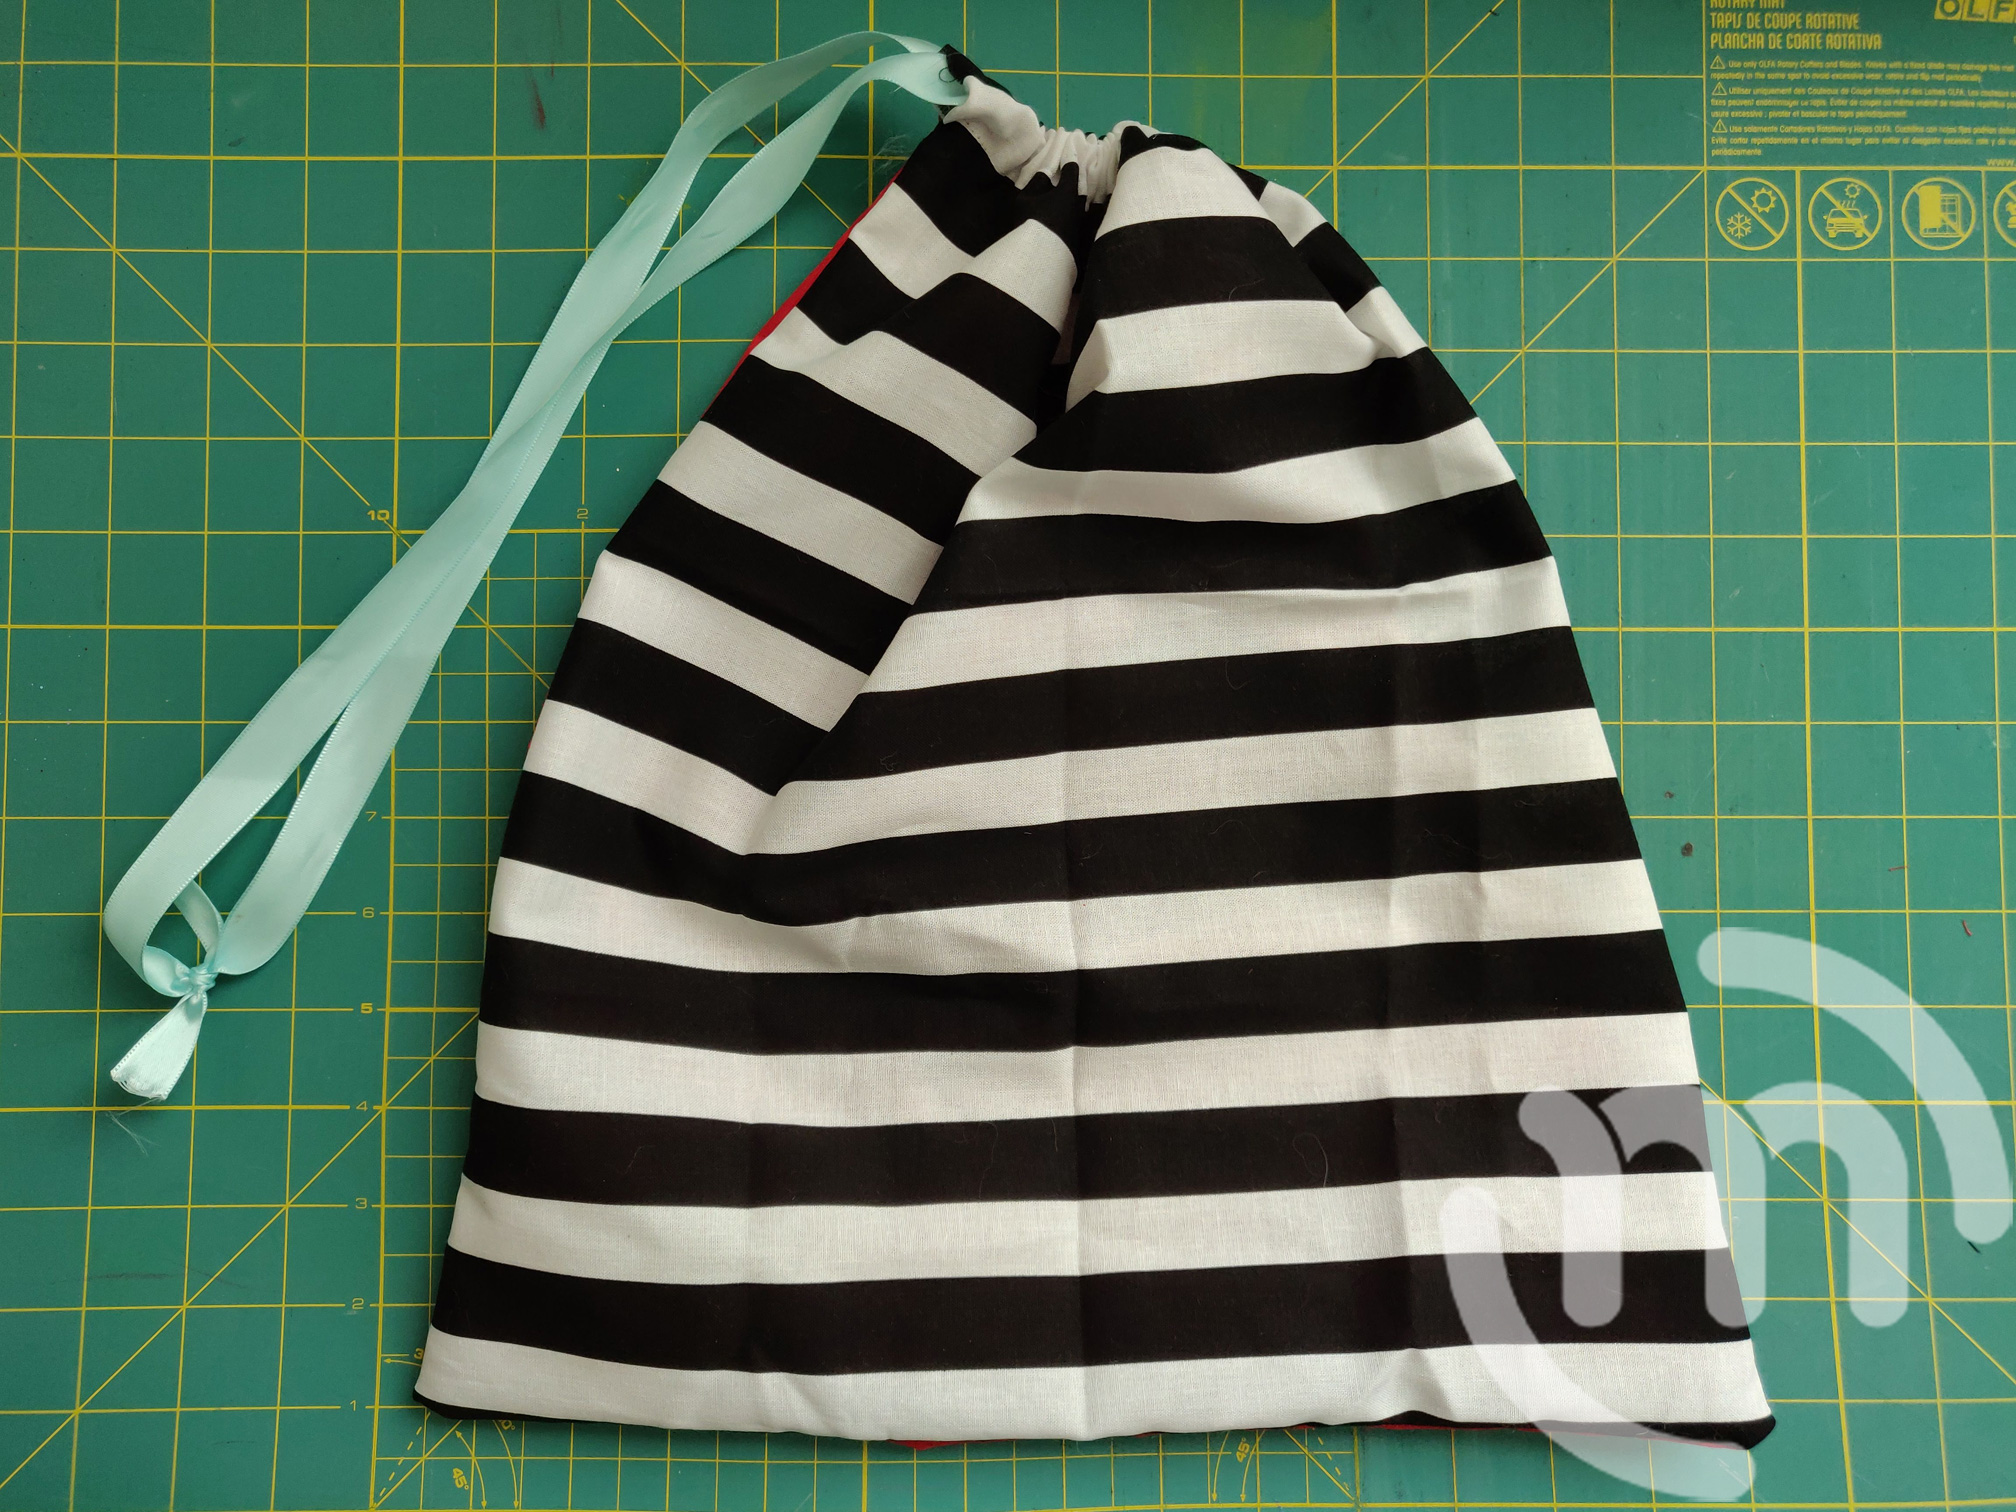
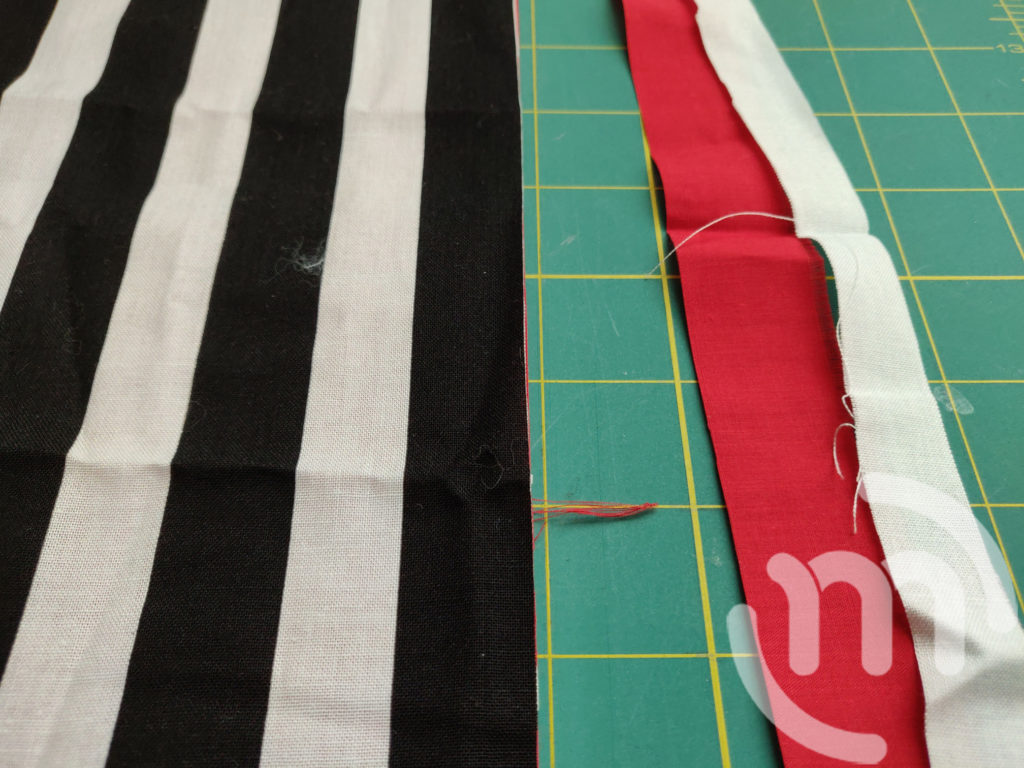
I cut two individual fabric pieces 14 ½” by 15 ½”. I used a black and white stripe fabric and a red fabric. I didn’t have enough of one fabric to make it all one color. If you wanted to do that, just cut it so when it’s folded, it’s the size you’d like your bag.
Step 2:
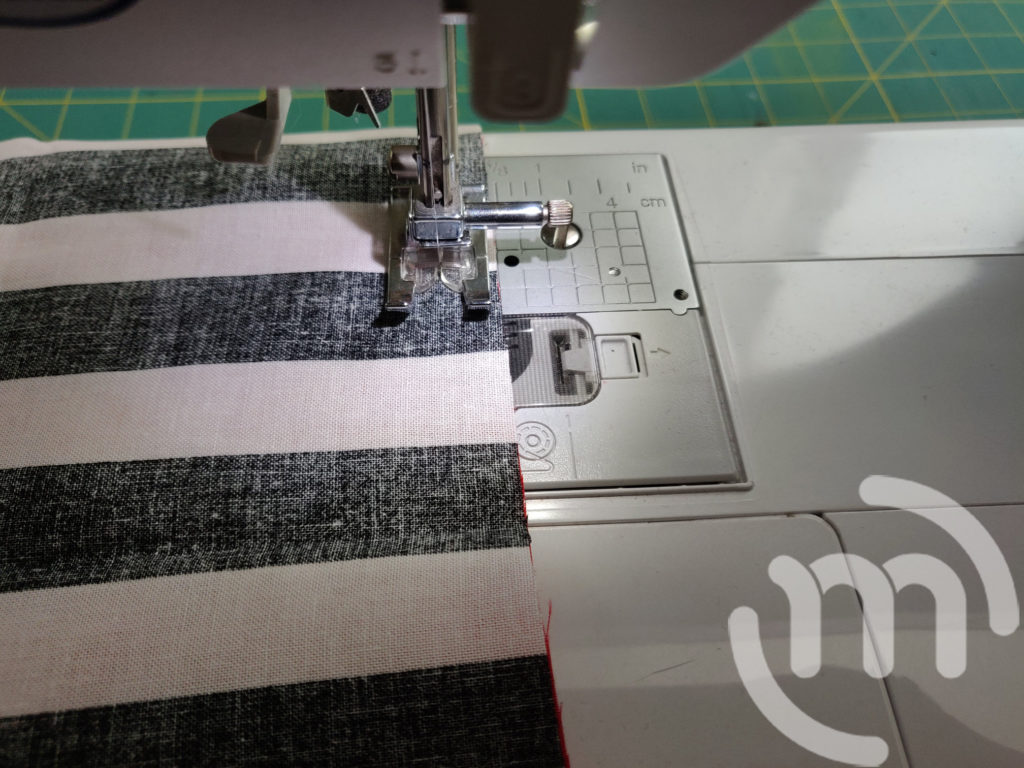
Put the right sides of each fabric piece together. Sew a ⅛” seam all the way around in a U shape leaving the top open. Also, leave about an inch or so at the top. We’ll need this to be open for our ribbon.
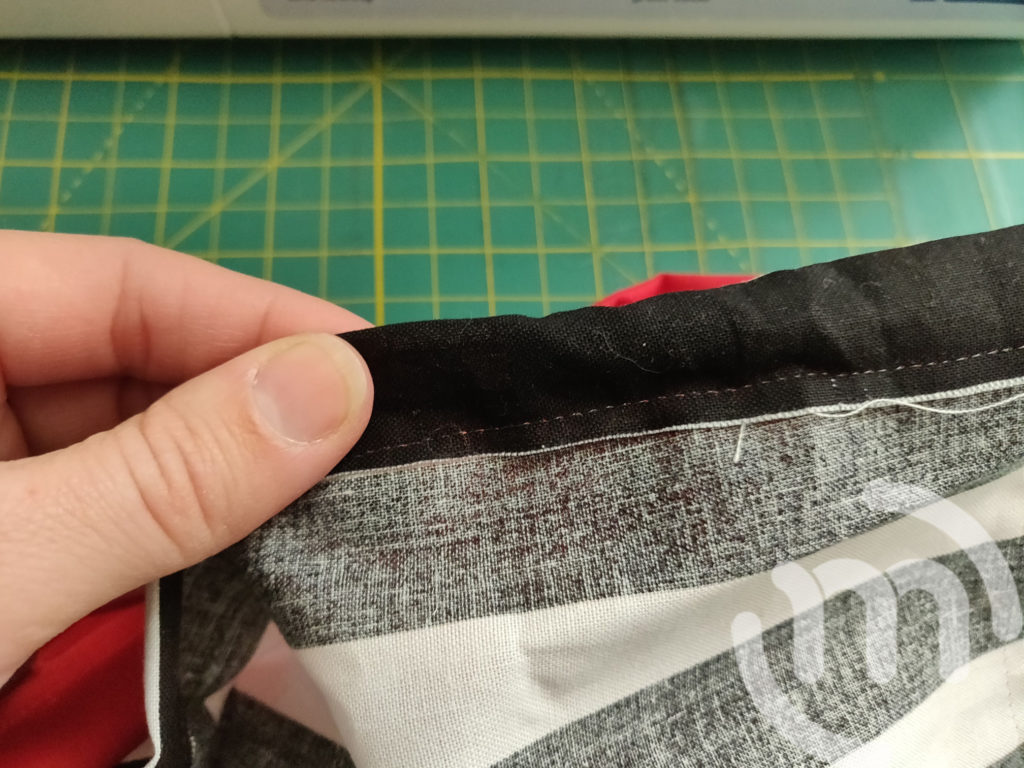
Step 3:
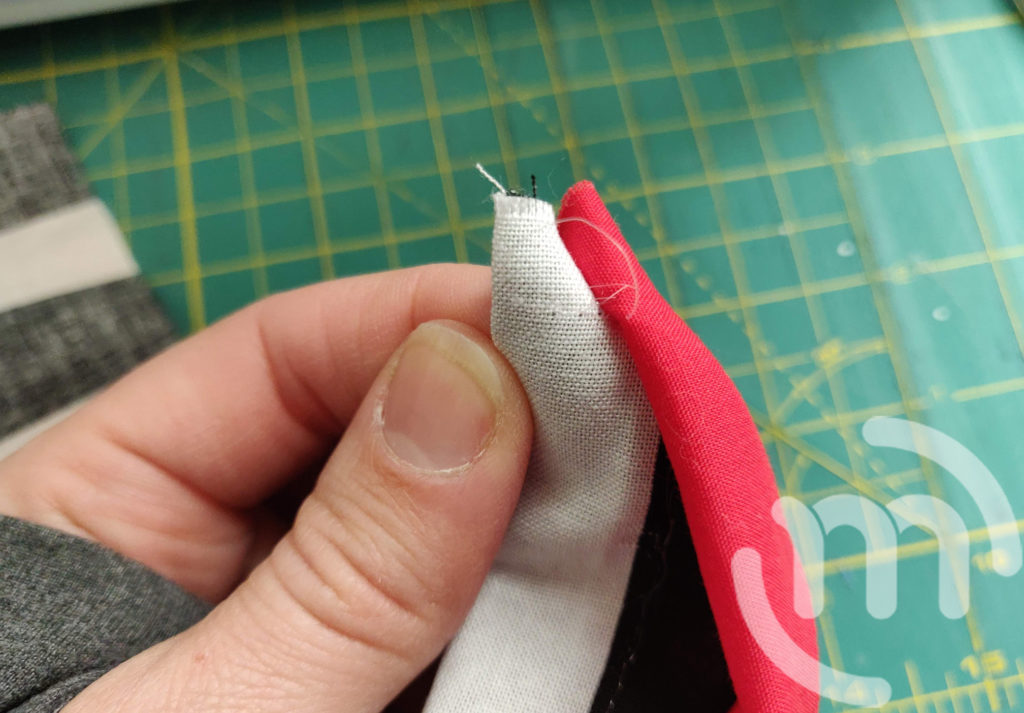
Fold over the edge wide enough to fit your ribbon. Mine was about 1” down.
Sew along the bottom of the fold, being careful not to sew through to the other side.
Flip it and repeat it on the other side.


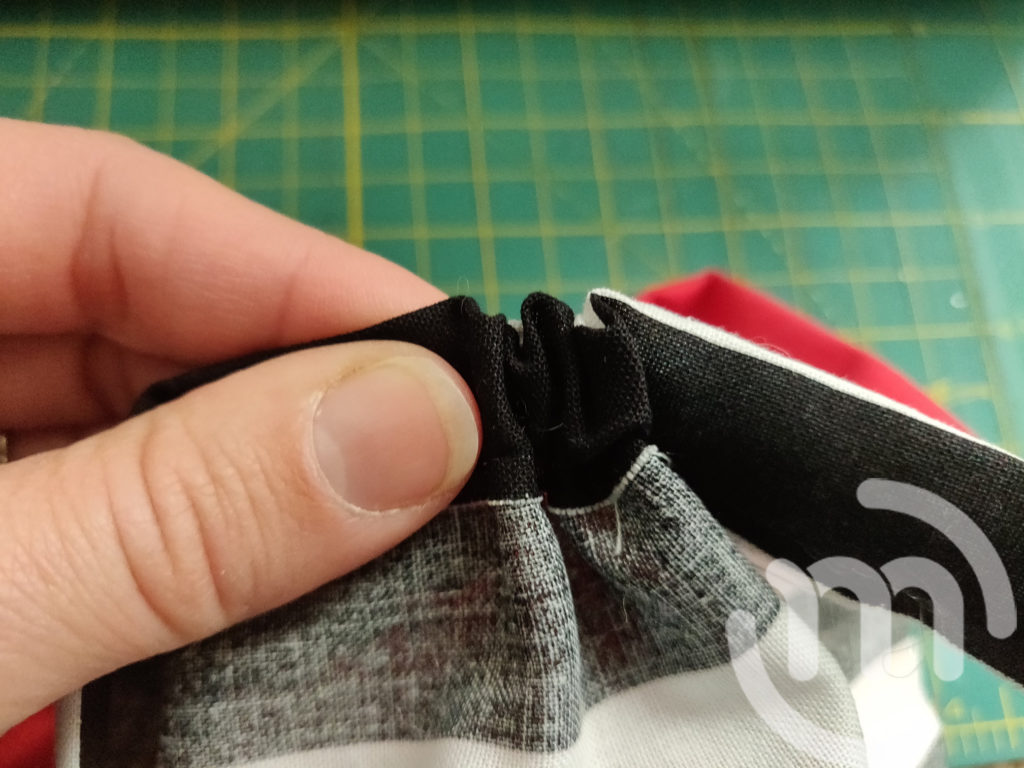
Step 4:
If you have any sewn edges popping up into your way where your ribbon will go, use your scissors to just snipe down the sewing a little bit until it’s clear.
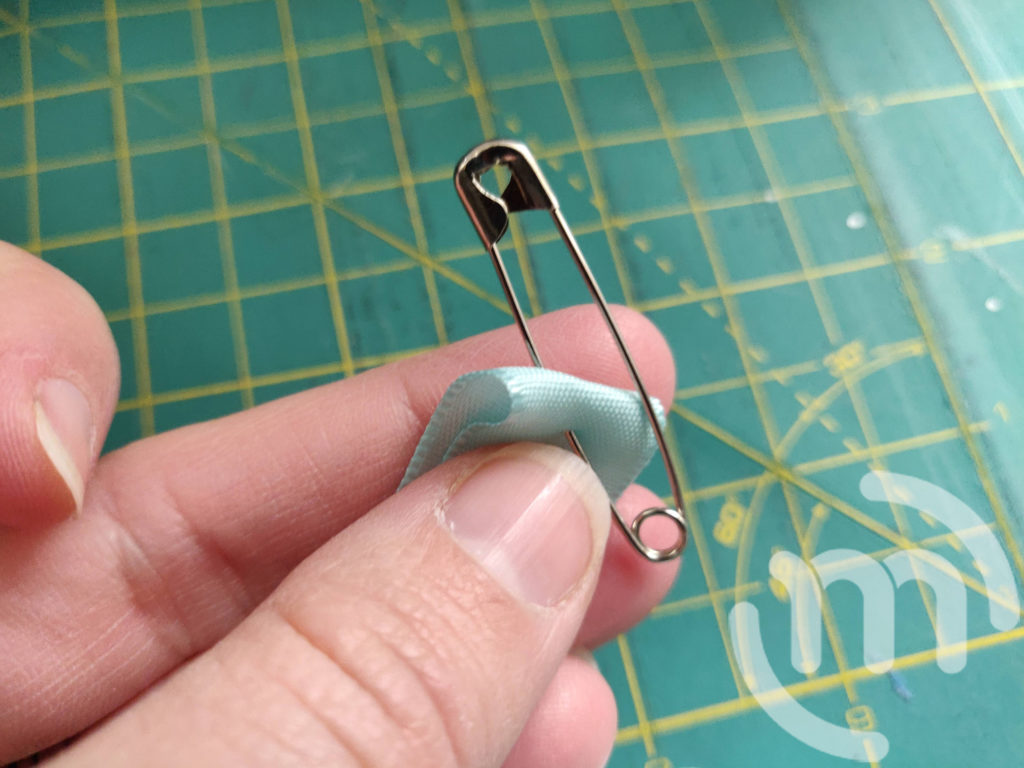
Step 5:
Attach your safety pin to the edge of your ribbon. Slowly feed the ribbon through your little pocket that you just sewed.
Push the safety pin through the fabric. The fabric will bunch up, then pull the end to move it along and straighten it out.
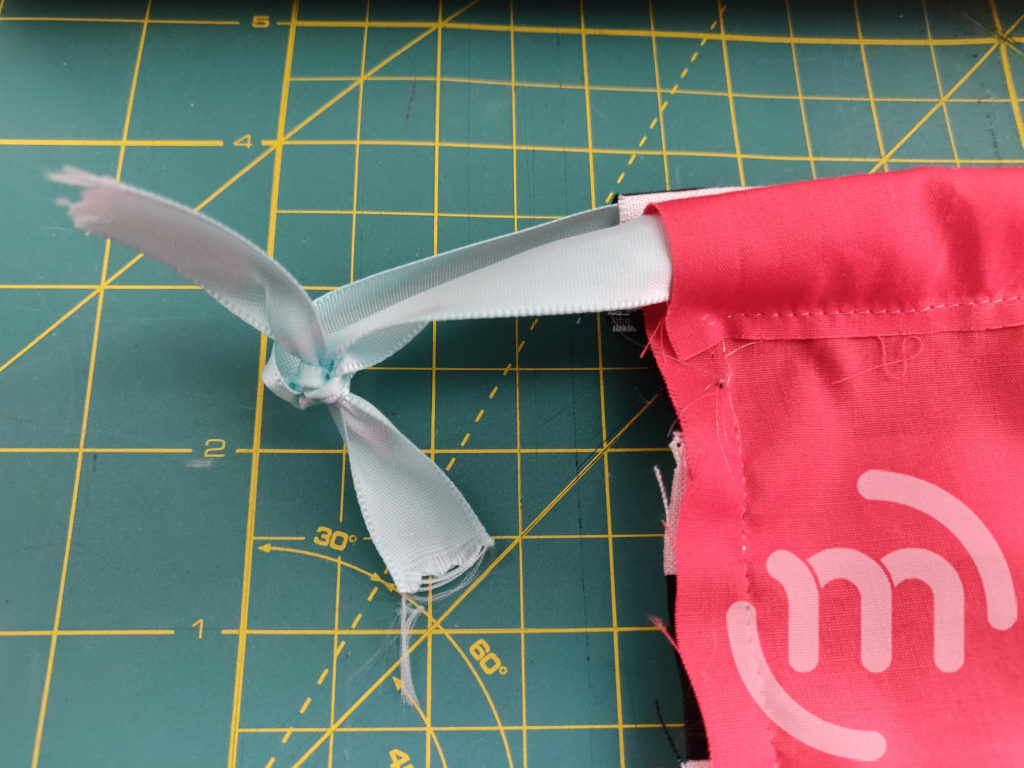
Step 6:
Once you get your ribbon all the way around the bag, tie a knot together at the end of the ribbon to secure it from coming out.
Step 7:
Turn your project bag inside out so the right sides are facing out and add your project items!