The theme this week is all about recycling and reusing products from places you may not expect to make something amazing and brand new!
*This post may contain affiliated links. For more information on this, please see my Disclosure page!*
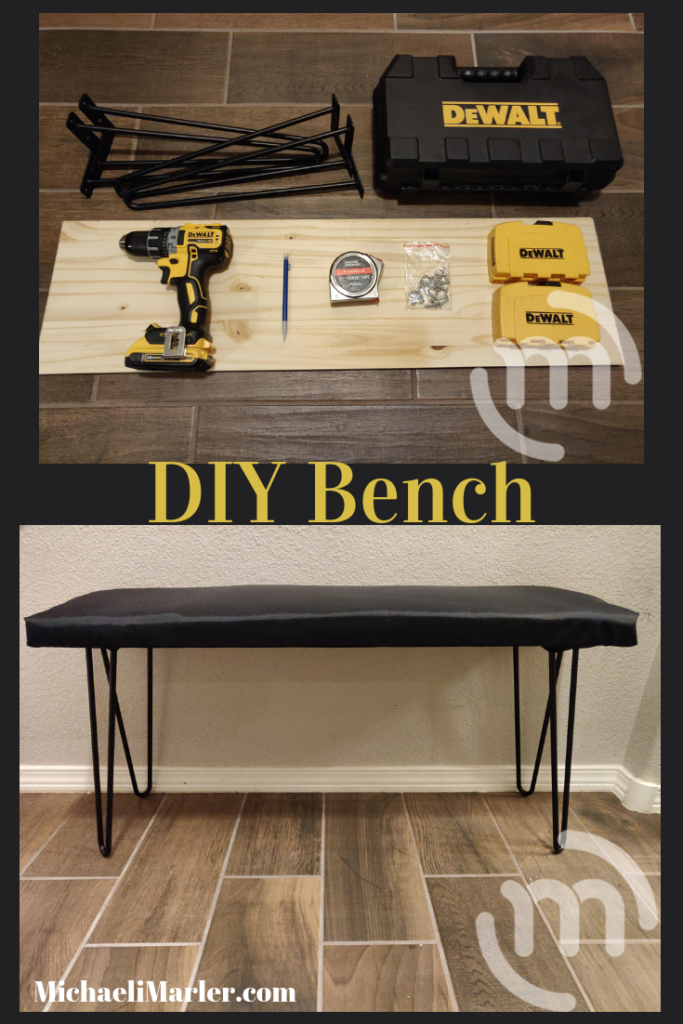
Materials:
- Piece of wood
- 16″ Metal Hairpin Legs
- Recycled insulation from Home Chef packaging
- Fabric
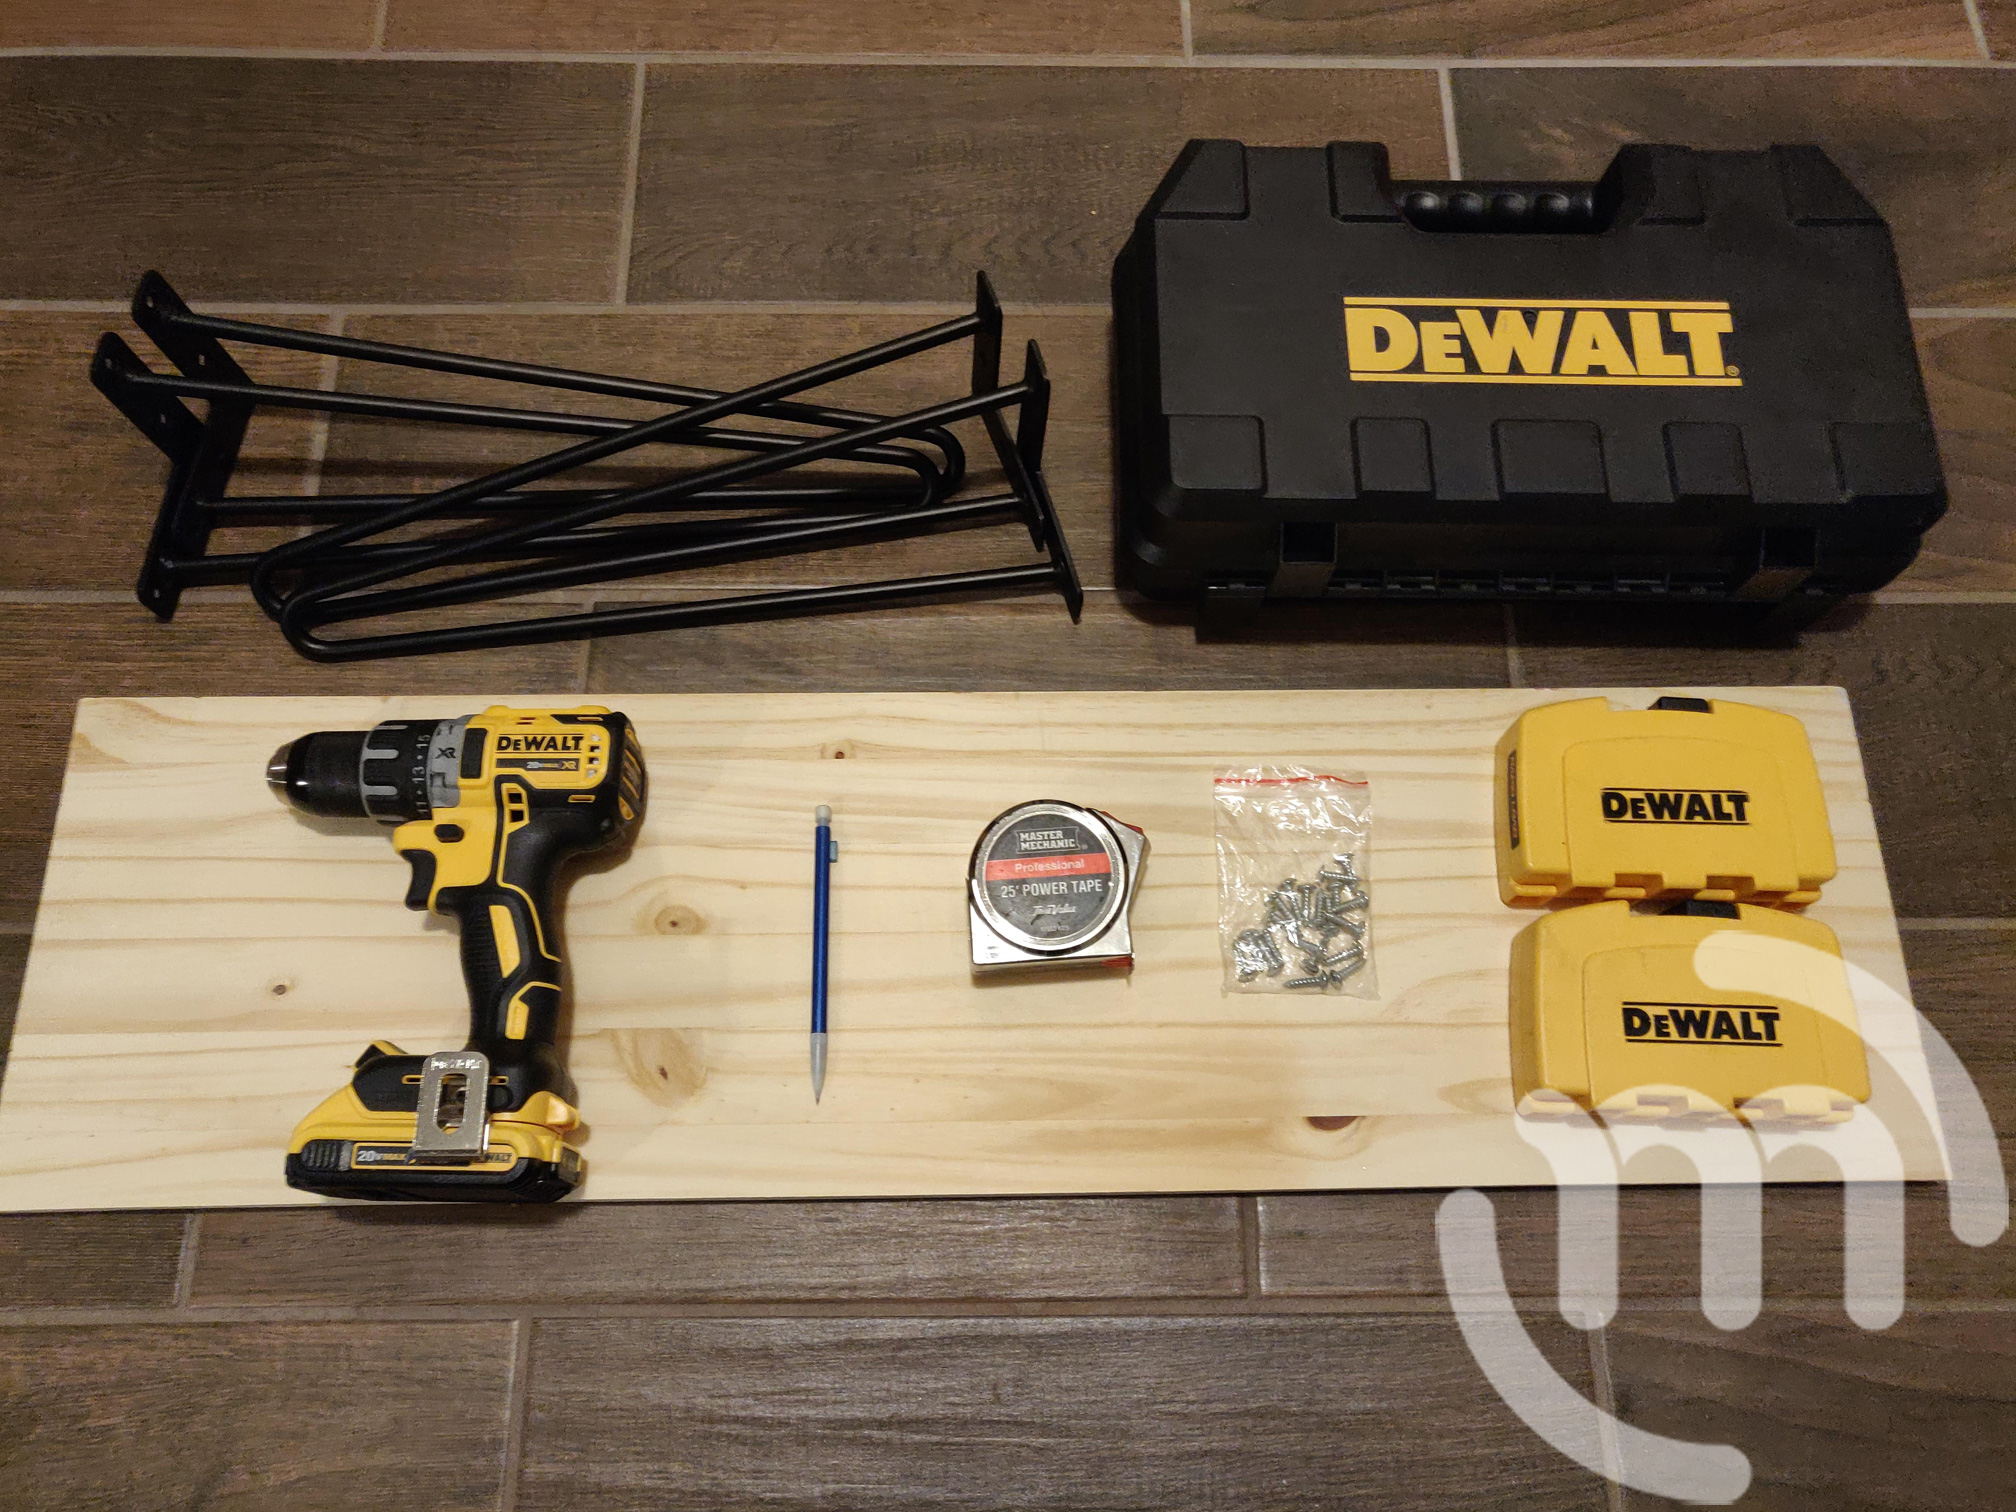
- Drill
- Small drill bit
- Screwdriver drill bit
- Measuring Tape
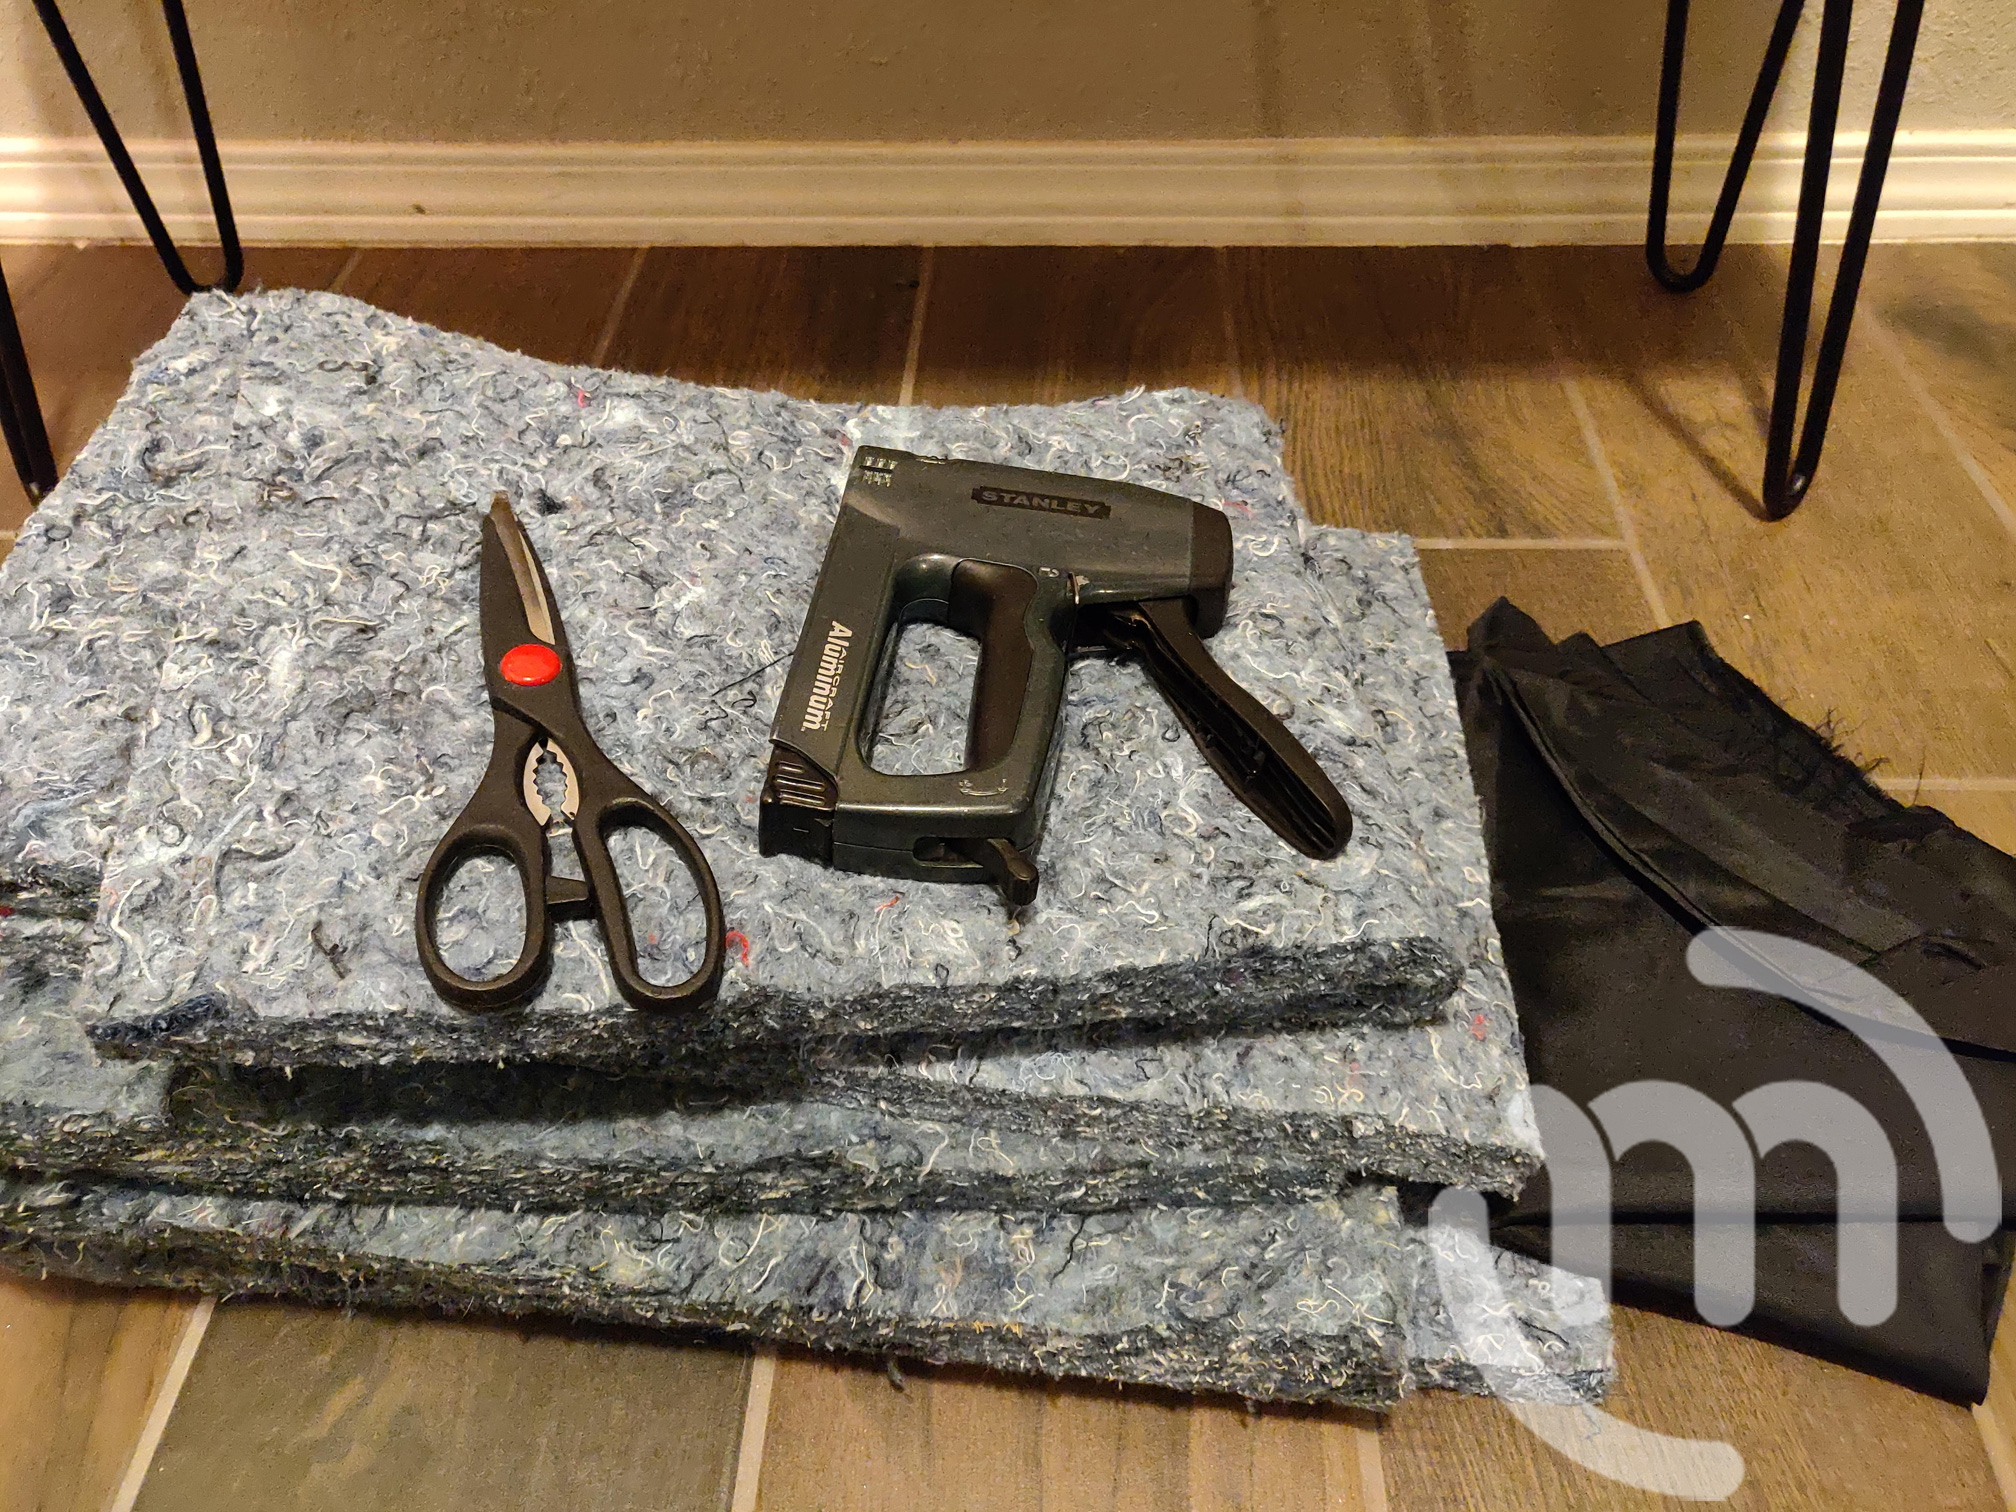
- Staple Gun
- Scissors
- Pencil or Pen
Step 1:
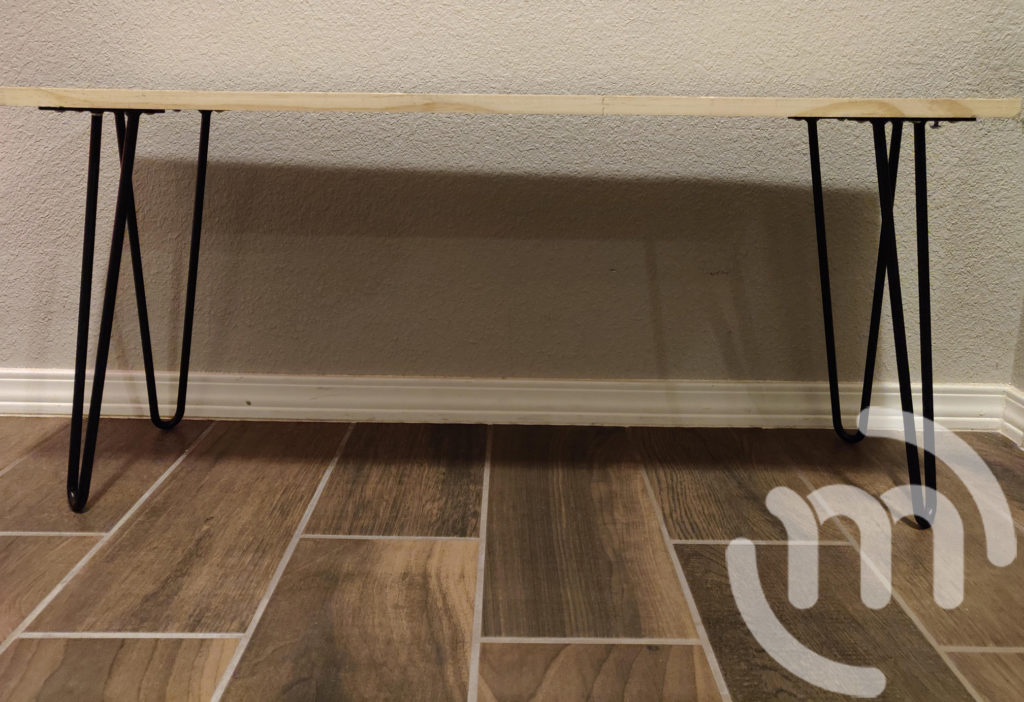
Cut your wood to the dimensions of 36” length by 10” wide. If you don’t have a saw, you can kindly ask your local hardware store if they would be able to make the cuts for you. If you buy the wood from them, it probably wouldn’t be an issue. I recycled wood I purchased for this cabinet I built several years ago, but my local Home Depot still cut it for me for free. 🙂

Step 2:
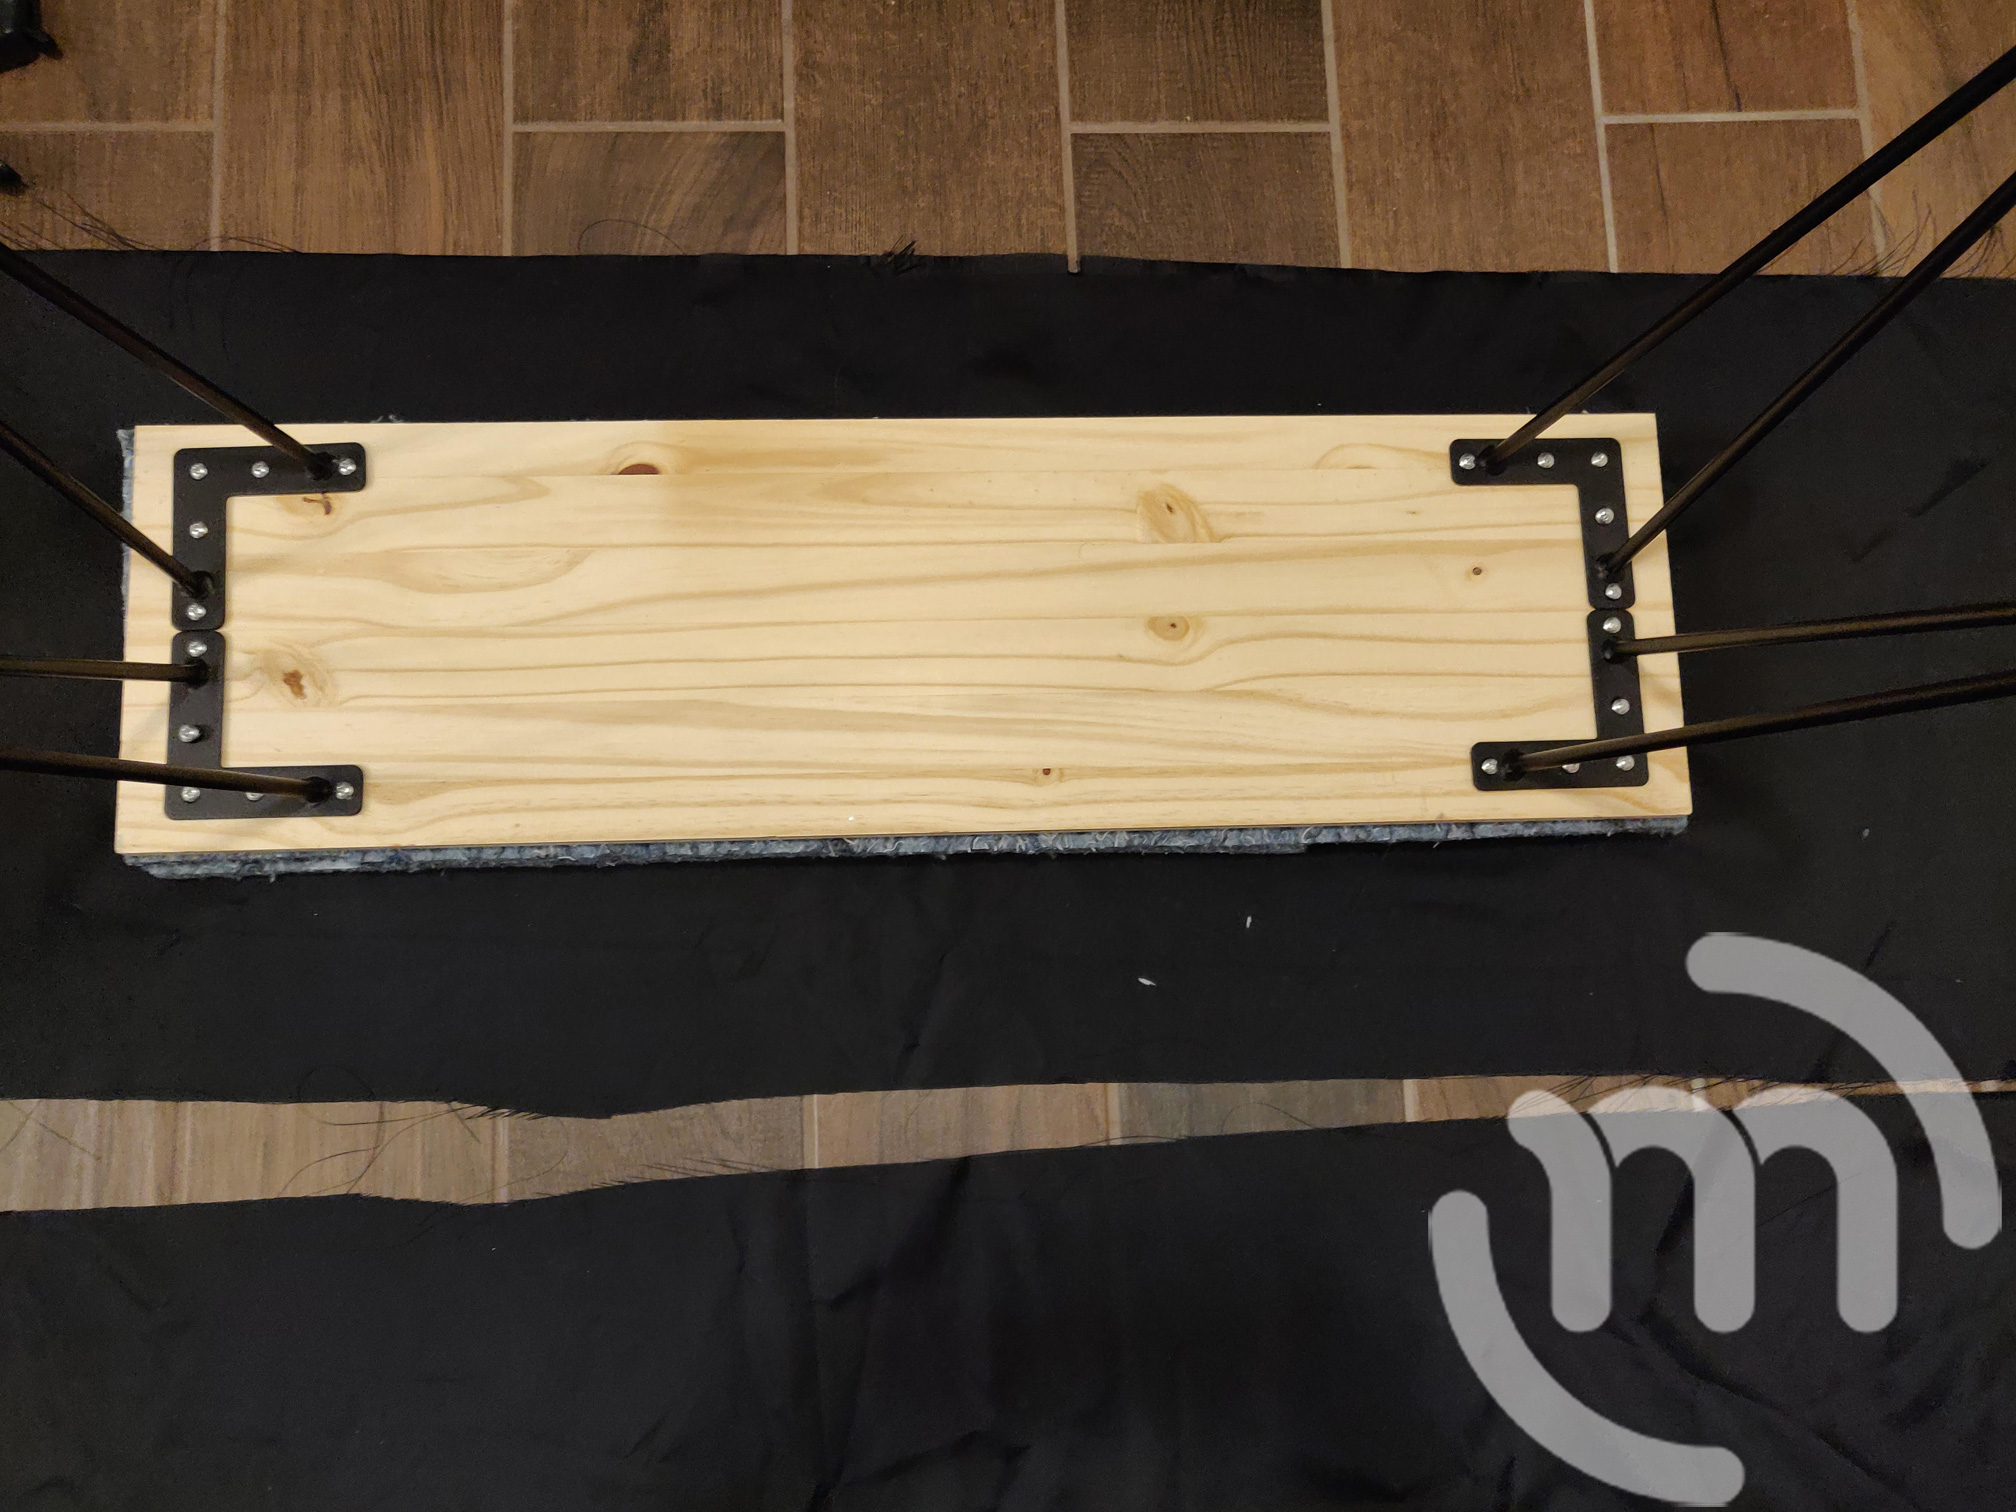
Place two of your hairpin legs at one end of the wood. Line them up where you want them. I did mine about 1” from the end of the side.
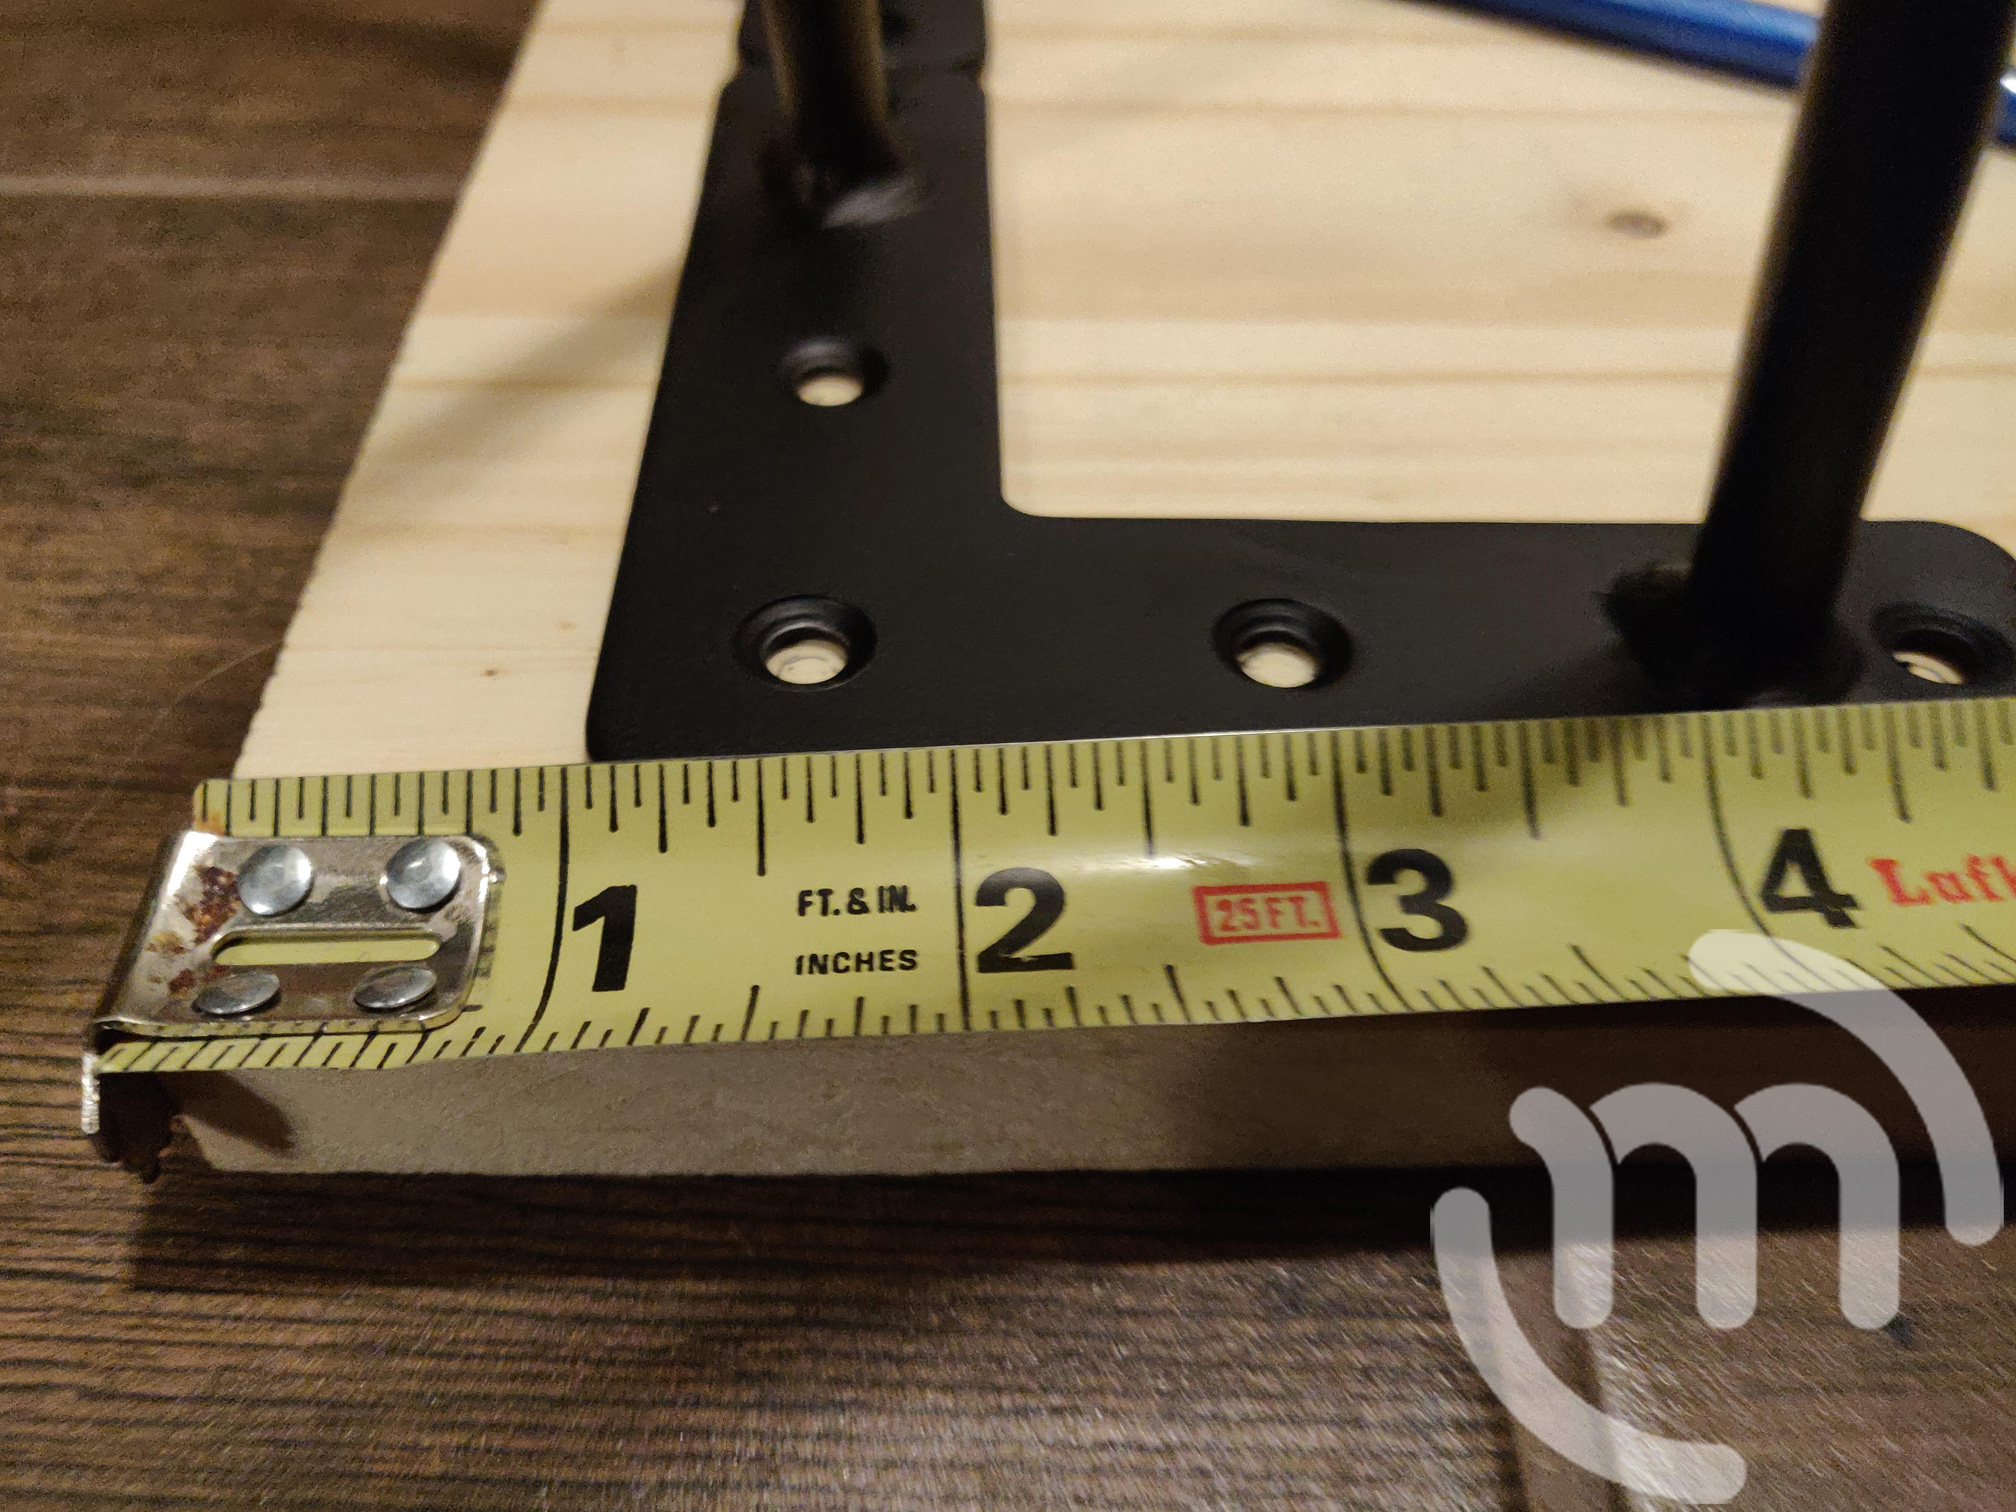
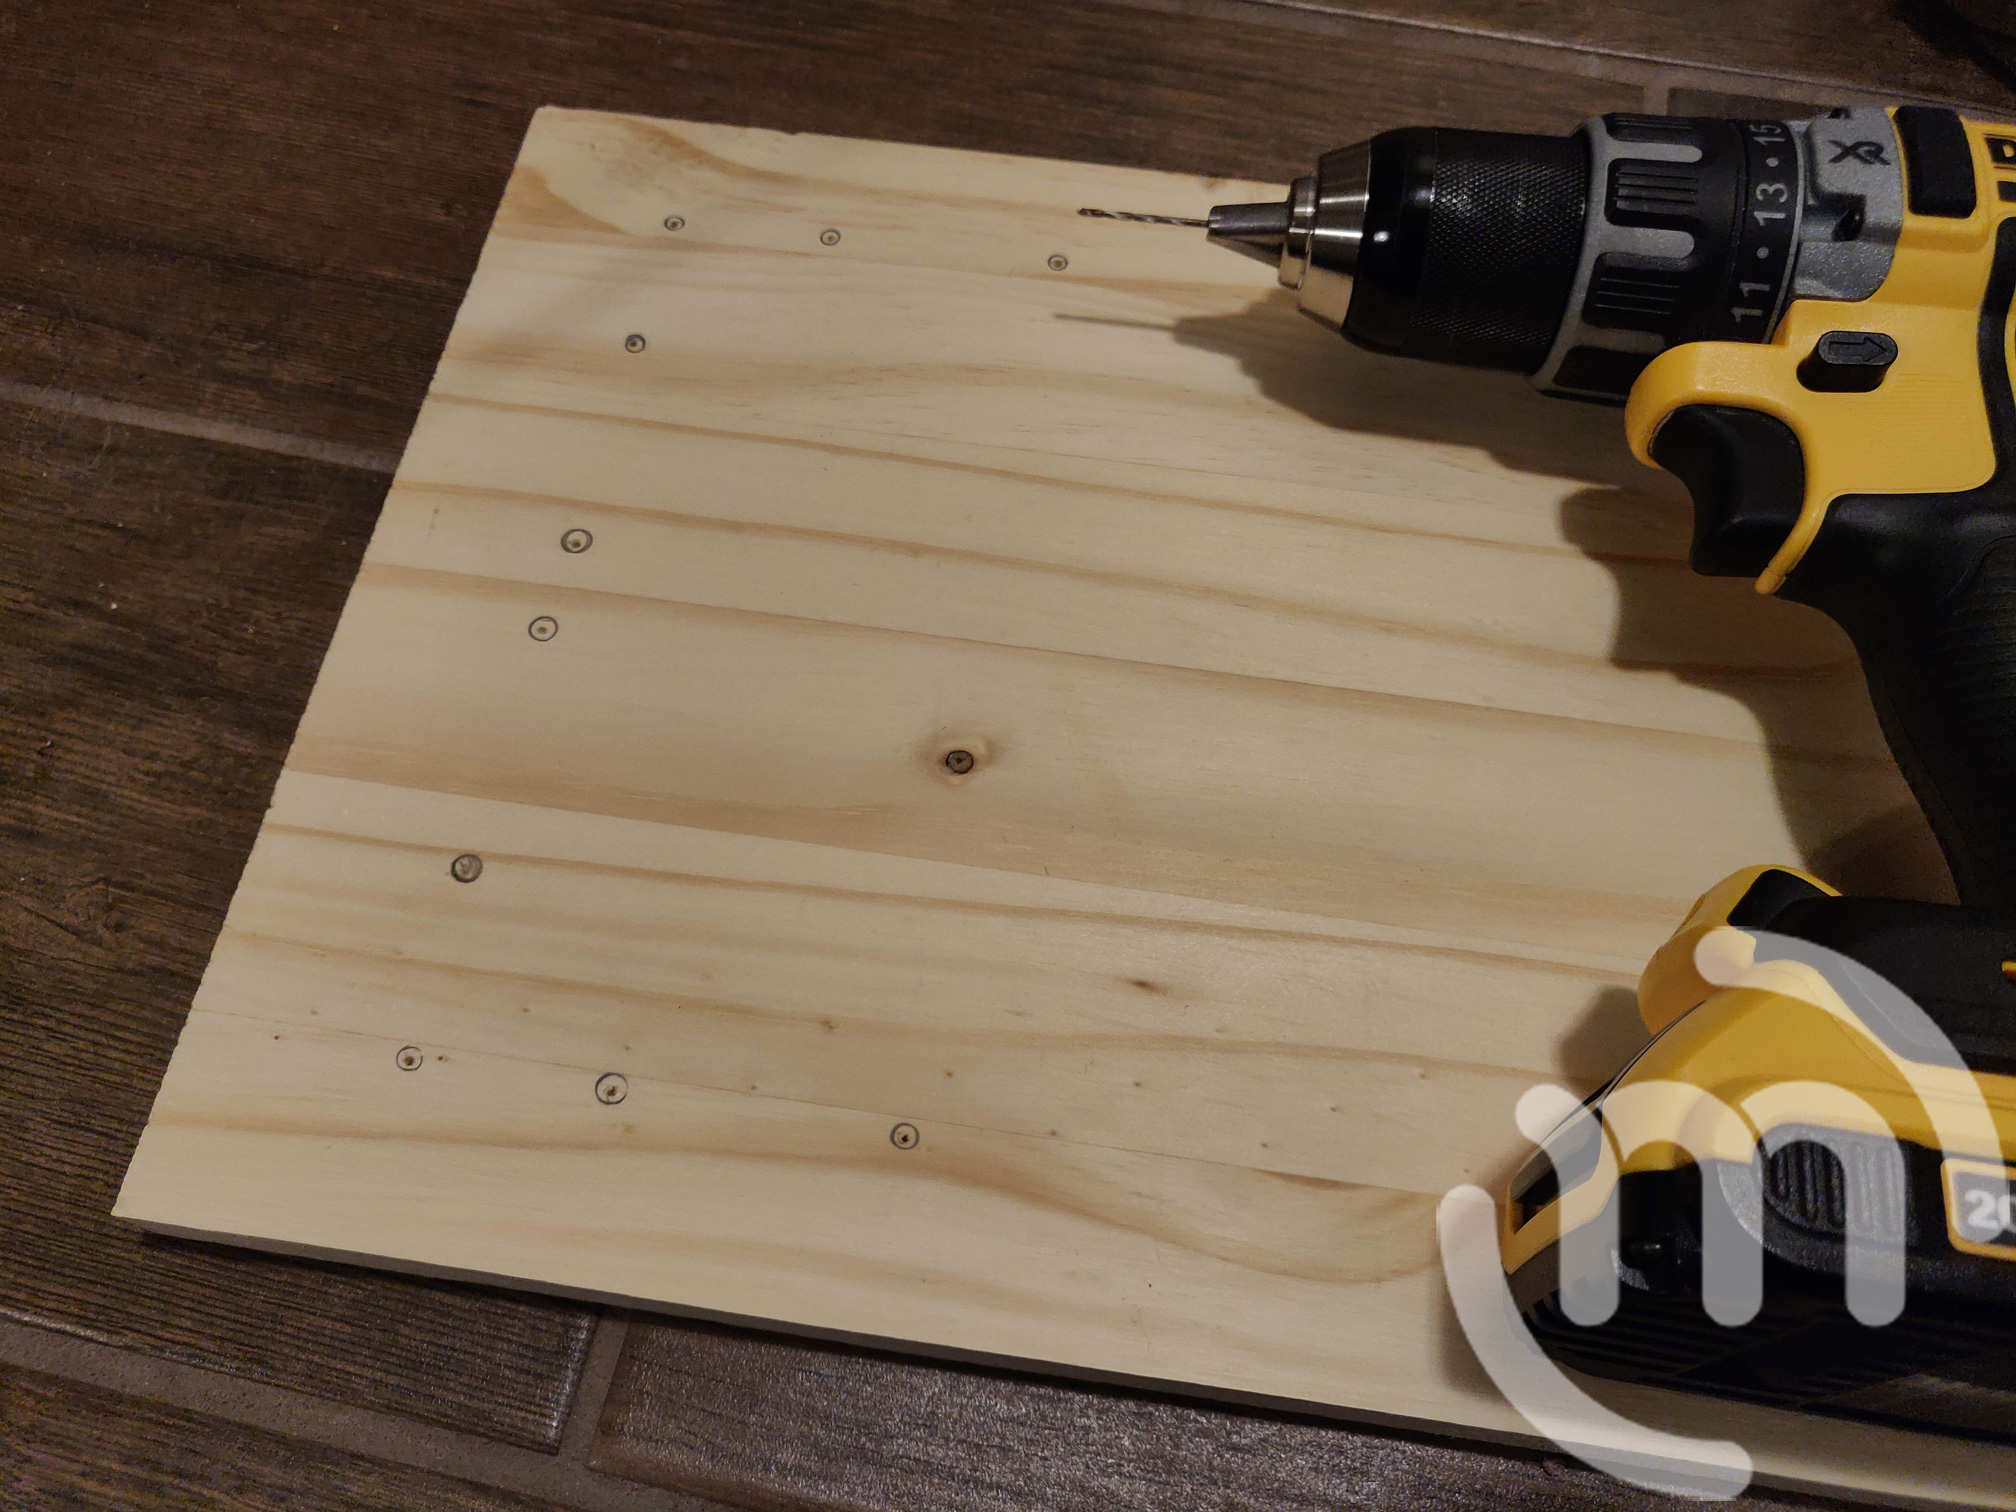
Mark all of the holes with your legs in place with your pencil or pen so you know where to drill.
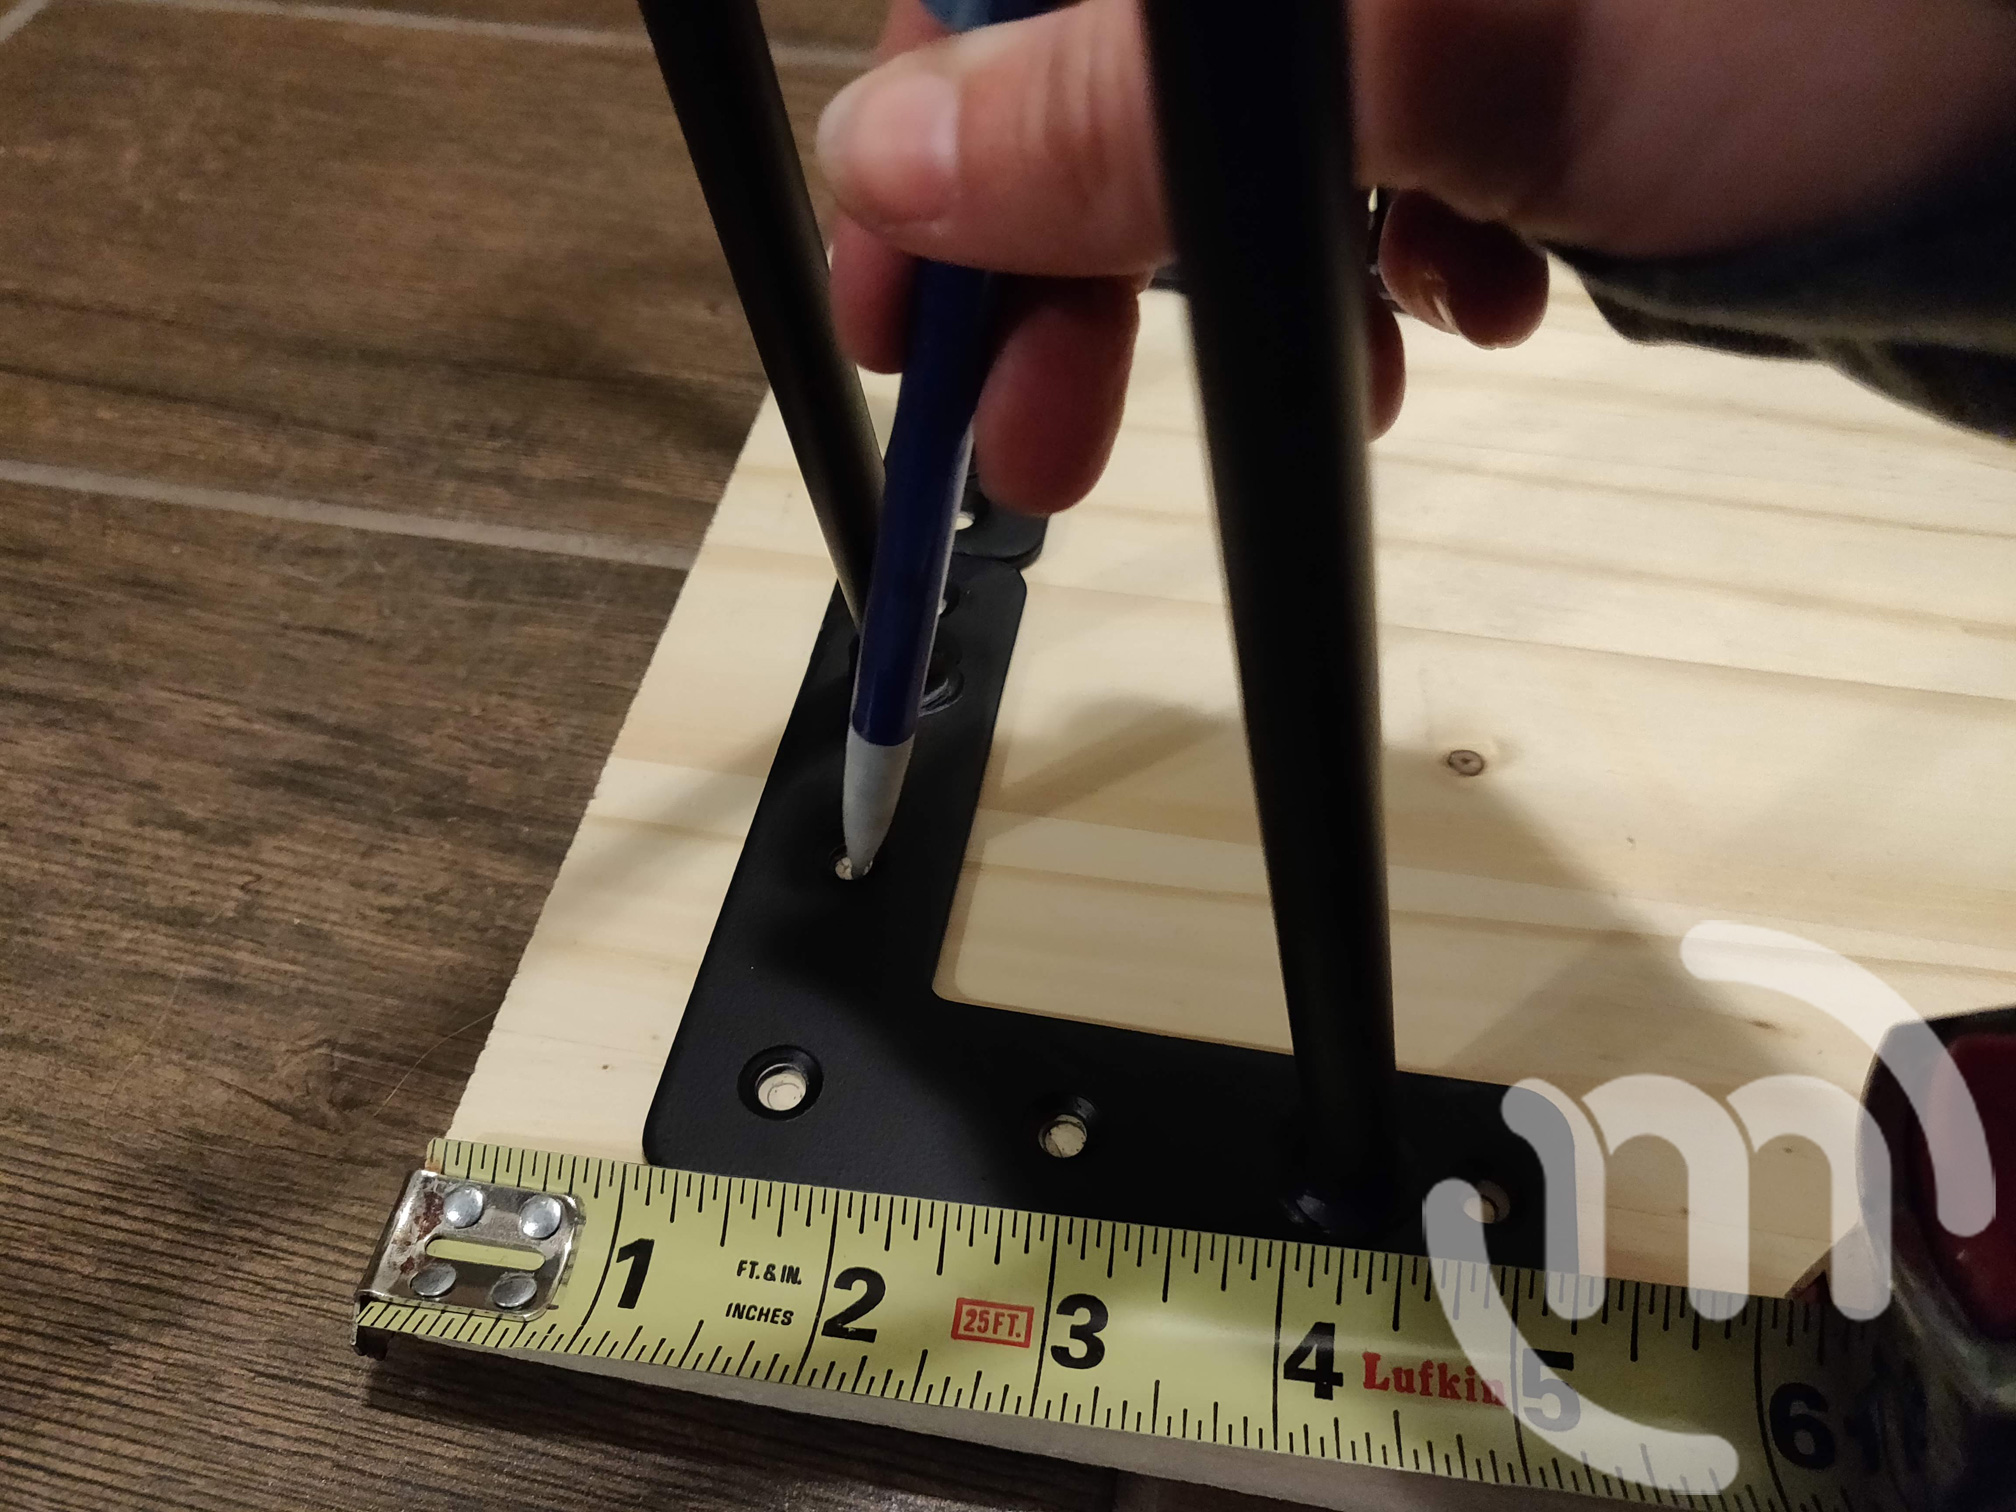
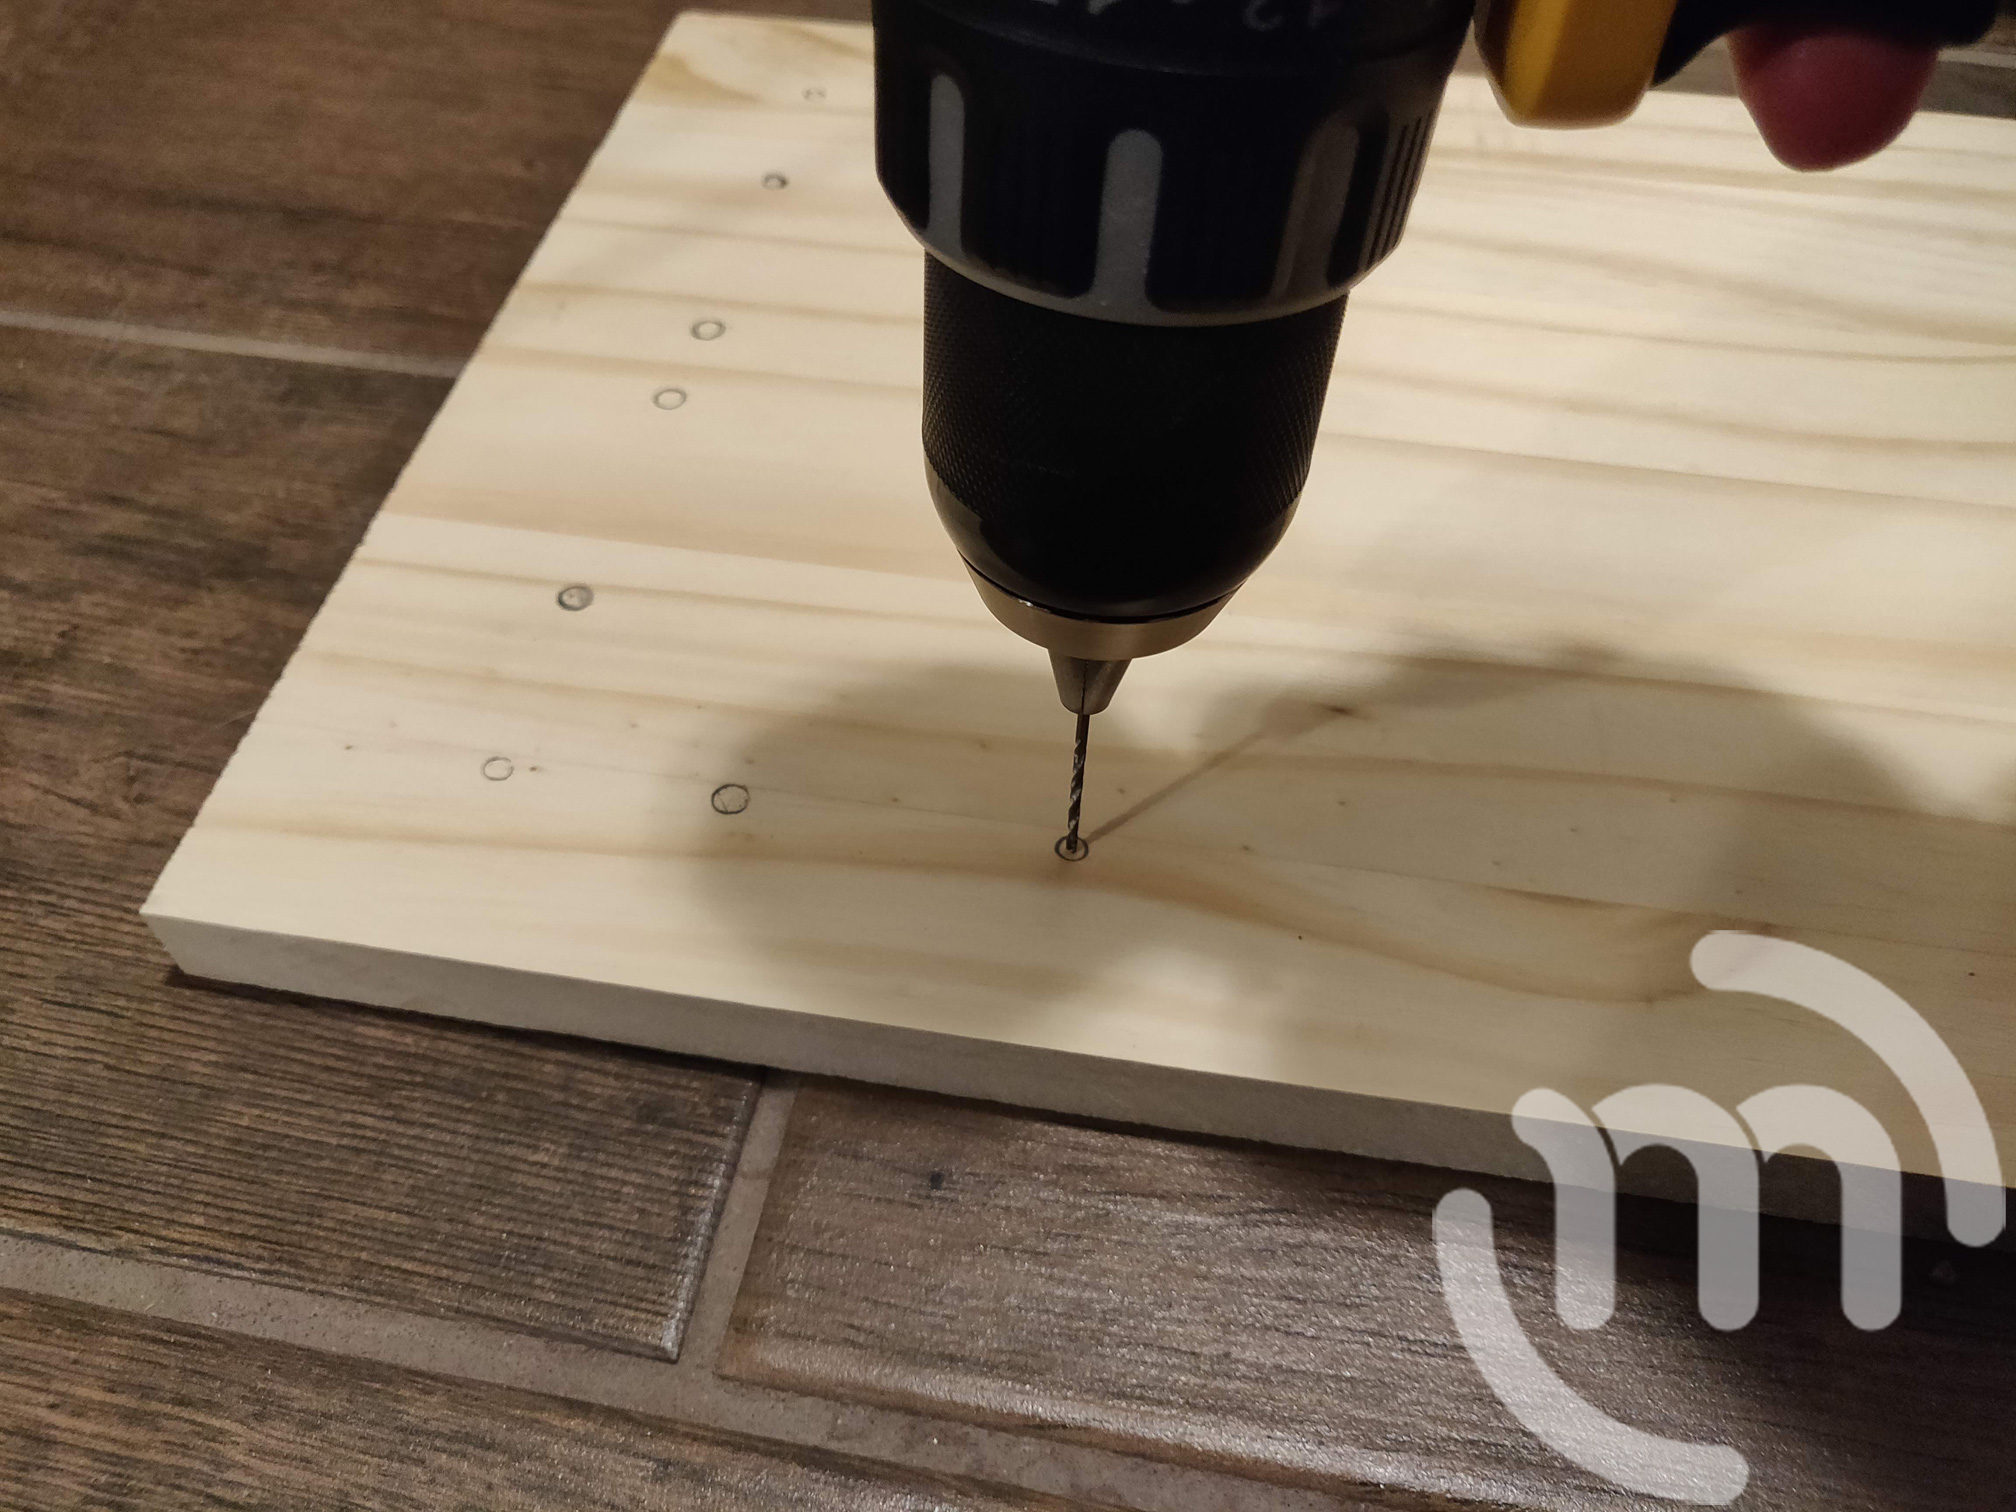
Step 3:
Once all of your holes are marked, use a really tiny drill bit with your drill to drill small pilot holes right in the middle of your marks. This will help the screws to go into the wood easier and a little straighter.
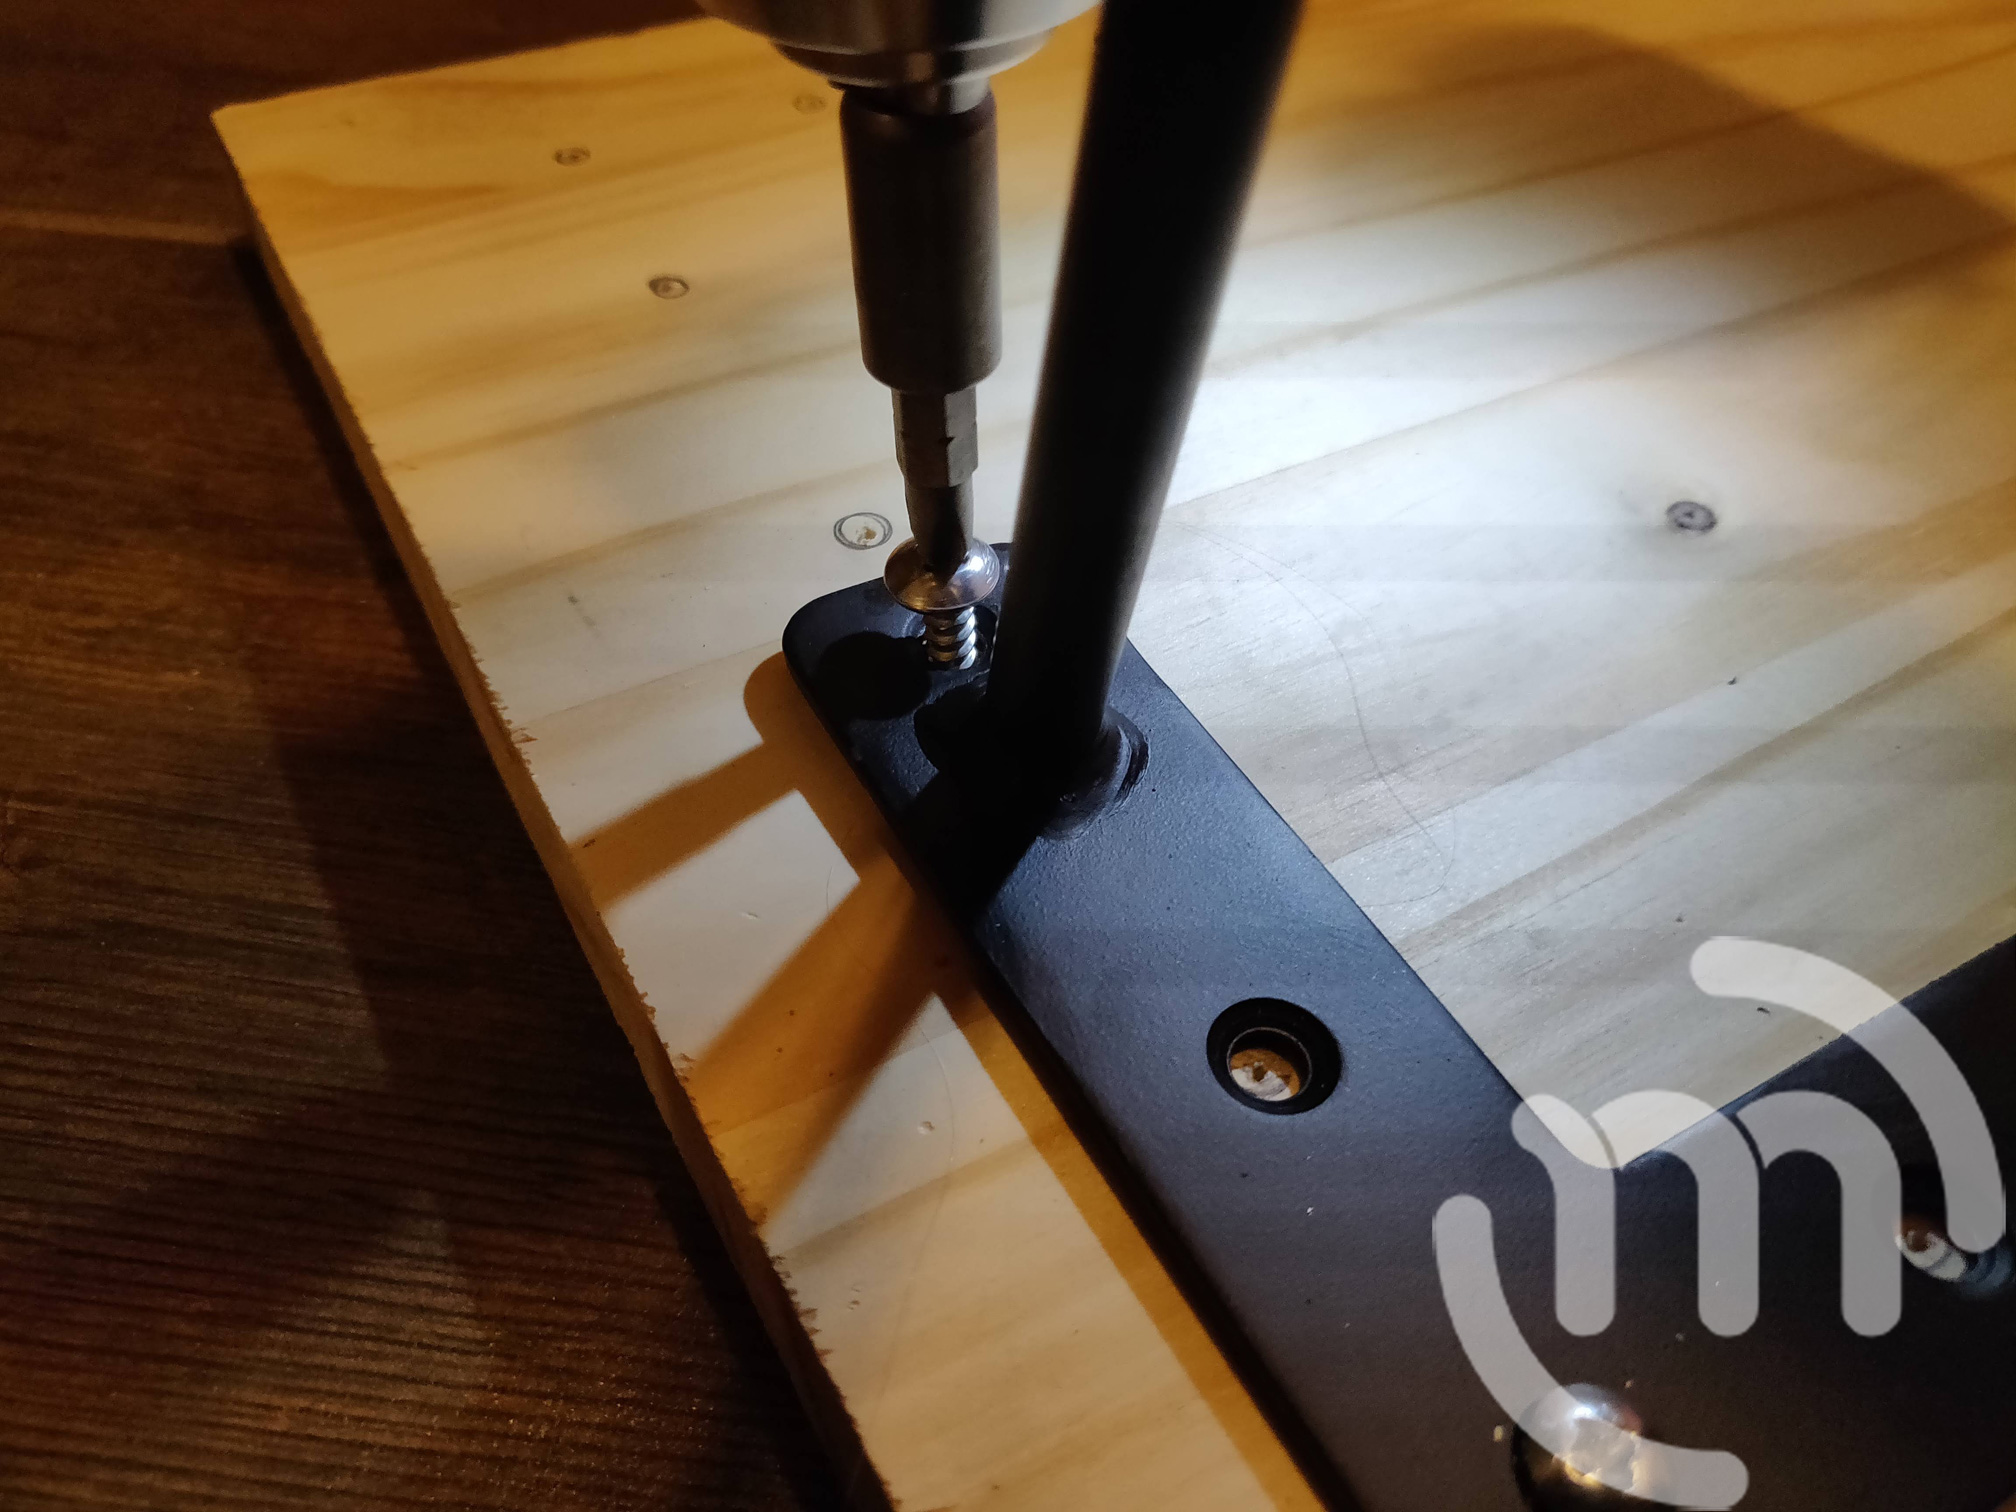
Step 4:
Screw in your hairpin legs with the screws that came with the kit. I started with the middle screw hole, then the two sides, then the two middle ones. Repeat on the other side.
Step 5:
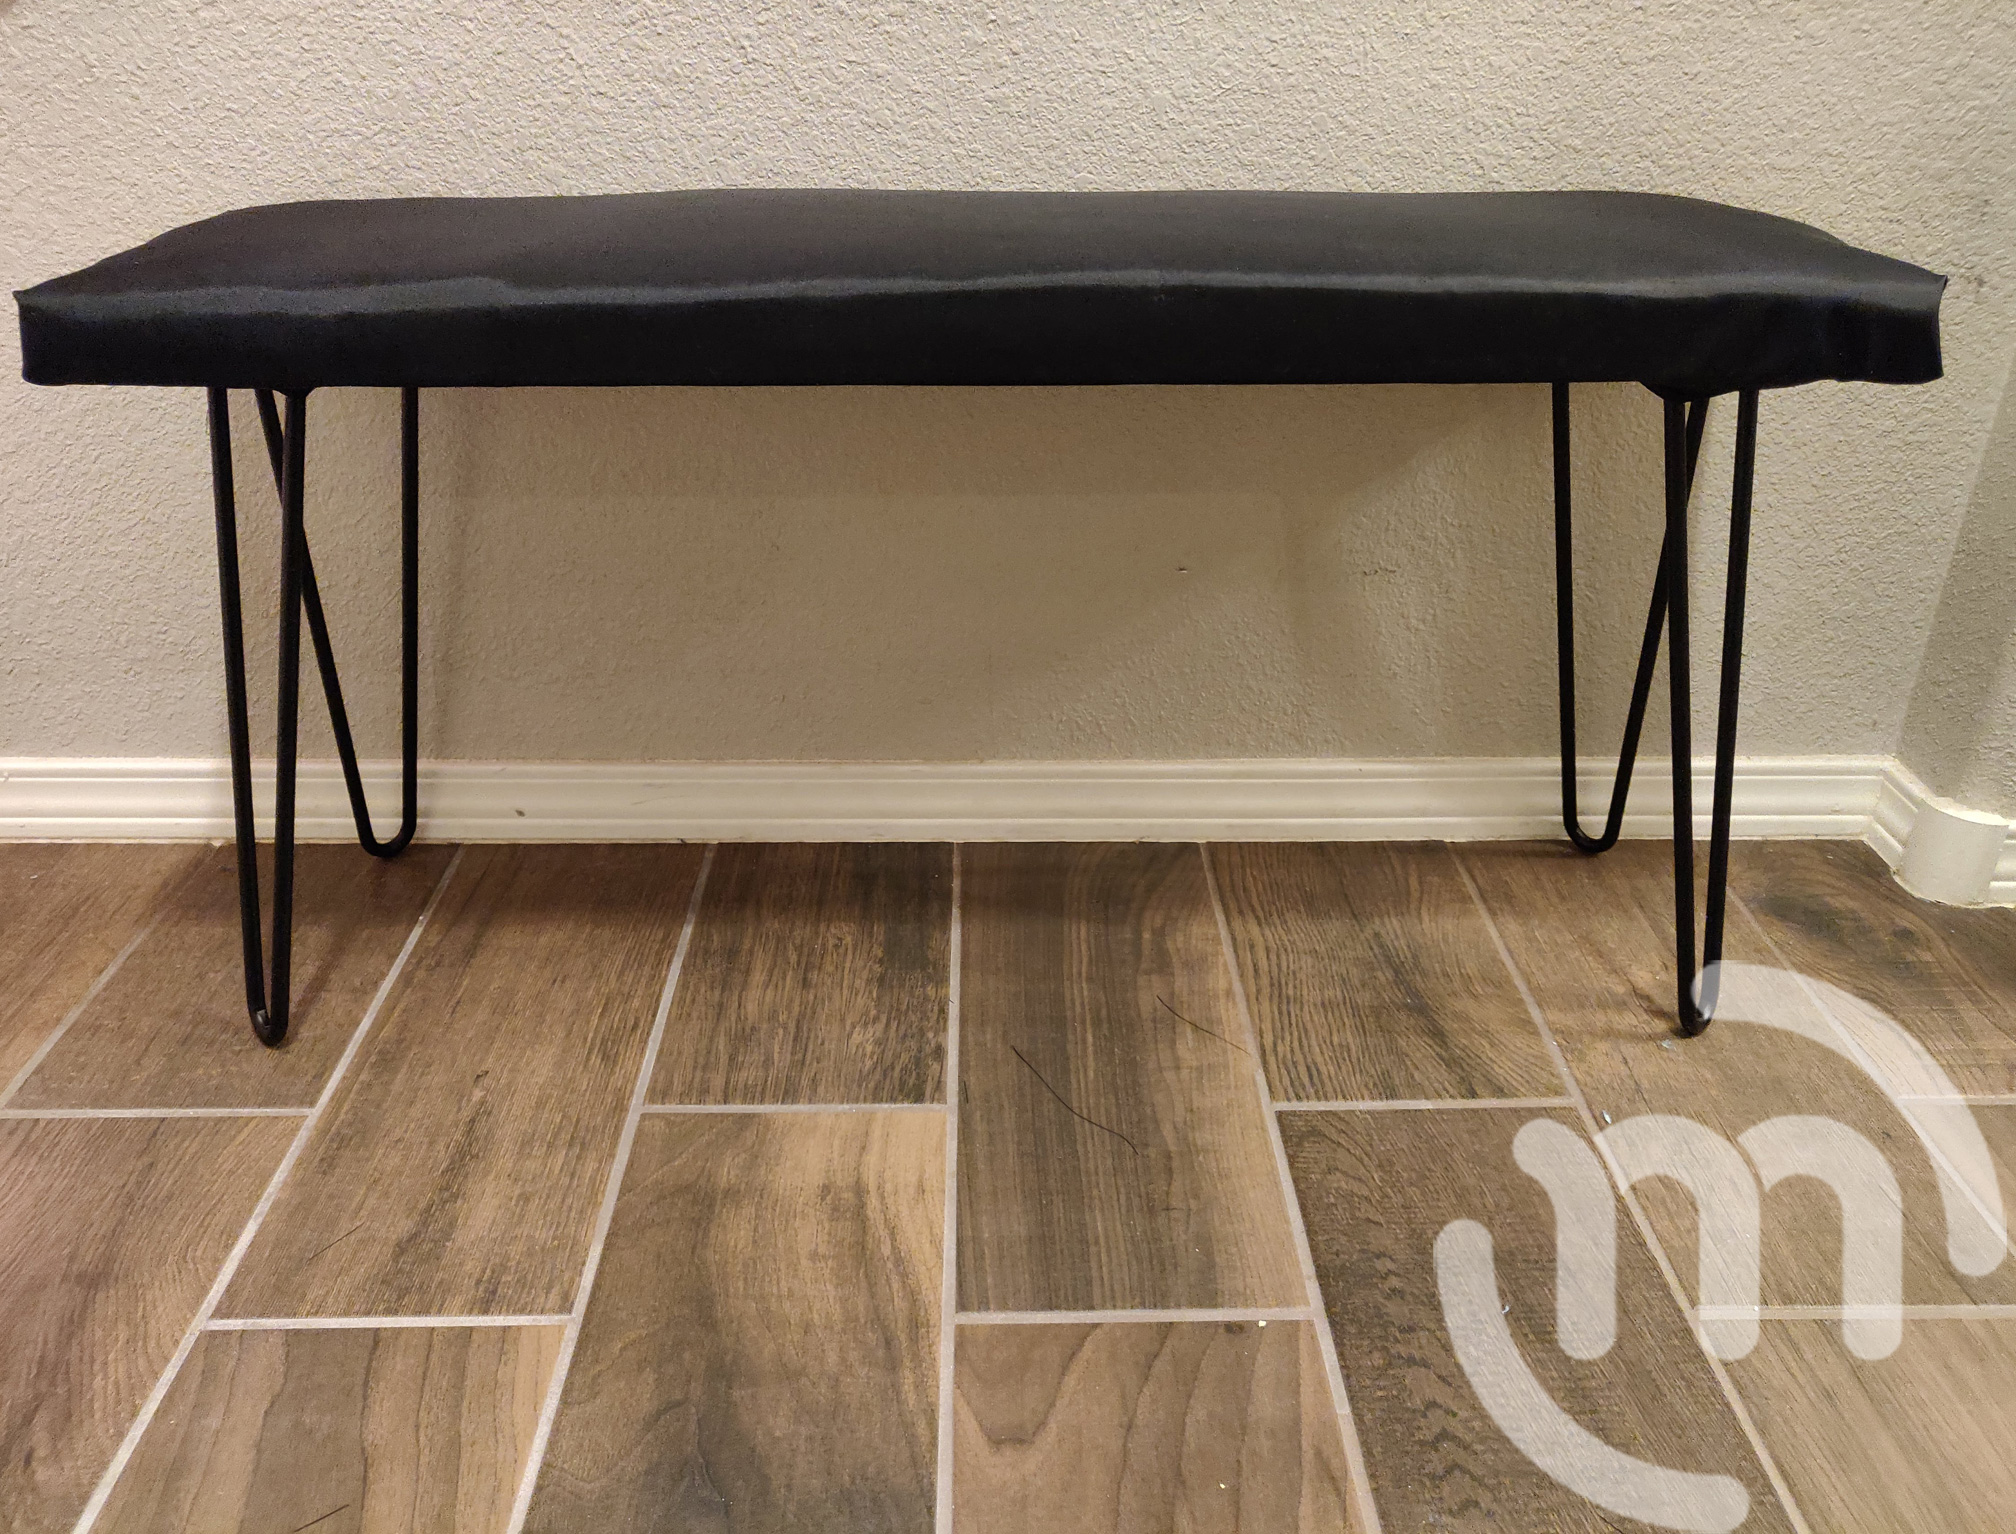
If you decided you didn’t want to cover your wood bench, you could just stain or paint your wood and be done! However, if you wanted to make it a little bit more comfortable for sitting, you can add some upholstery to it.
I wanted to reuse some of the material that comes packed inside my Home Chef Meals box because I hated just to throw it away.
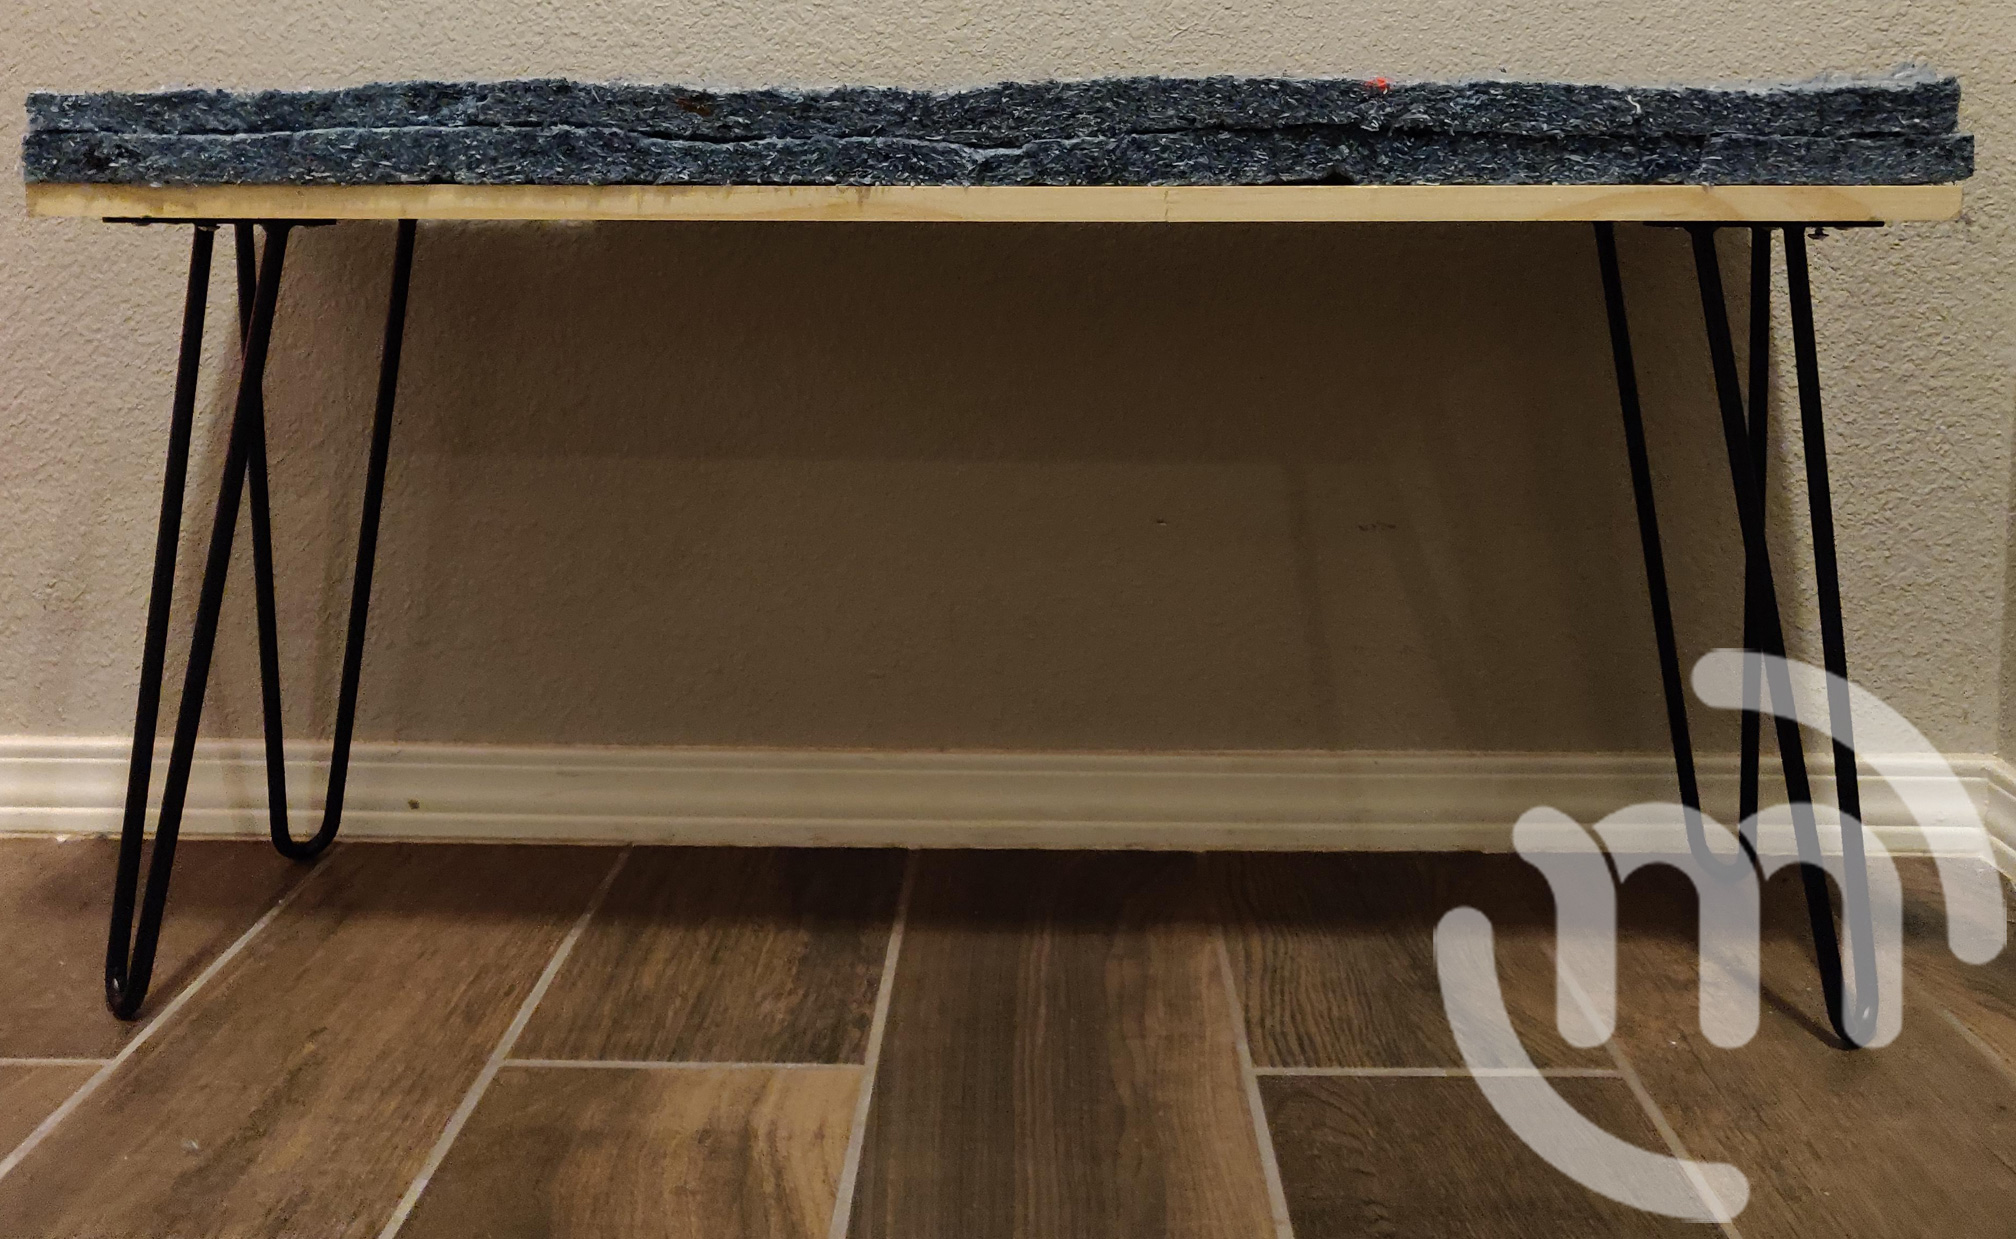
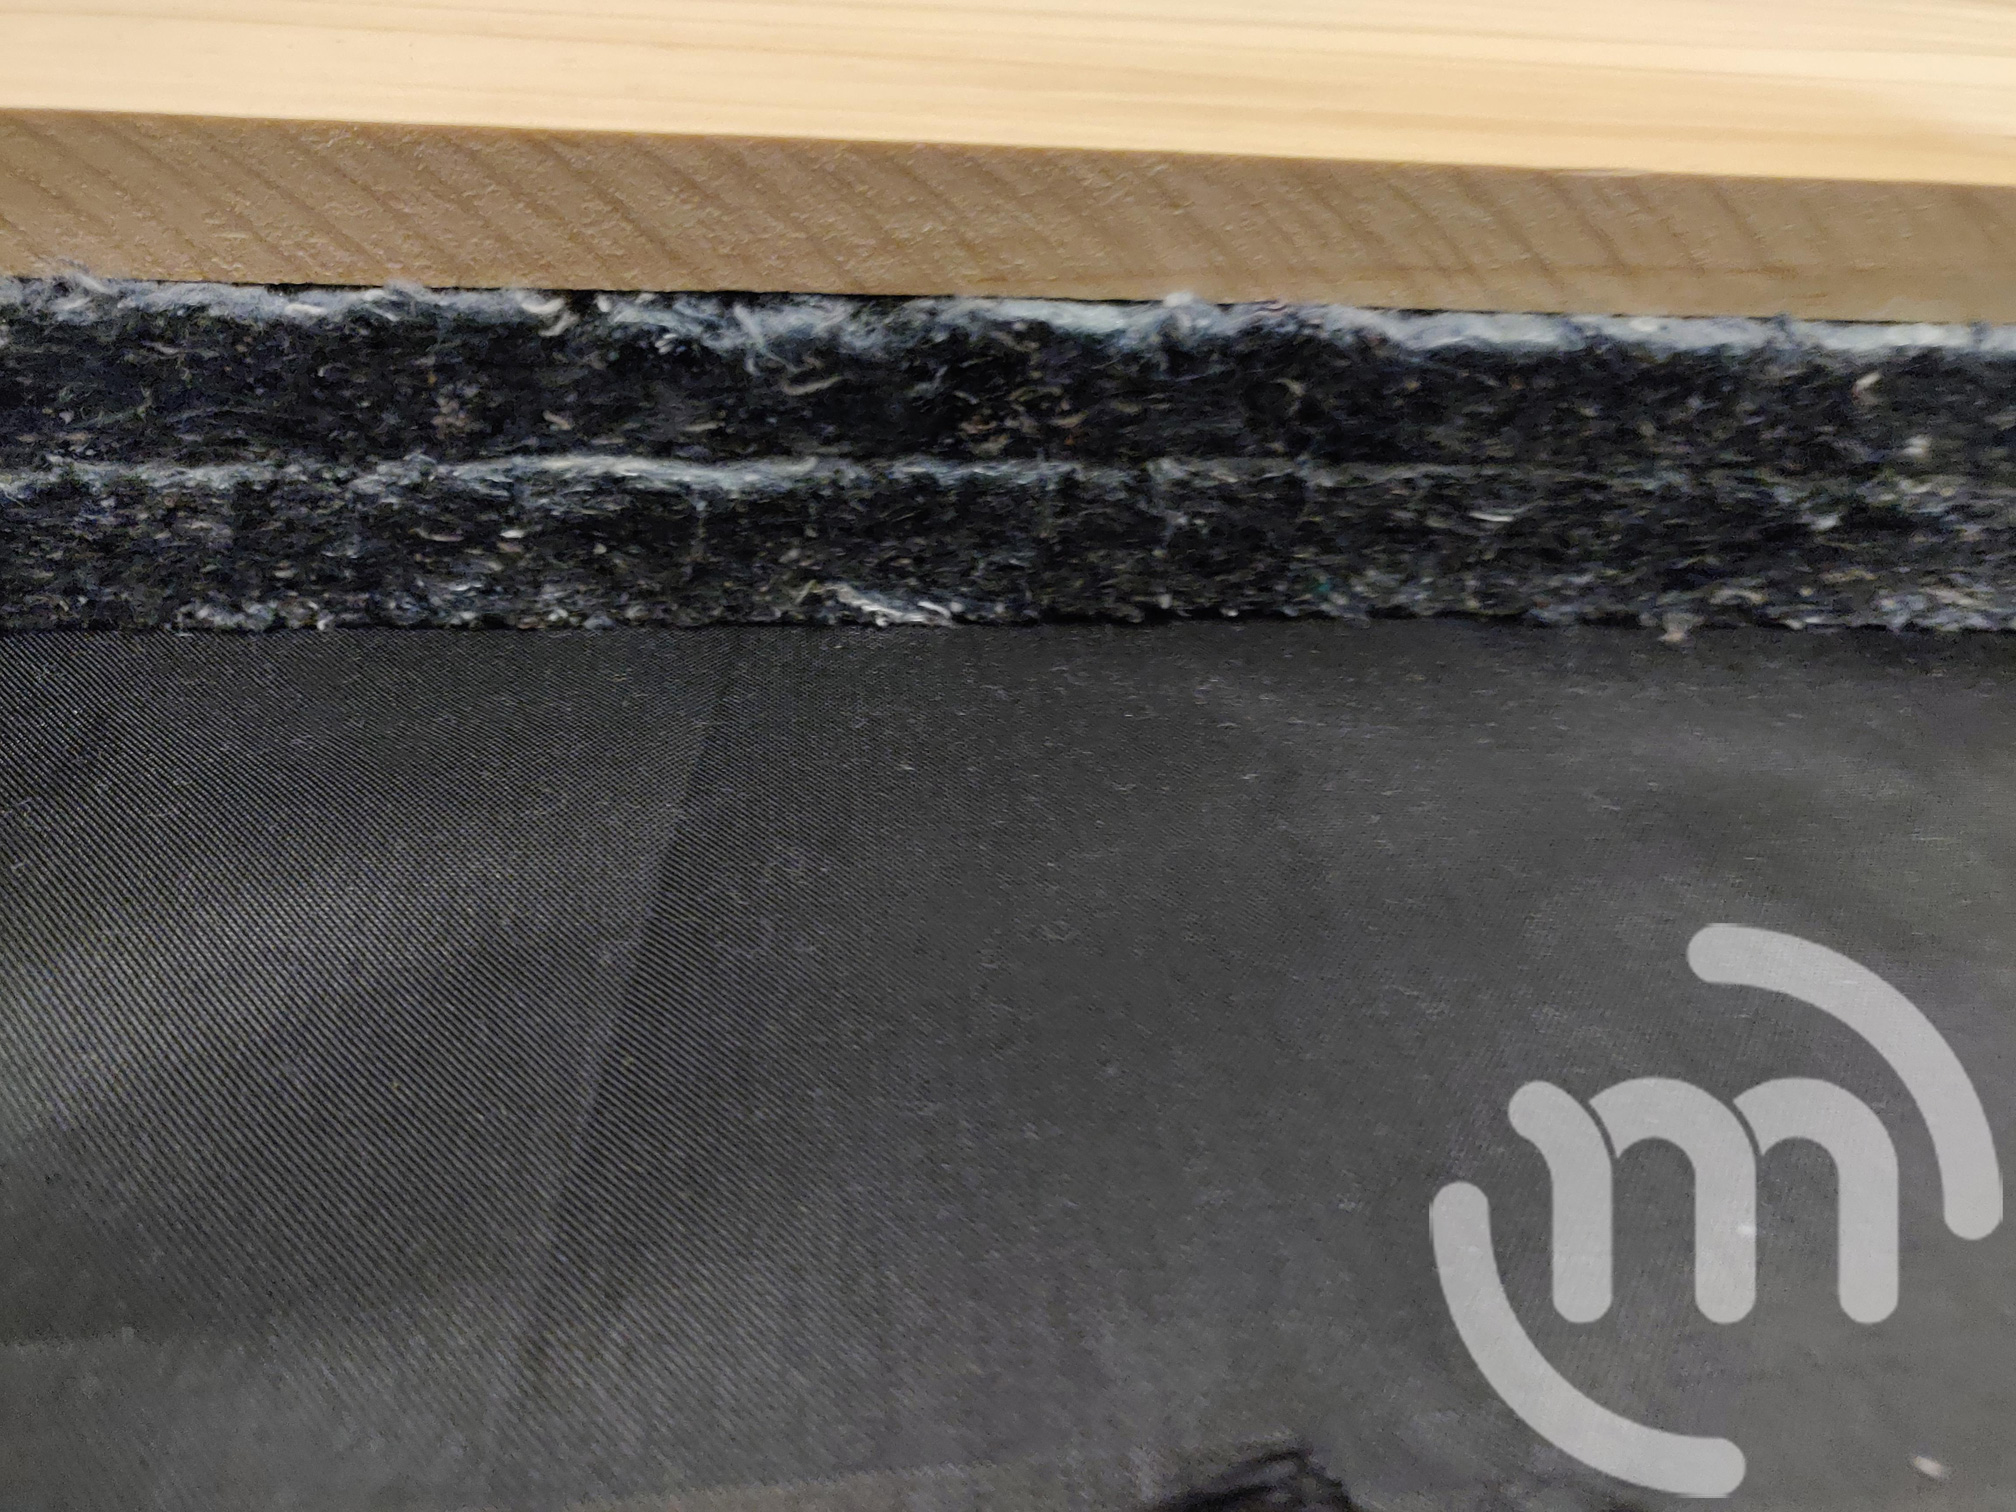
I cut a few of the pieces to fit my bench wood and I added two layers to make it a little thicker.
Step 6:
Lay your fabric straight down on your flat surface and layer your pieces back on it upside down – fabric, squishy material, then bench.
Cut the excess fabric leaving about 6″ all the way around.
Step 7:
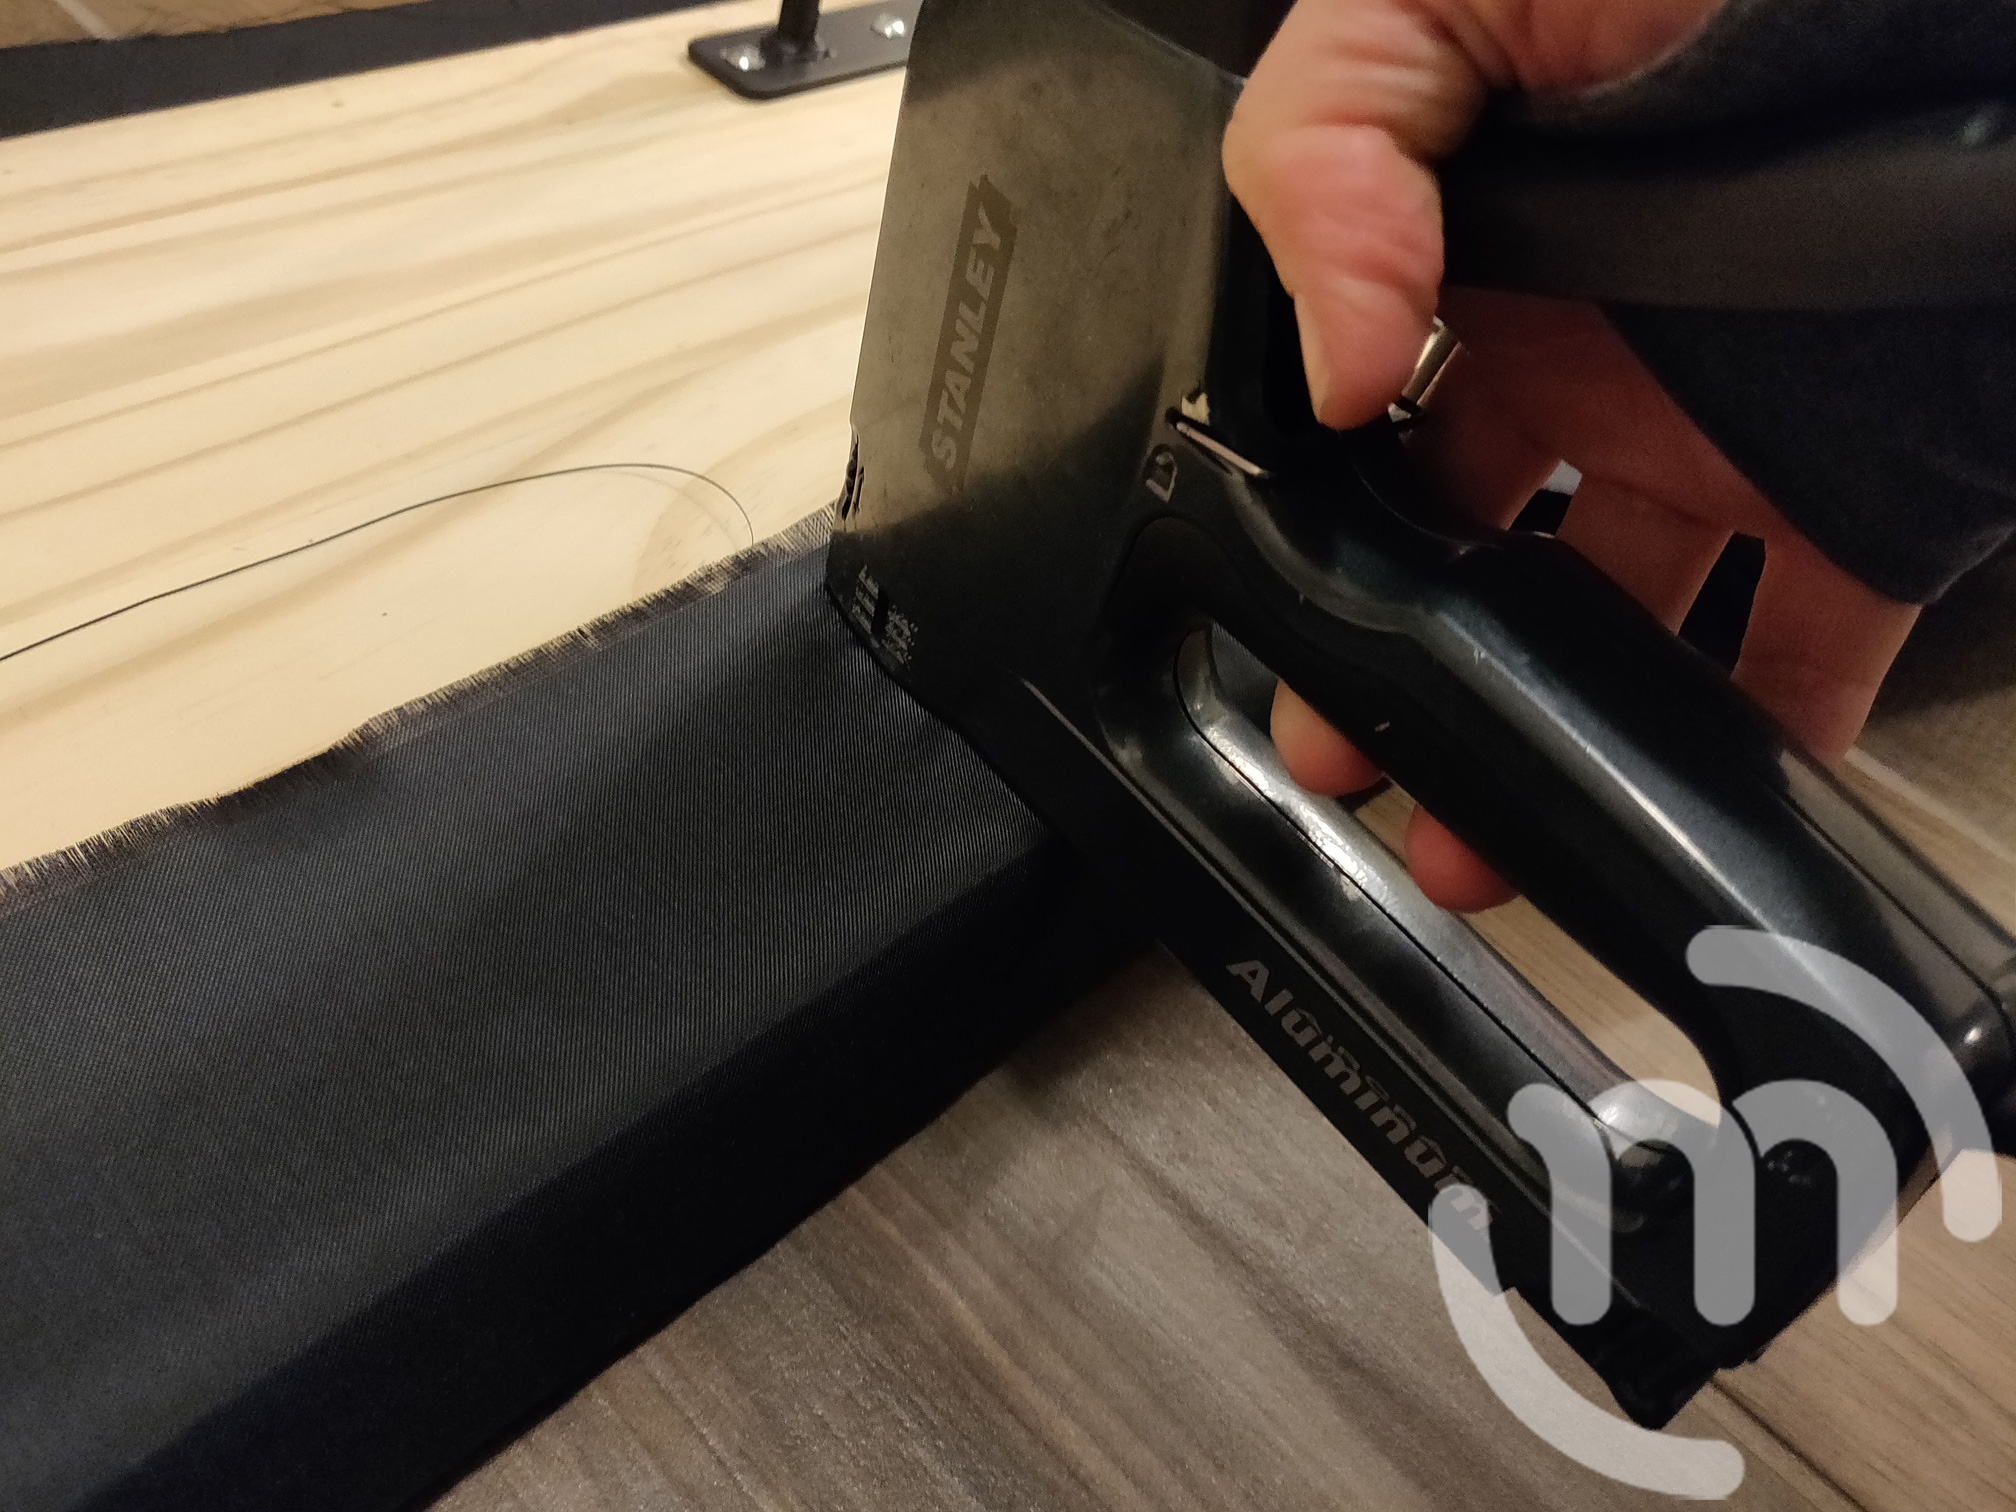
Pull the fabric up over the side of the bench and pull tight. Use your staple gun to staple in place. Repeat every 6” or so or until you feel it’s secure and tight enough. Repeat on both sides.
Step 8:
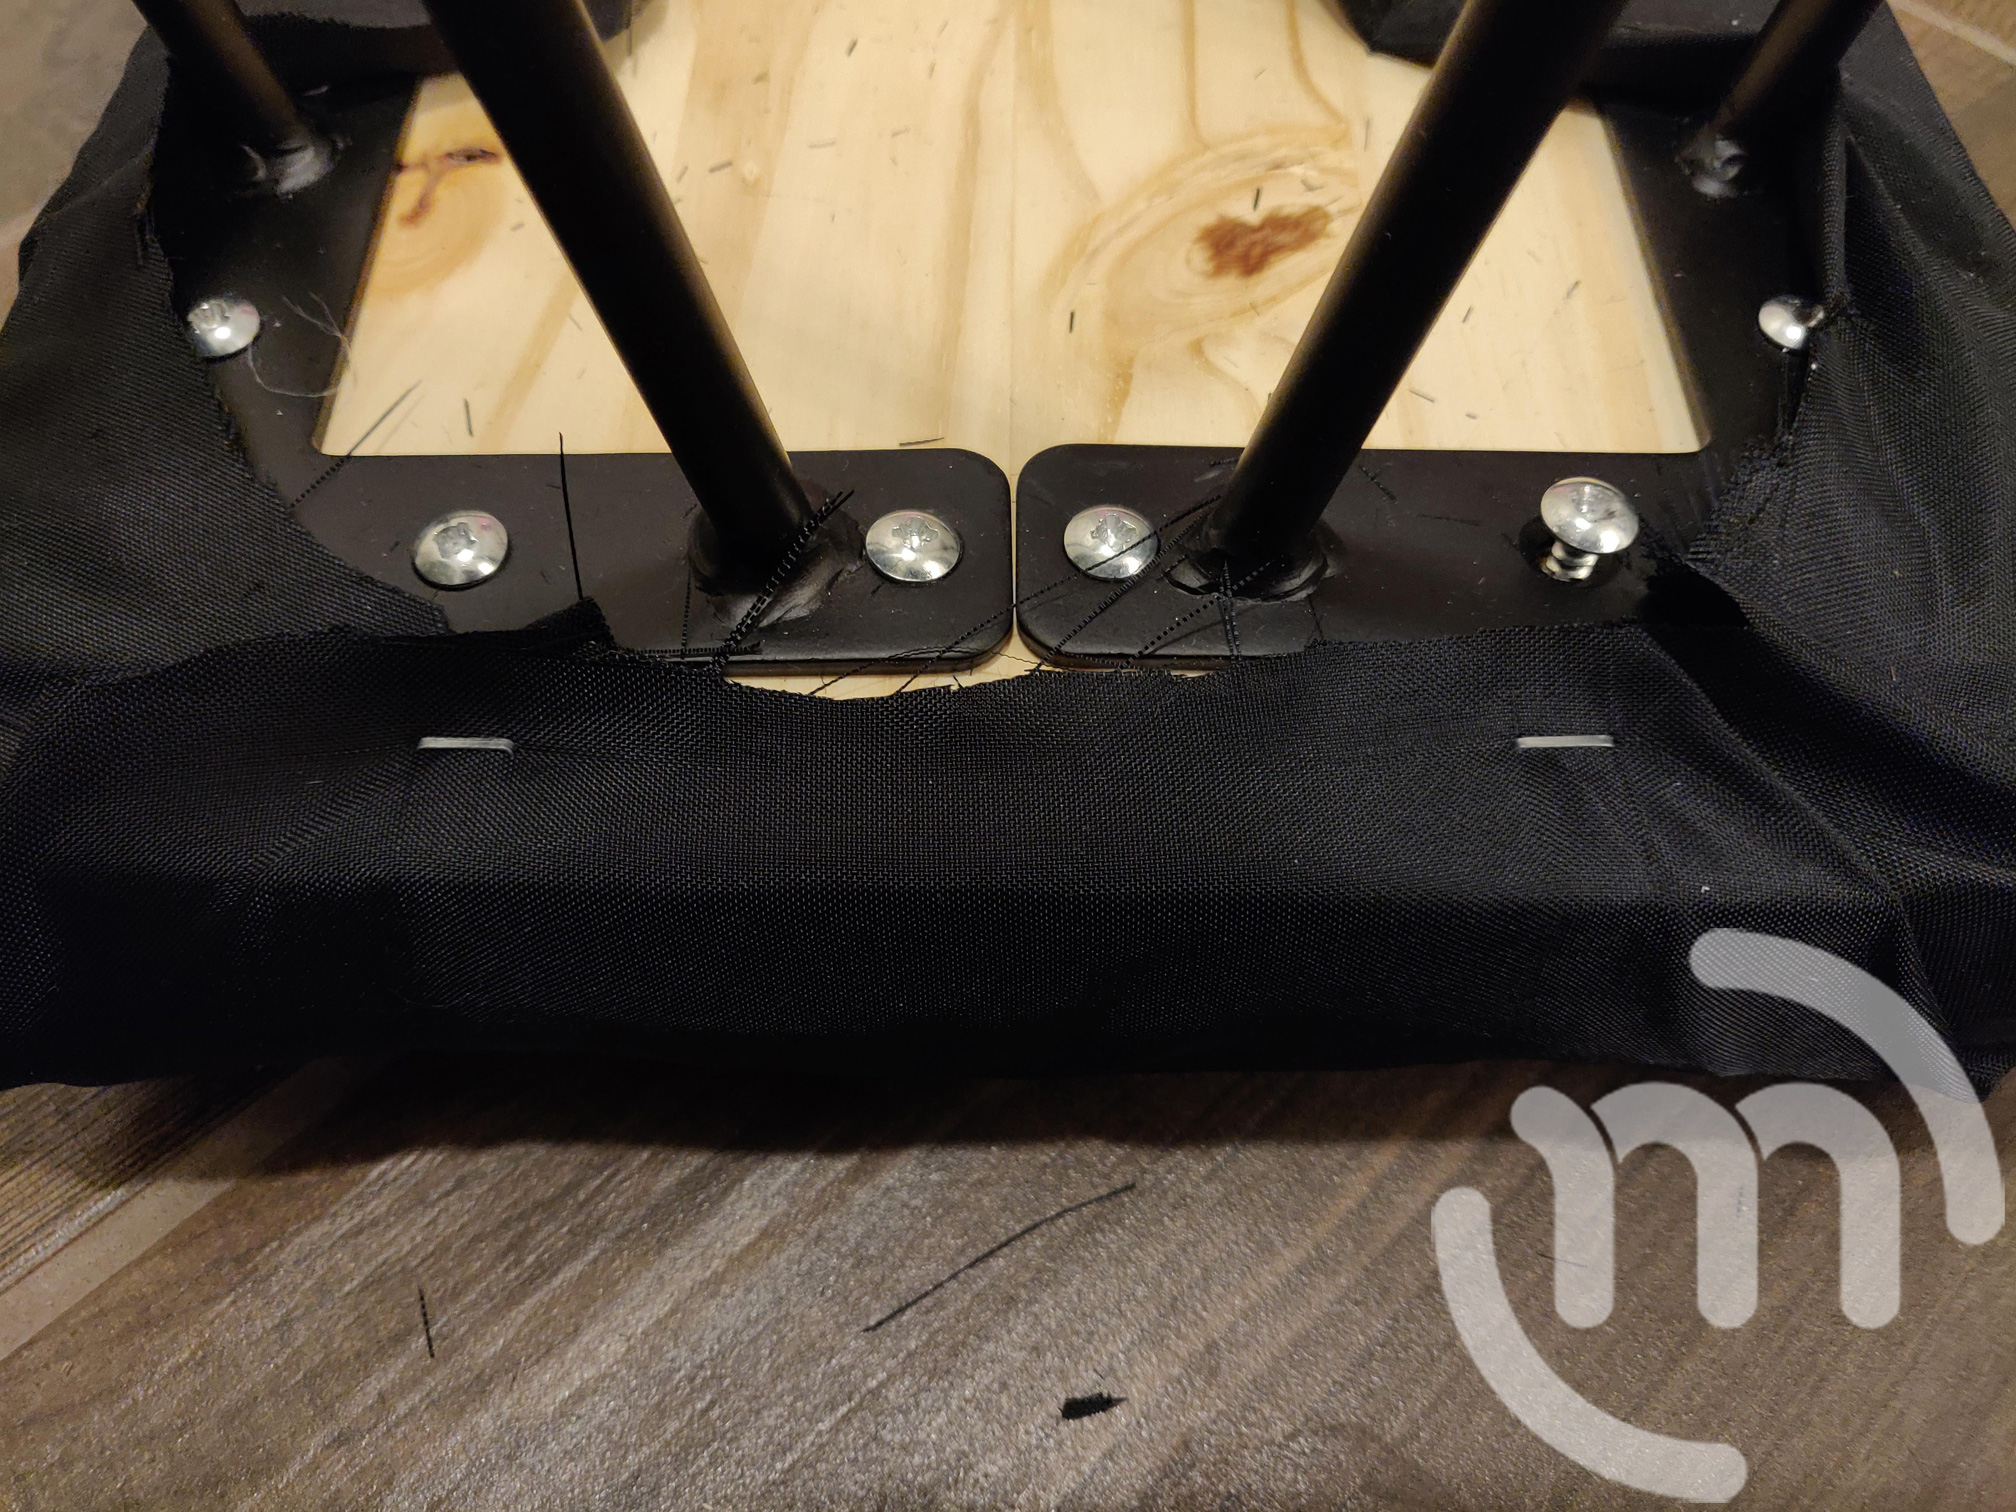
When you get to the short ends with the legs, the fabric can be a little more tricky. I pulled mine really tight right next to the leg and put another staple to hold it in place. Then, I used my scissors to cut a small little moon shape around the leg so it wouldn’t cover the leg.
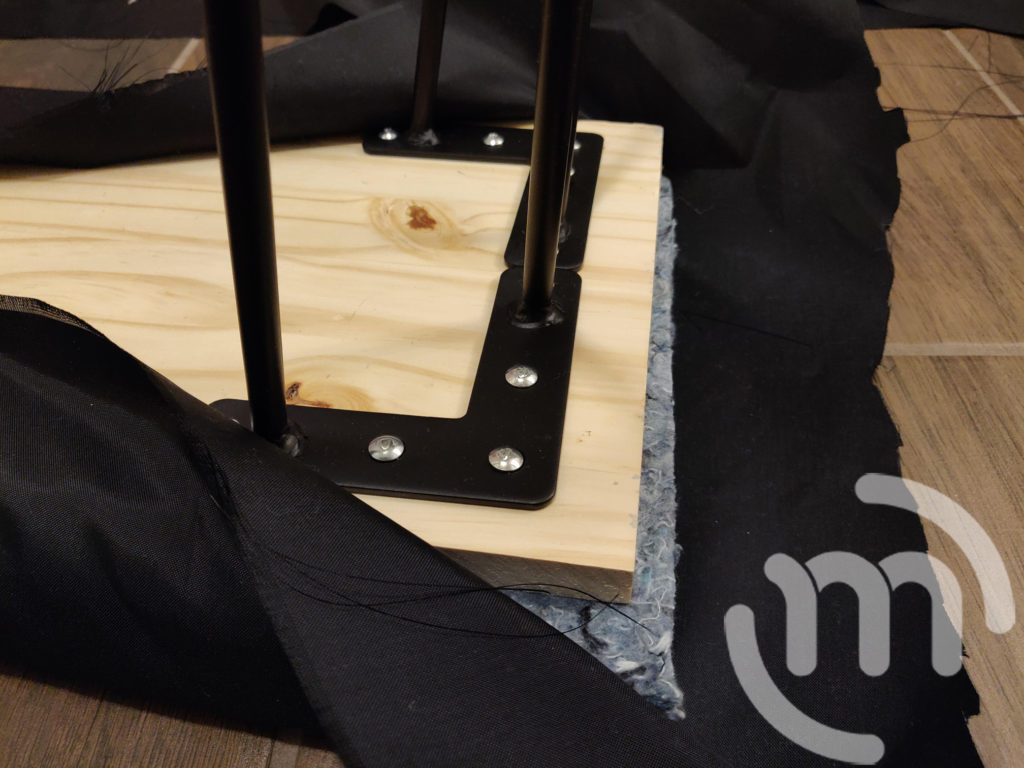

Wrap the edges like a present by folding in the two corners inward and then fold the middle up and staple to secure it in two places. Repeat on the other side.
Step 9:
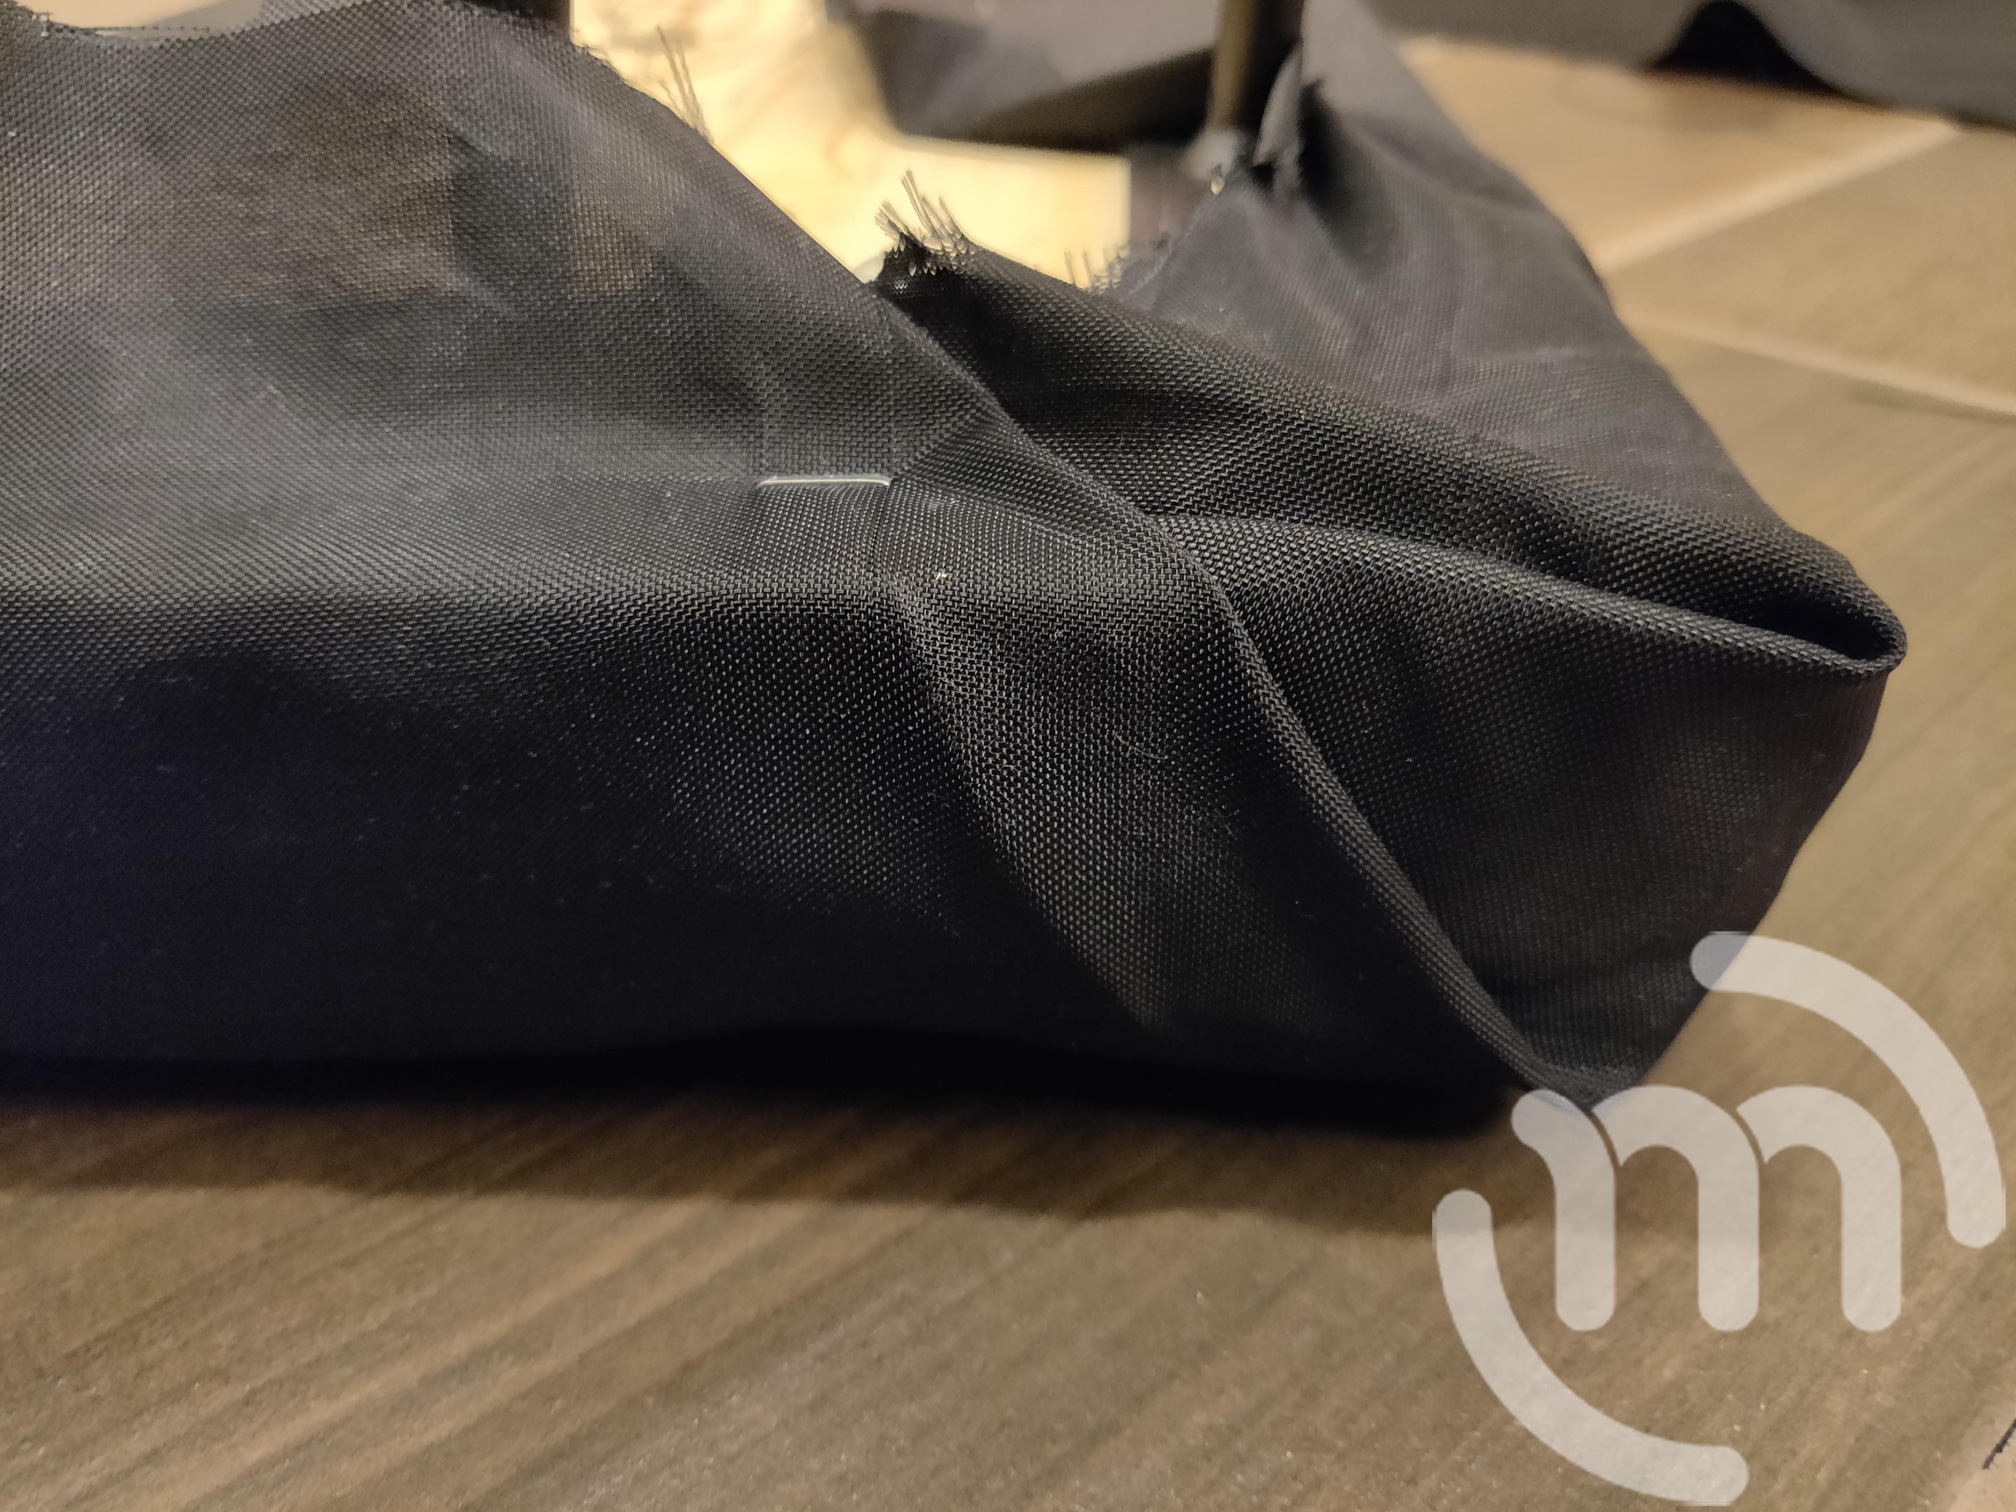
Cut off any additional fabric underneath to keep it clean.
Step 10:
Flip your bench over and wipe off any excess dirt or debris from the fabric.