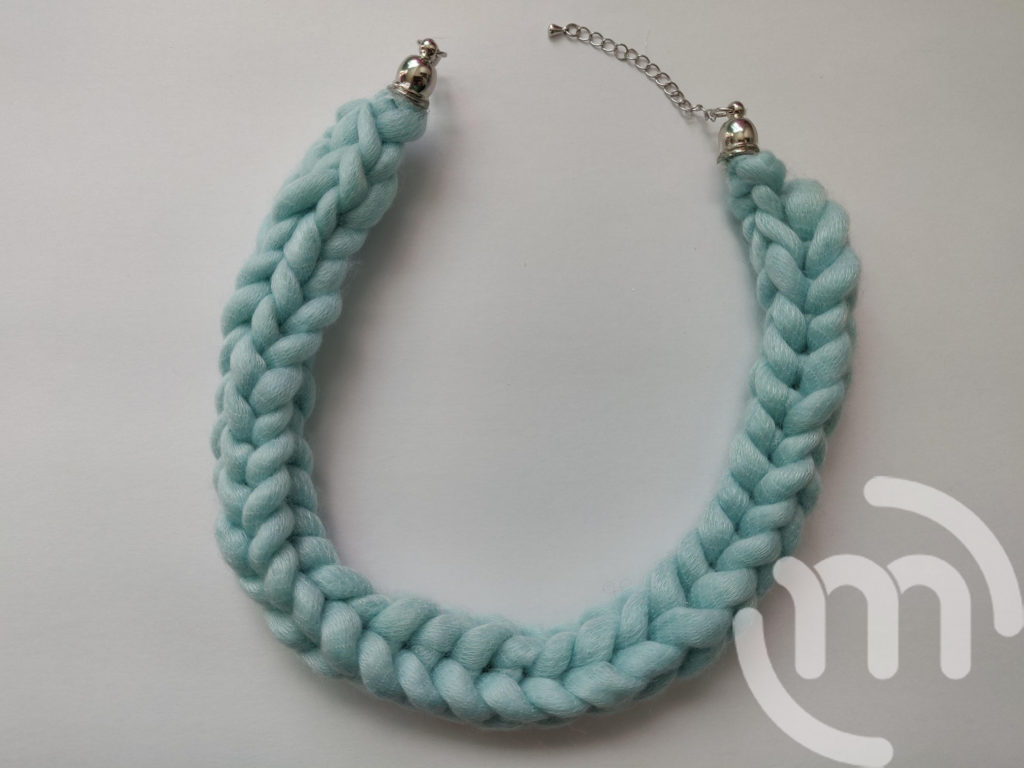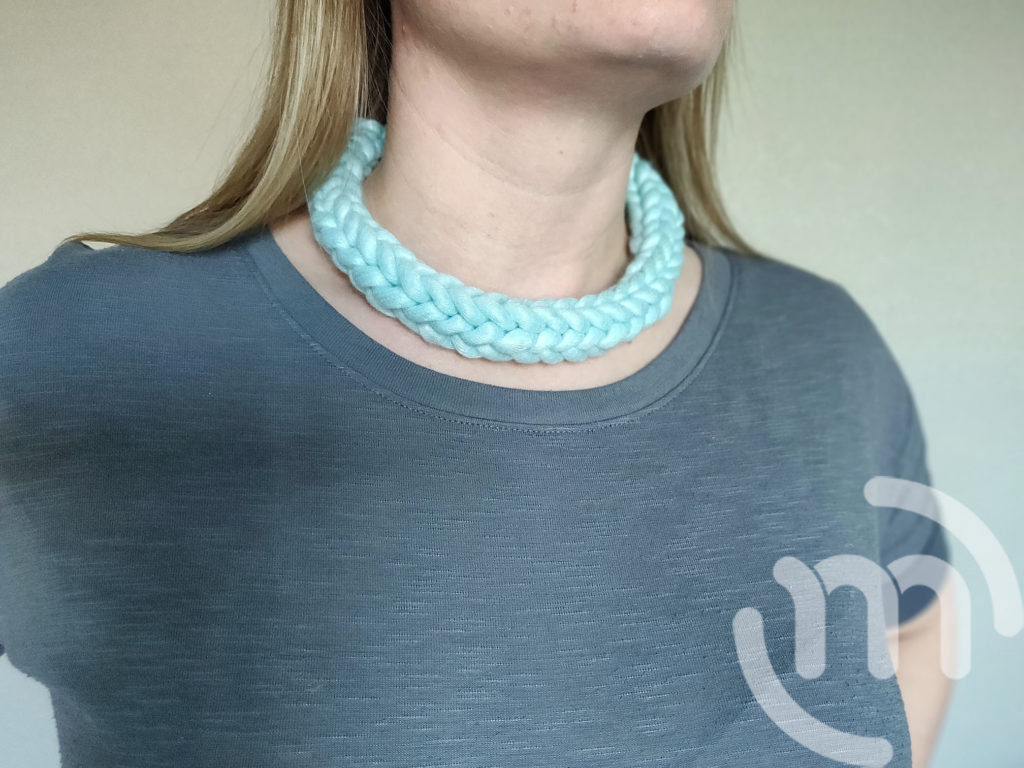
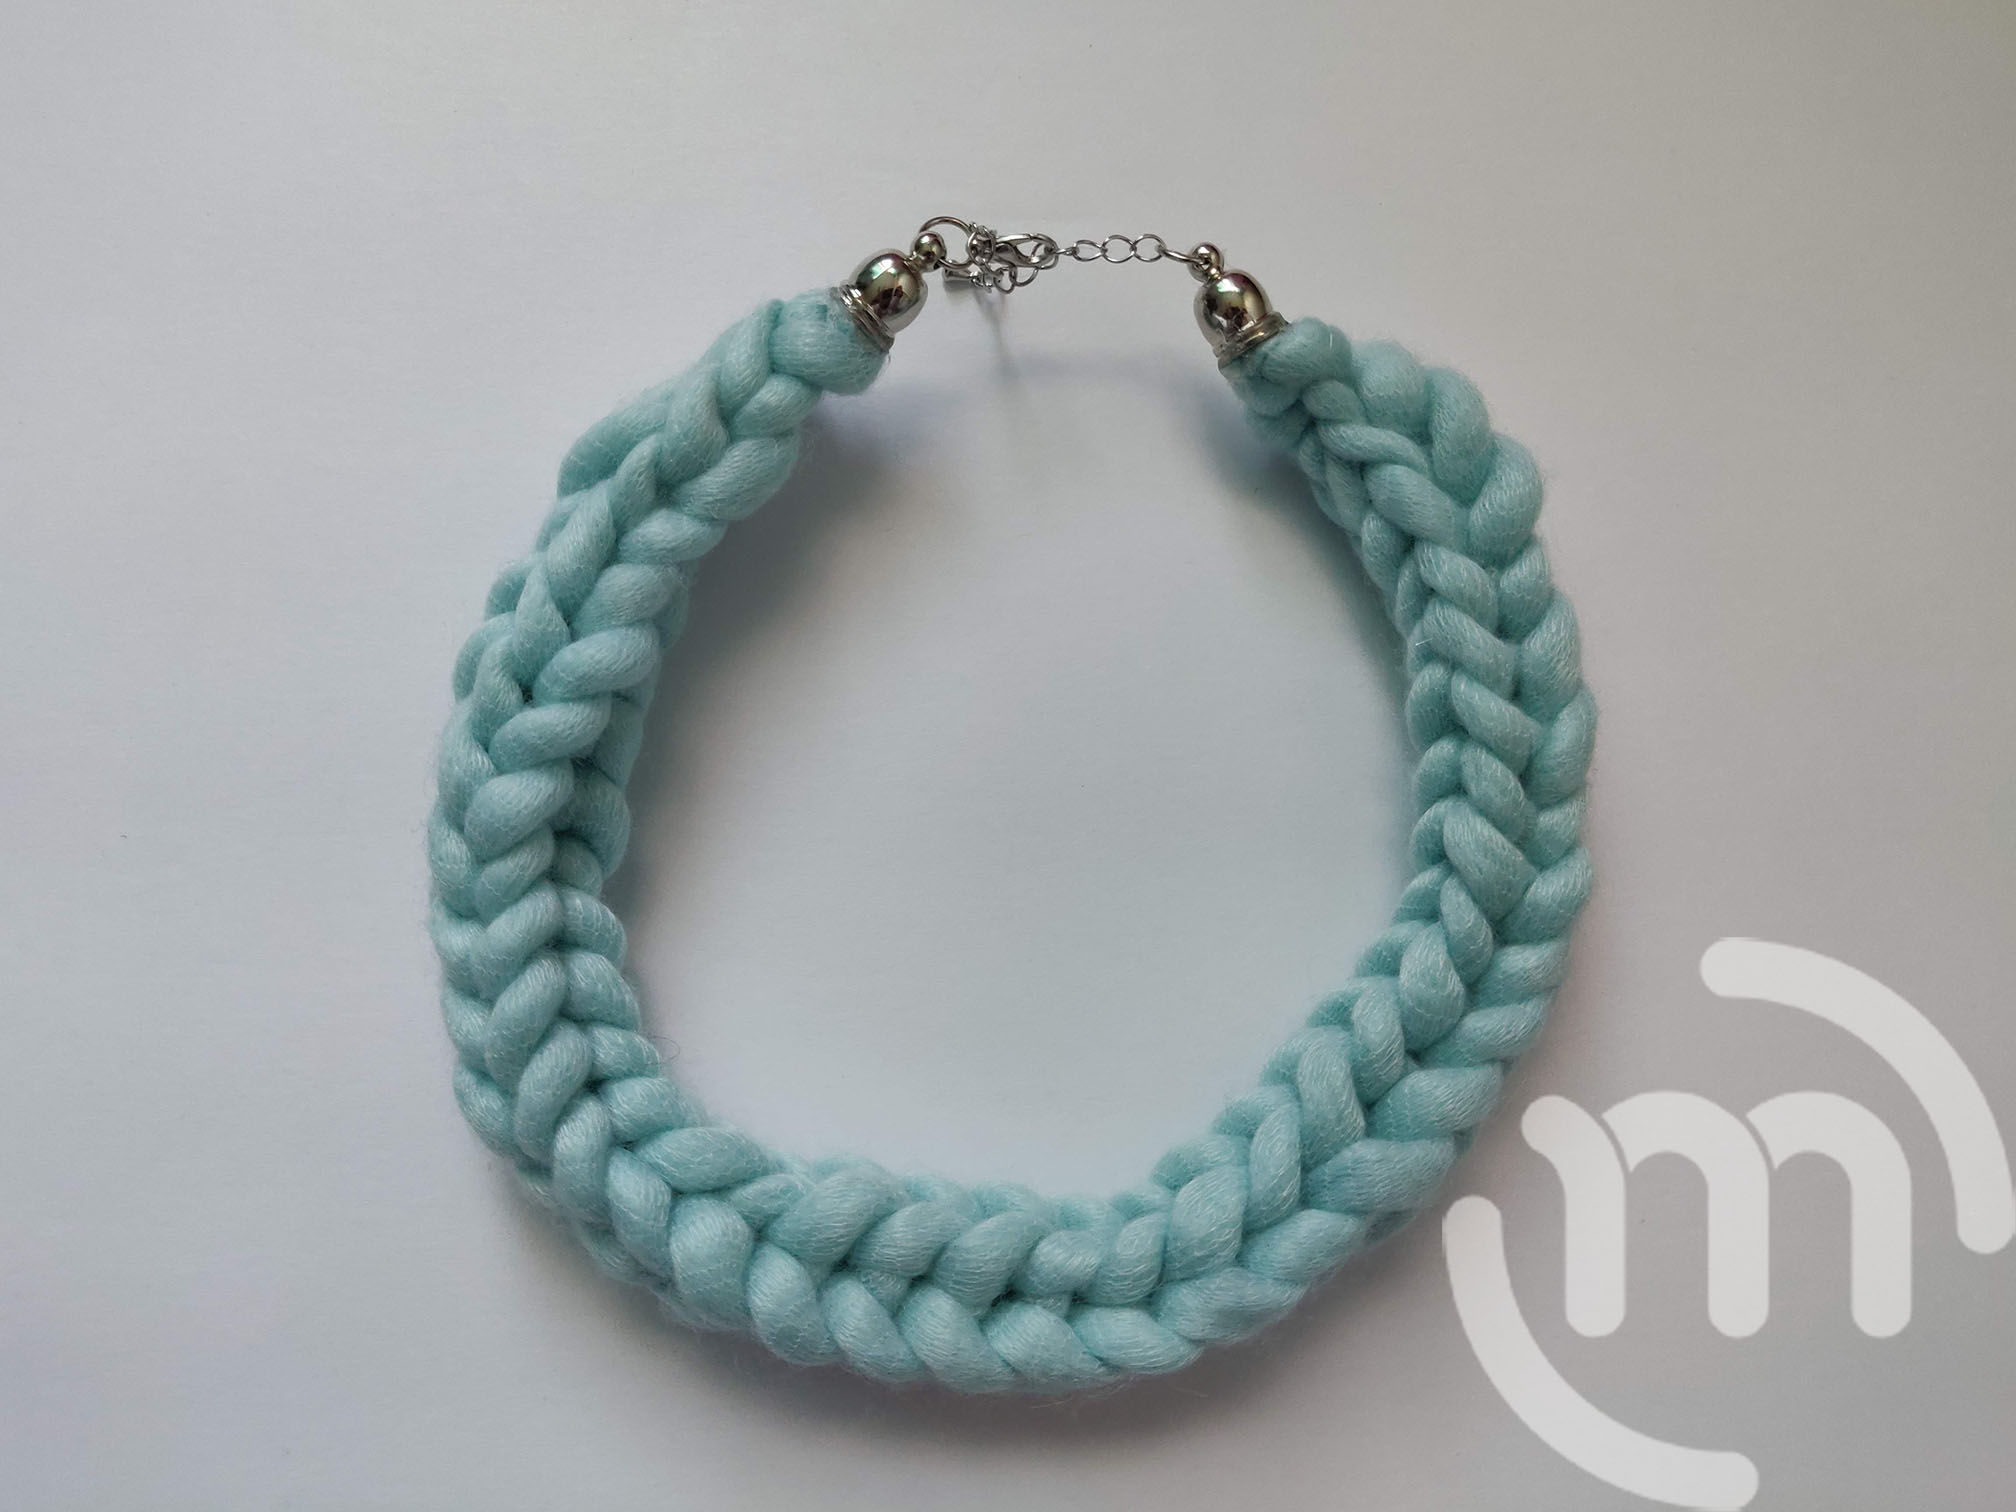
Are you looking for a really unique jewelry option? Crochet an I-Cord Necklace!
*This post may contain affiliated links. For more information on this, please see my Disclosure page!*
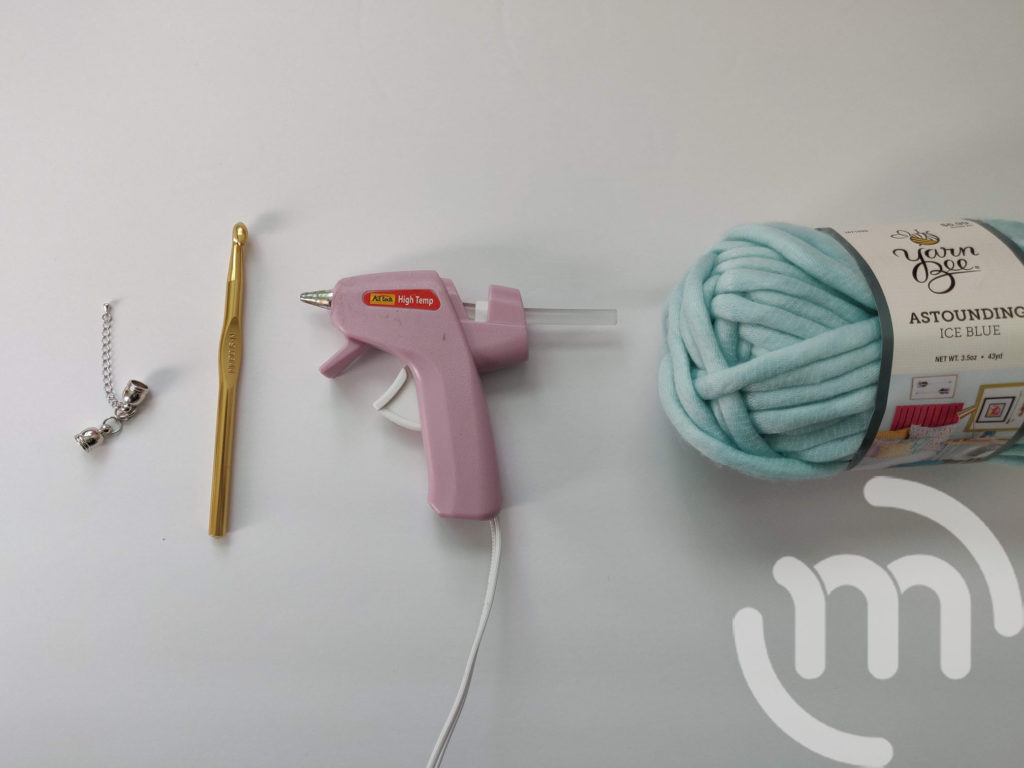
Materials:
- Yarn Bee Astounding in Ice Blue (Not an affiliate, but this is what I used)
- Crochet Hook Size N/9MM
- Glue Gun
- Scissors
- Necklace End Caps
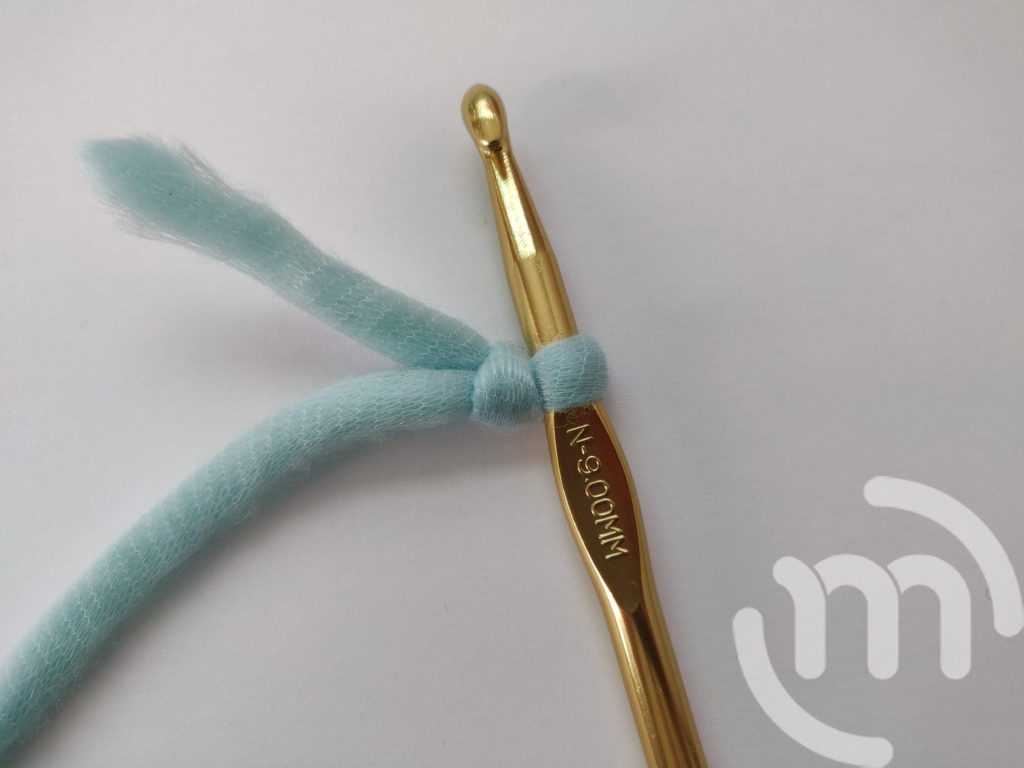
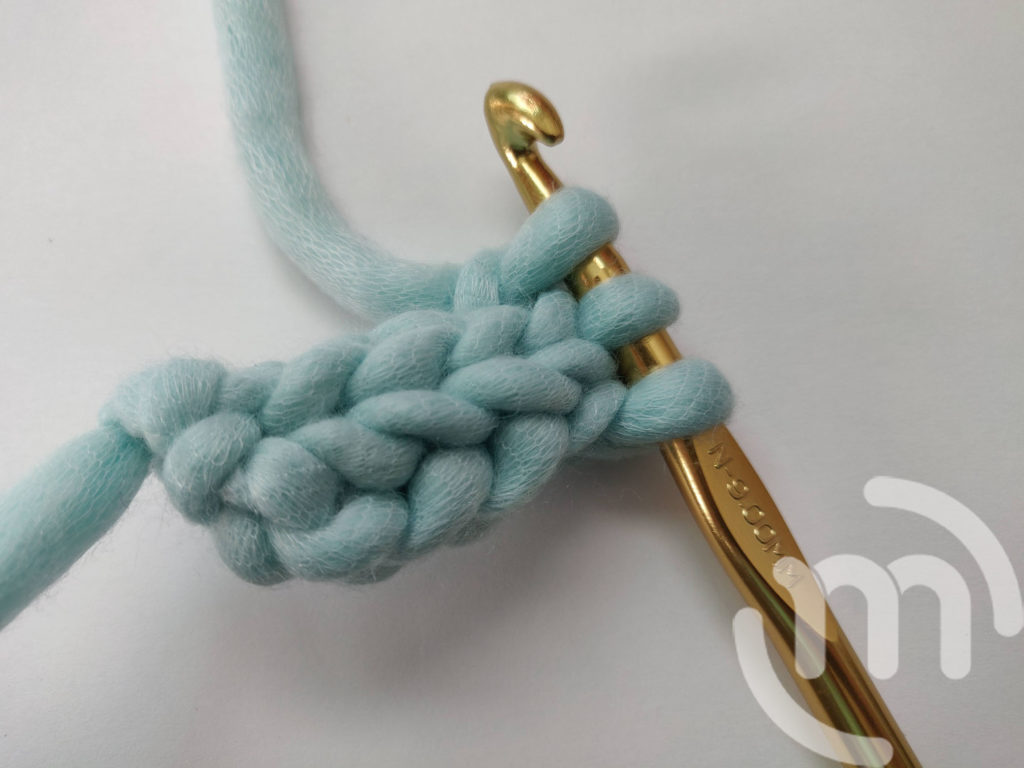
Step 1:
Tie a slip knot and insert your hook. Chain 3 stitches. Insert Hook into first chain from the hook and yarn over and pull up the yarn. Insert hook into next first stitch and yarn over and pull up the yarn. You should now have 3 loops on your hook.
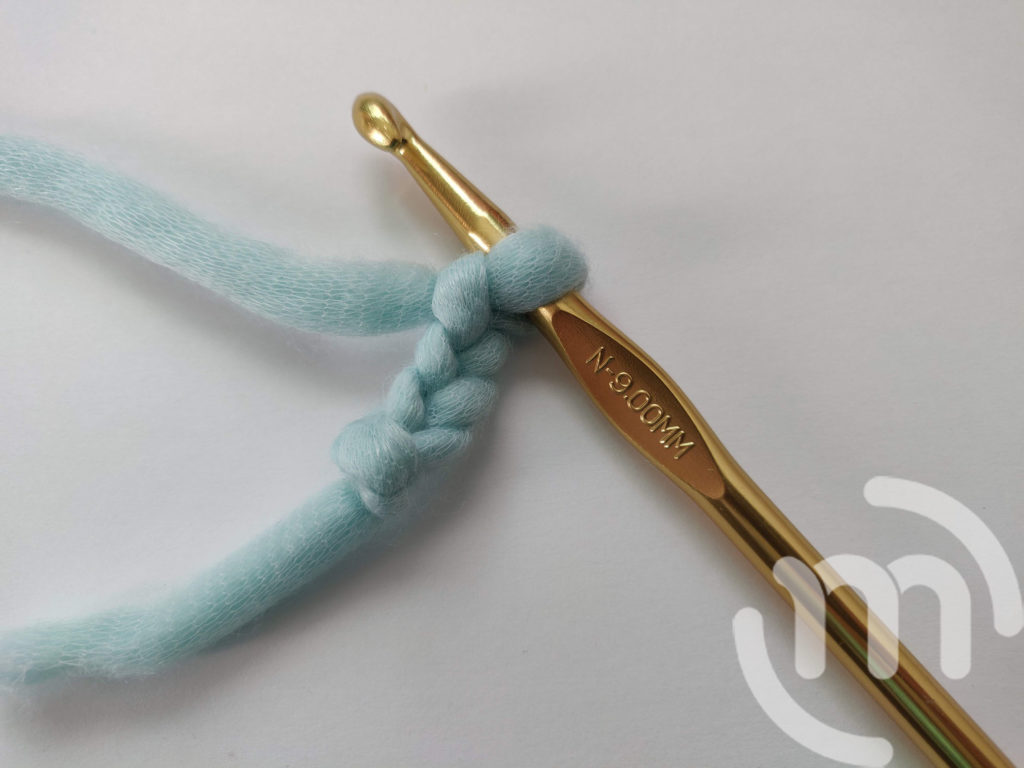
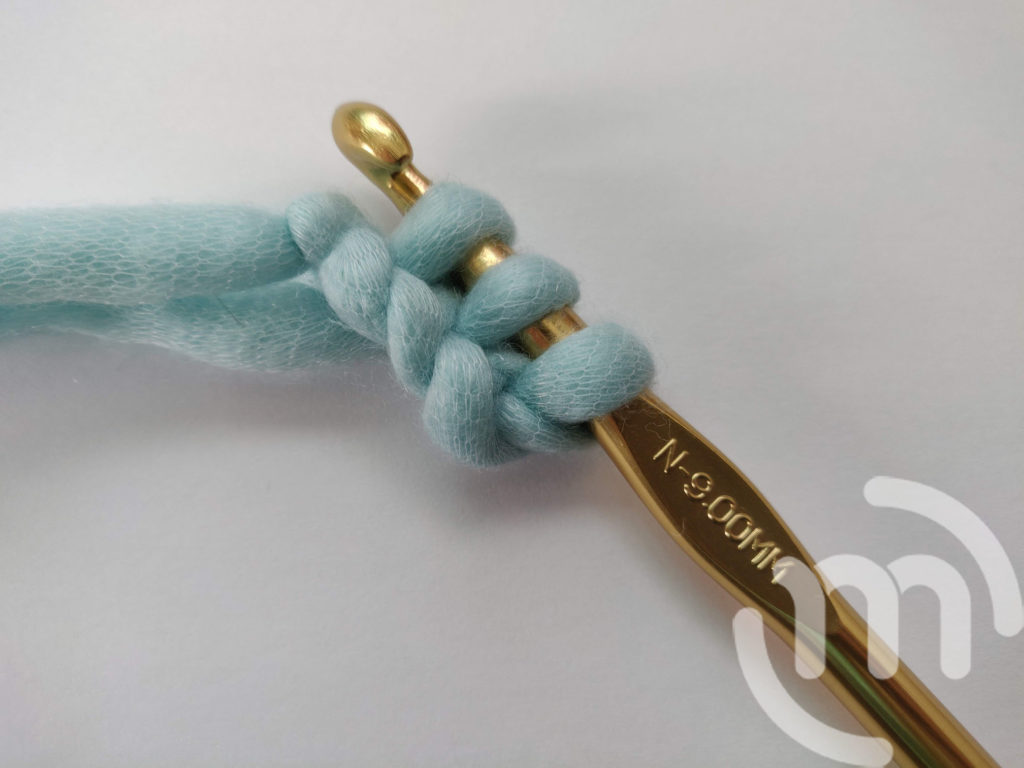
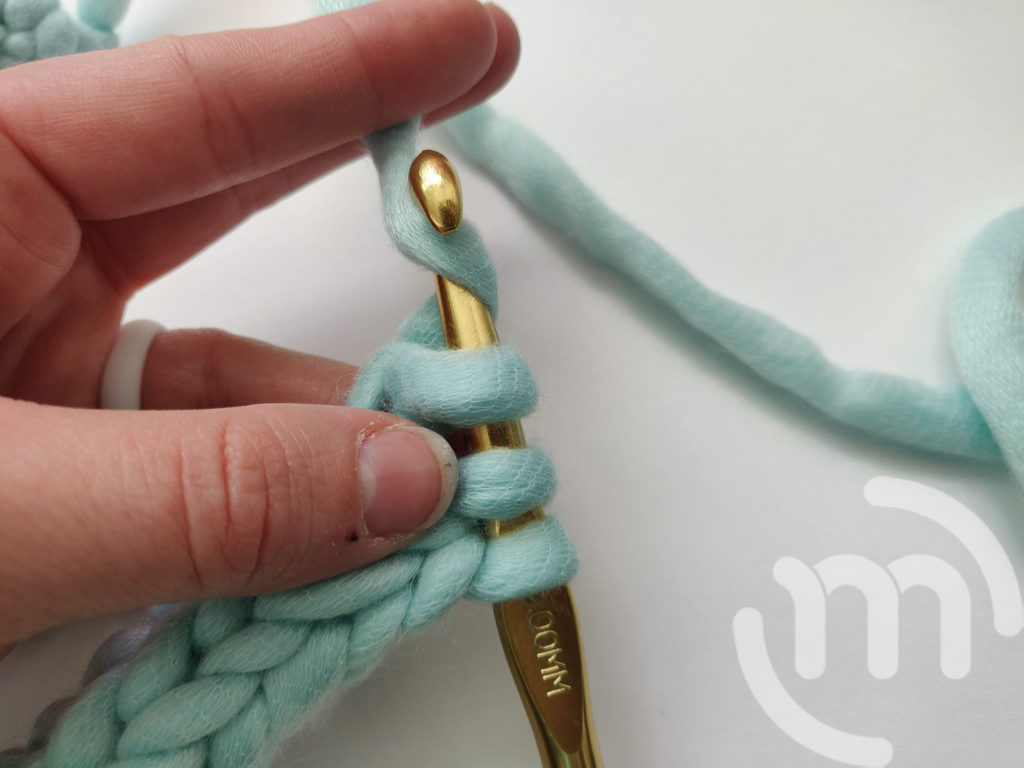
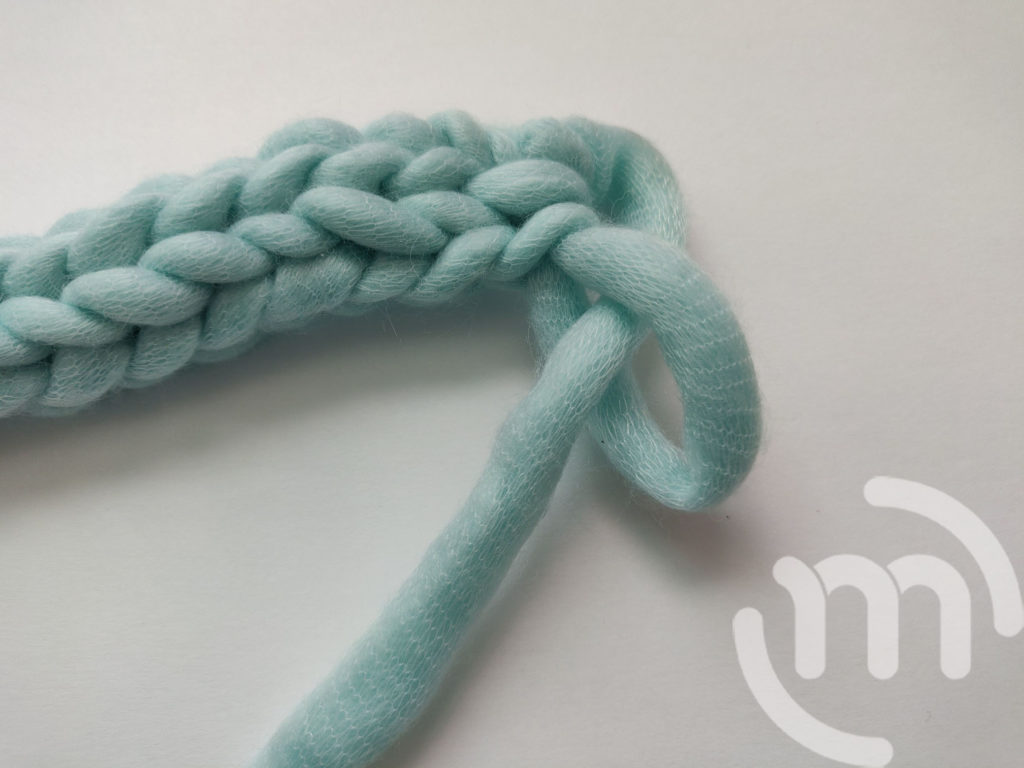
Step 2:
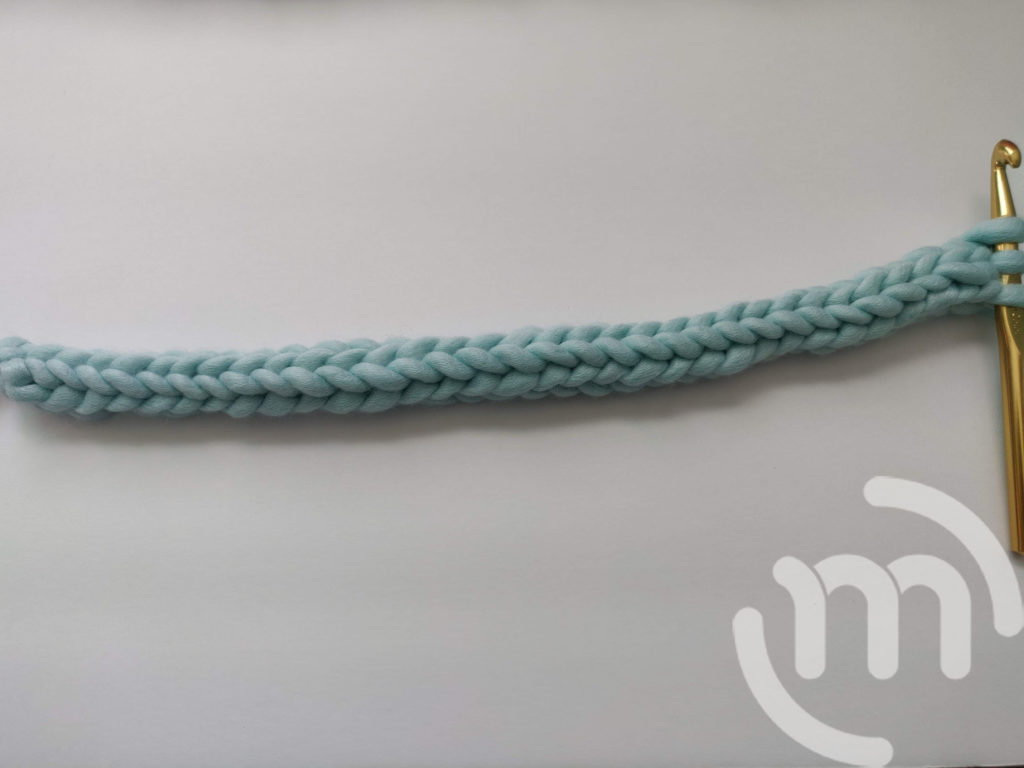
Crochet an I-Cord: Pull the first two loops off of your needles, but don’t drop them. Yarn over and pull through the only loop on your hook. Put one of the next loops back on your hook and yarn over and pull through that one. Repeat for the final loop. You should now have all three loops back on your hook. Repeat this process until the I-cord is the length you want it to be.
Step 3:
Once your I-Cord is the length you want it, yarn over and pull through all three loops. Cut the yarn and tie a knot.

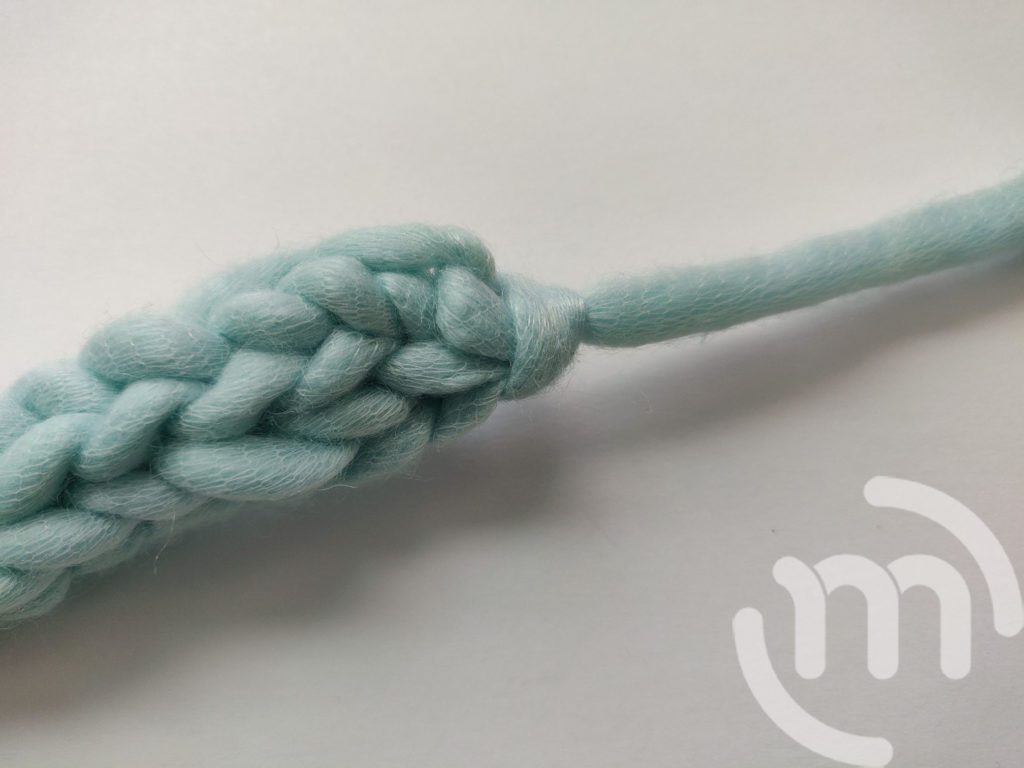
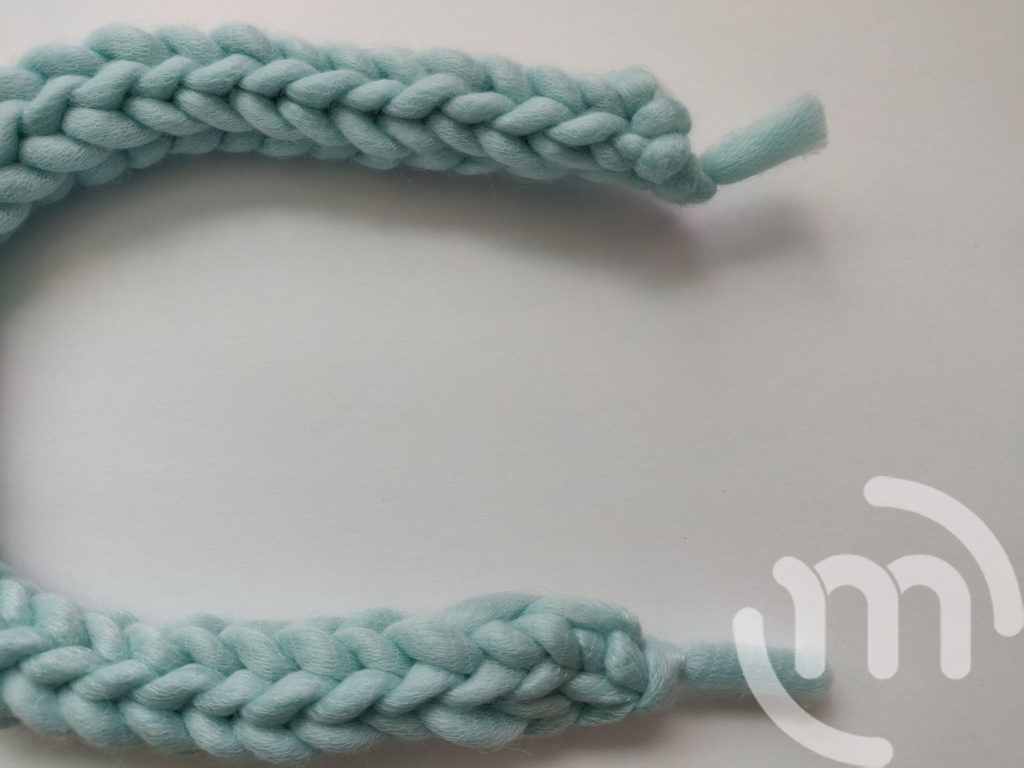
Step 4:
Make sure you leave only a small tail on both sides of the cord of equal length.
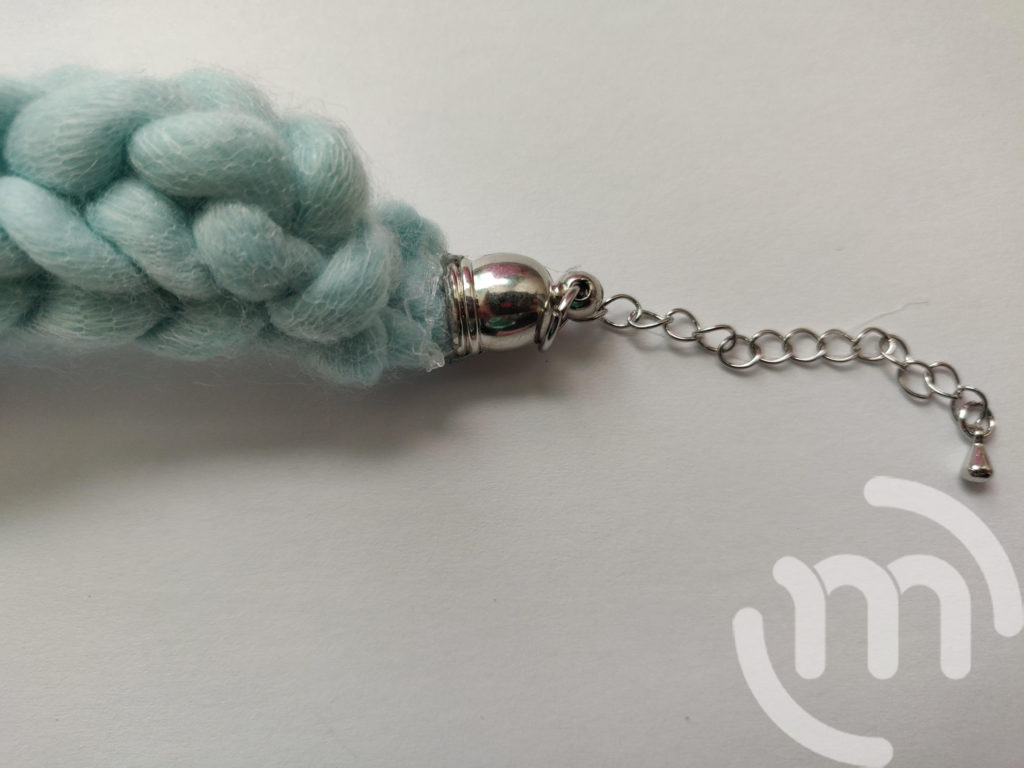
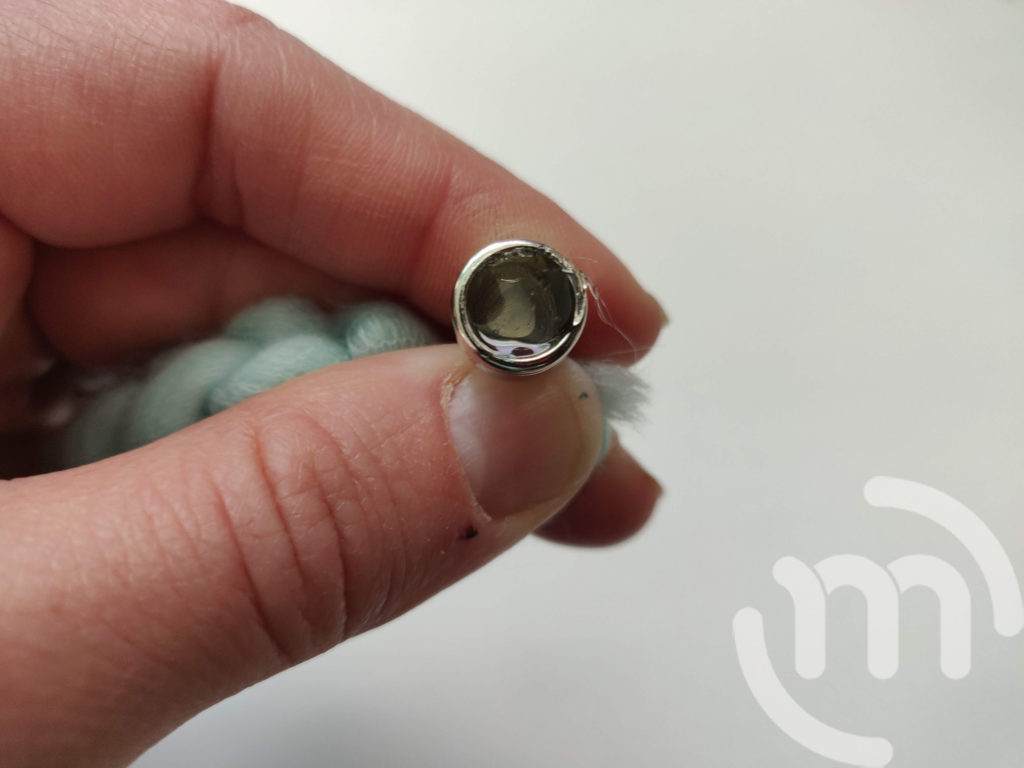
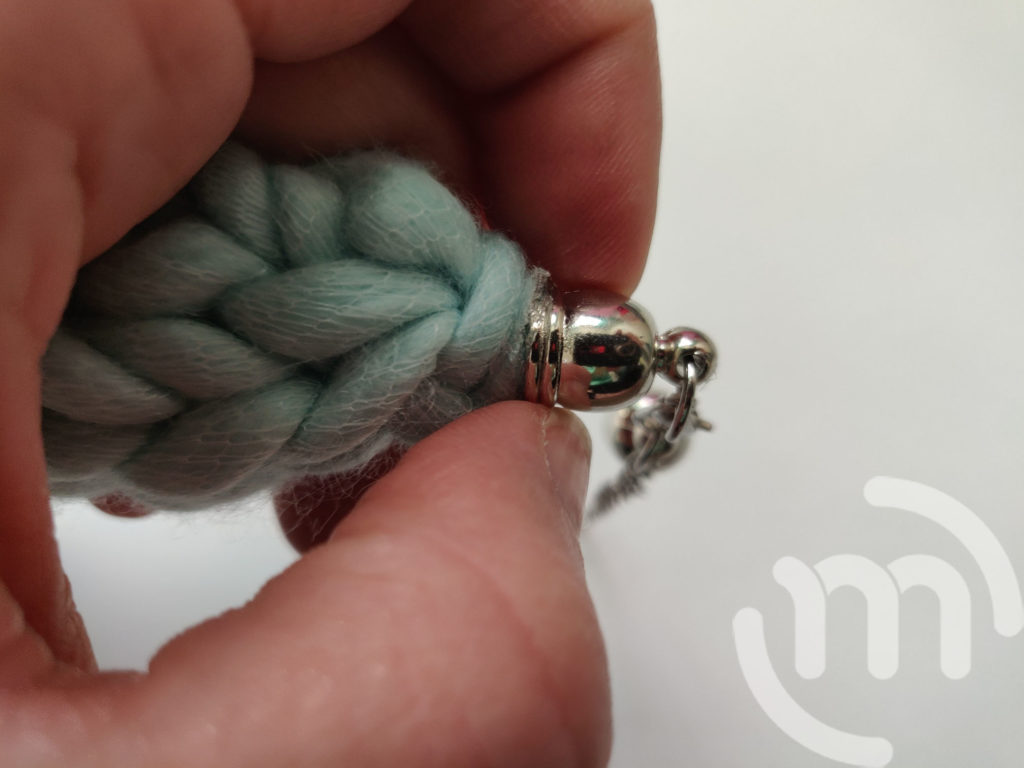
Step 5:
Using your hot glue gun, fill up one of your necklace end caps with hot glue and stuff the end of the yarn into it. I found it easiest to twist the yarn a bit so it becomes stiffer and easier to stuff into the end cap.
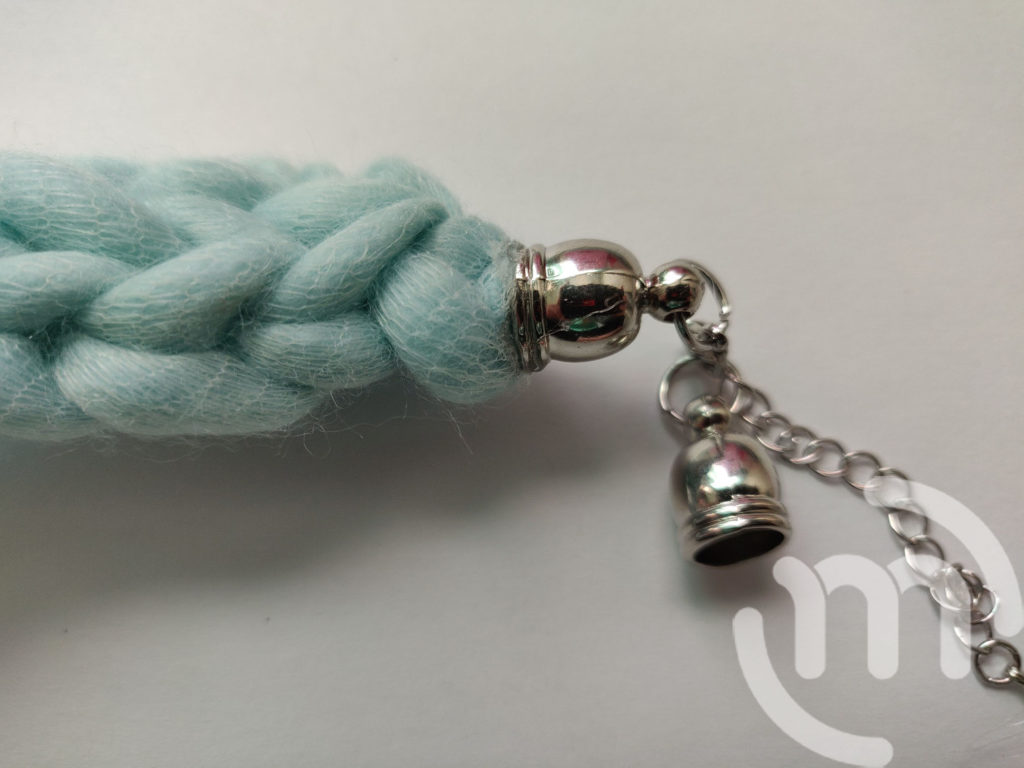
Step 6:
Repeat on the other side with the other end cap. Allow time to fully dry before wearing your necklace.