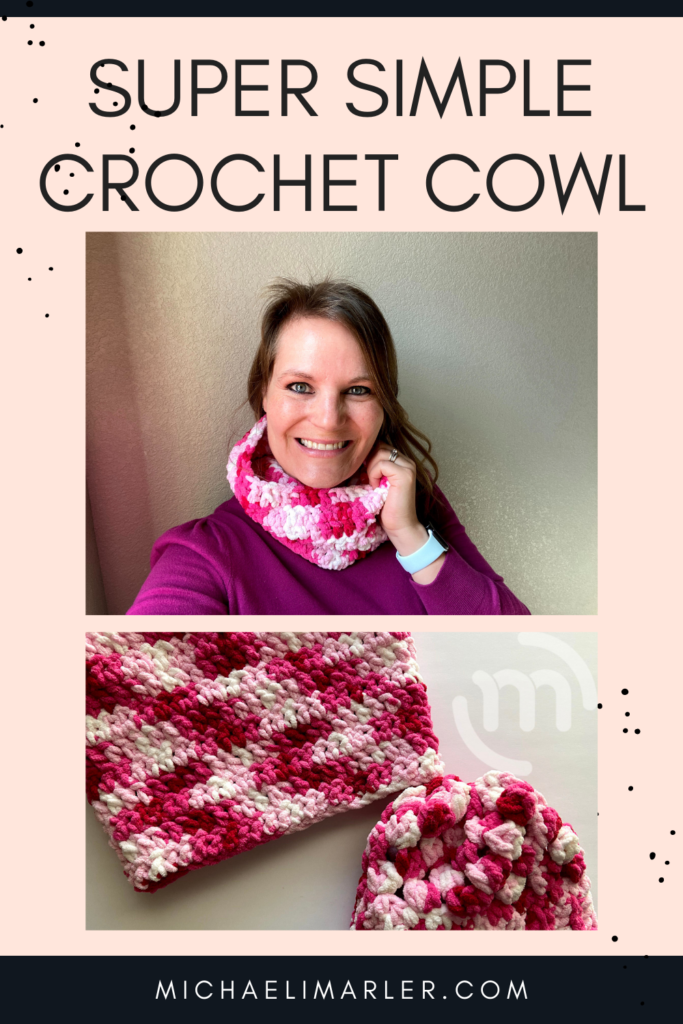
Are you looking for a simple crochet cowl to give as a gift, or just make it quickly for yourself? Look no further – here it is!
When Natalie from KnittyNatty.com did a make-a-long for Woolly Wishes, I knew I wanted to contribute. Since I had several other projects going on, I knew I would need something simple – yet still warm and cute!
Woolly Wishes is a non-profit organization dedicated to using the handicrafts to heal Syrian refugee communities affected by war. By providing knitted, crocheted, and hand-sewn items, such as sweaters, hats, and blankets to displaced children facing uncertain times in refugee camps, Woolly Wishes aims to tangibly express their care for them.
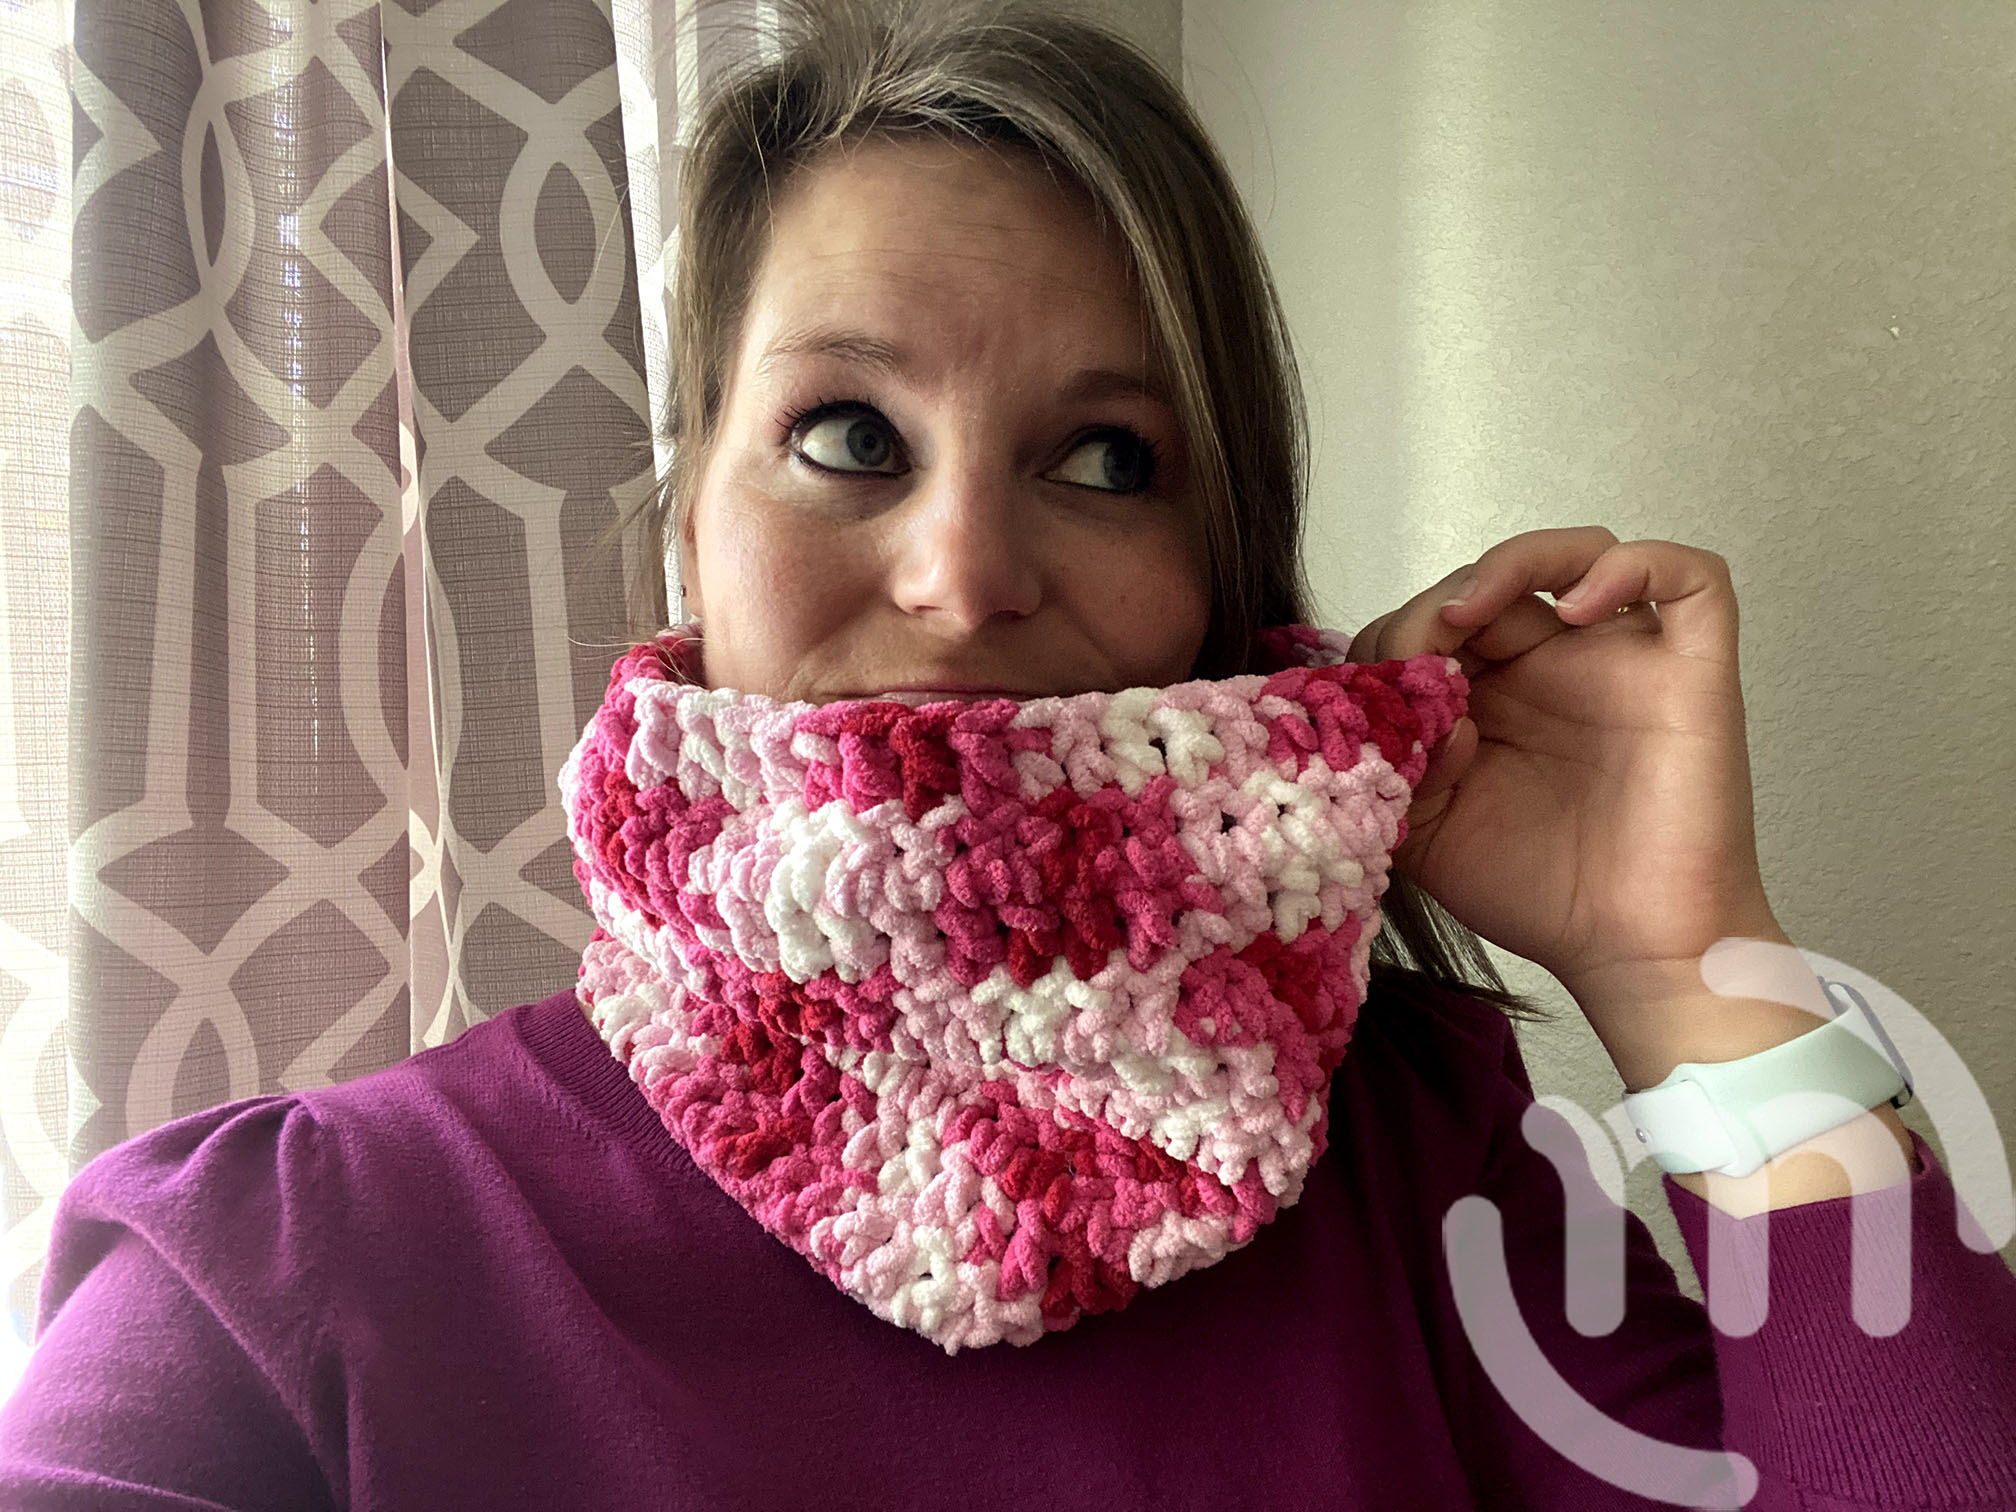
I’m proud to be the person from New Mexico to contribute from their donation map! I made these for a young person – maybe around 10 years old. As you can see, the cowl also fits an adult woman as well!
*This post may contain affiliated links. For more information on this and how you can support my blog, please see my Disclosure page!*
Materials:
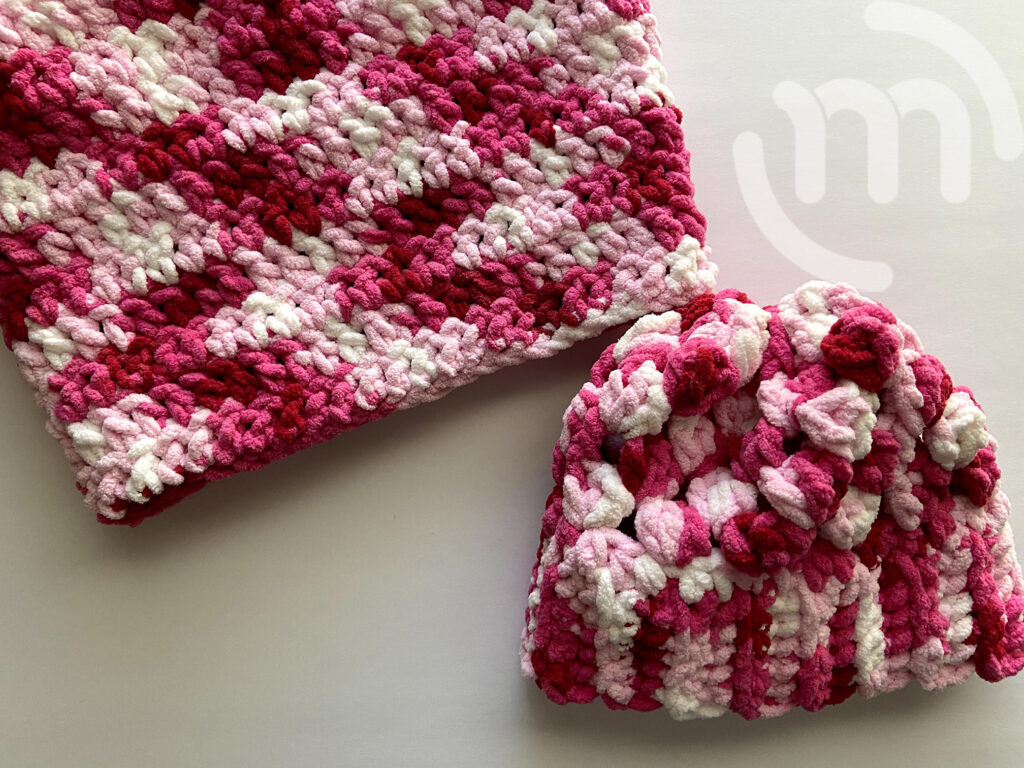
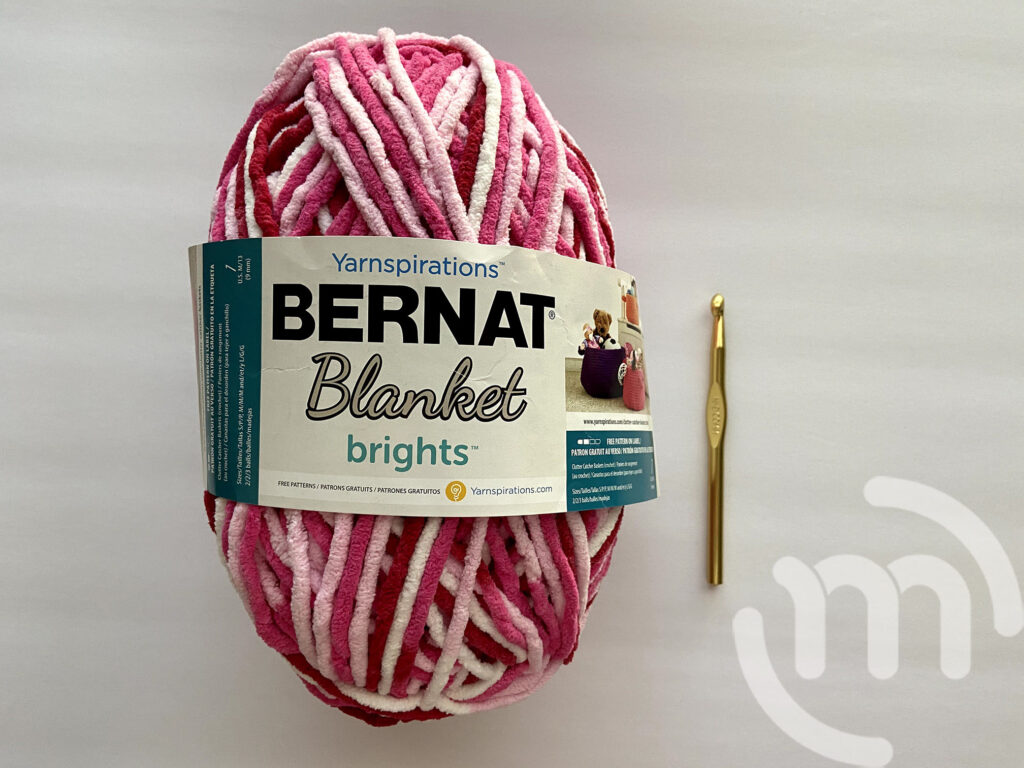
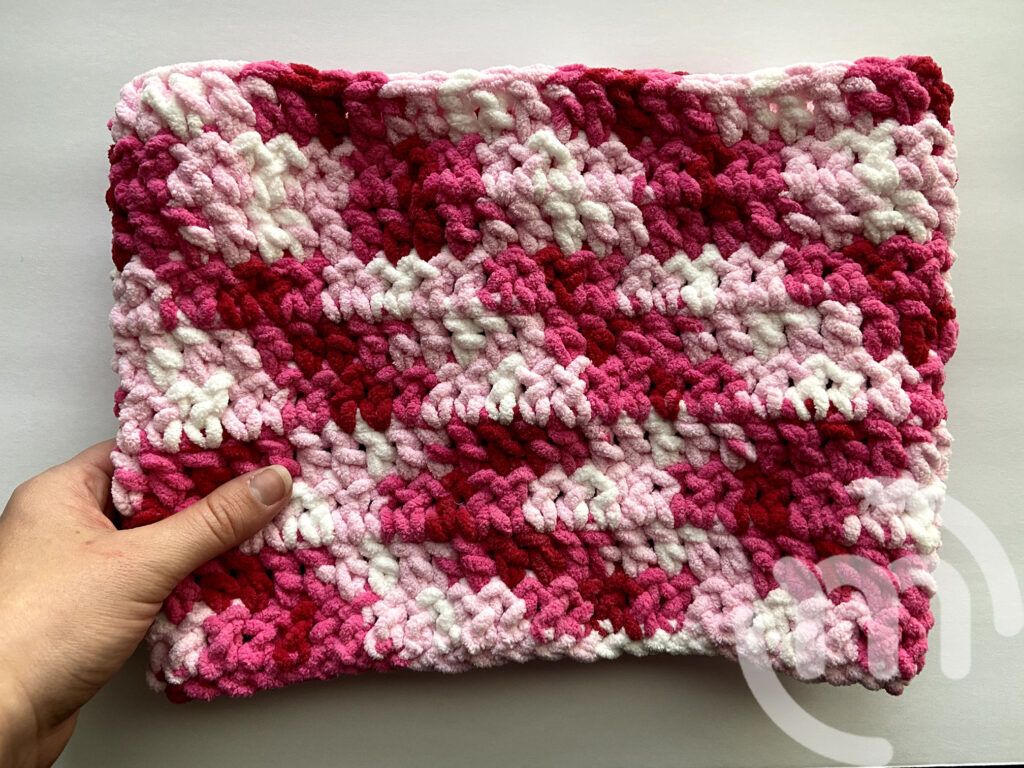
- Bernat Blanket Brights – It was enough to also make two kid hats!
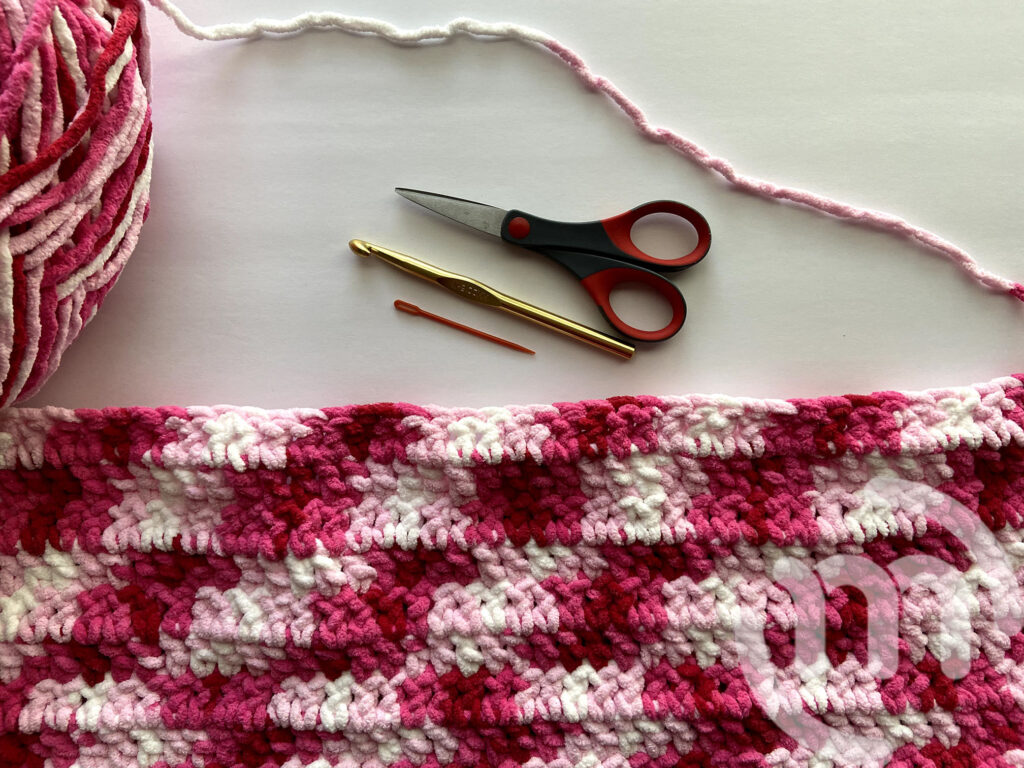
- Crochet Hook N or 9mm
- Scissors
- Yarn Needle
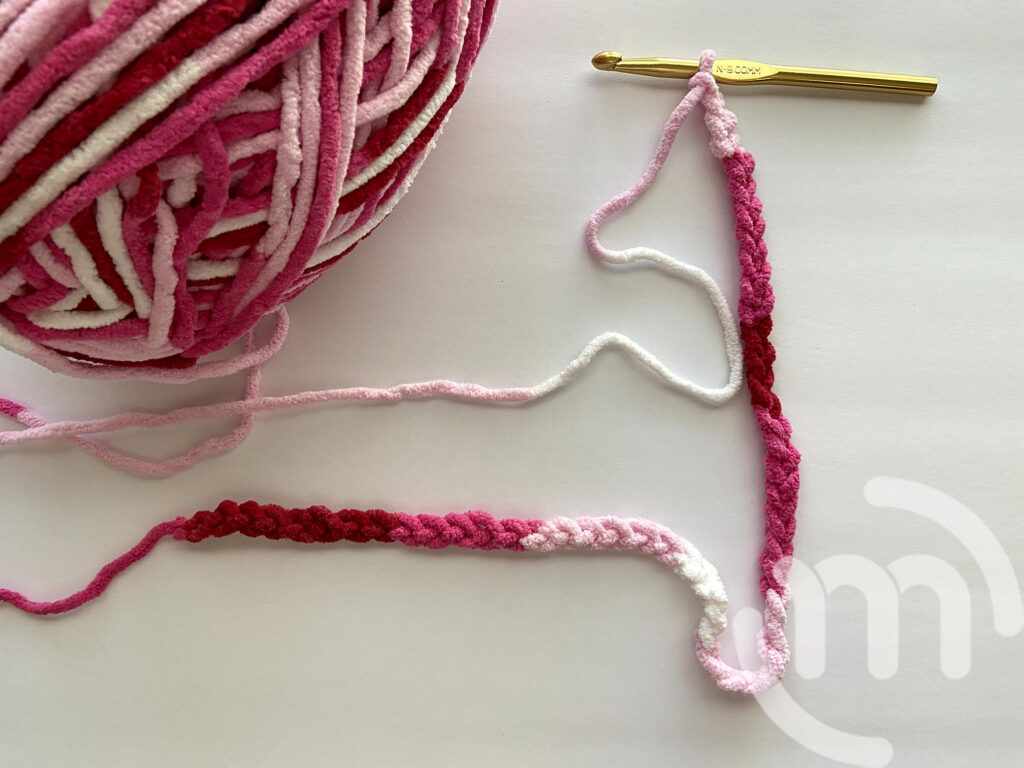
Step 1:
Chain 60 stitches. Double crochet into the second stitch from the chain and all the stitches to the end. Chain 2; turn.
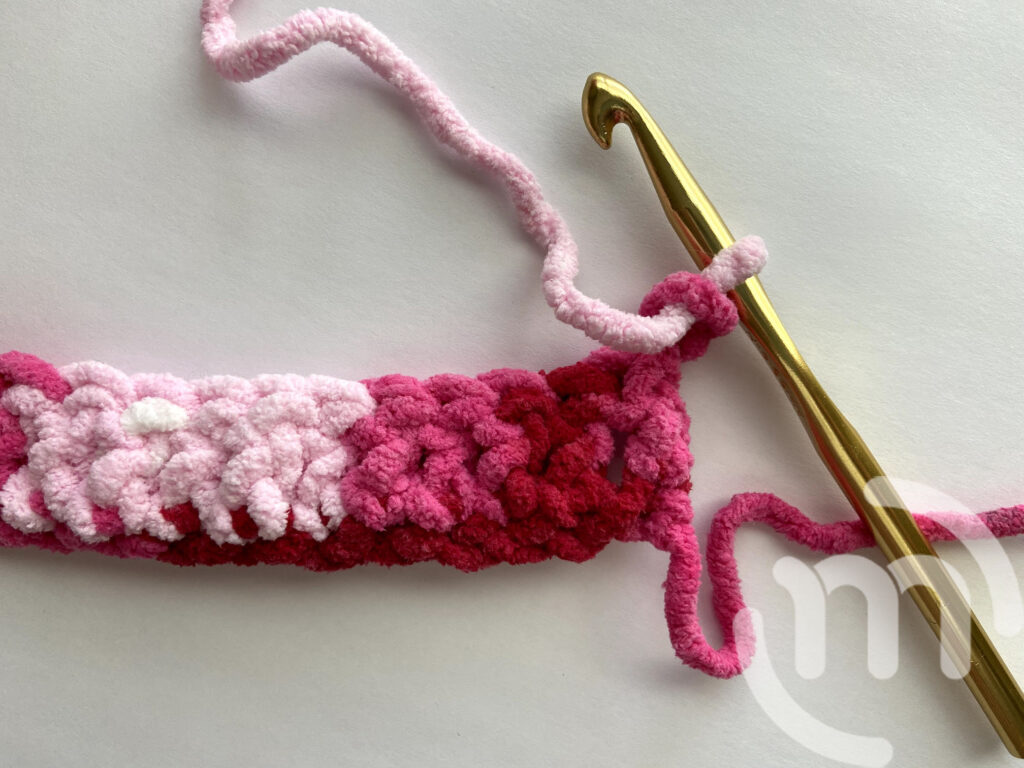
Step 2:
Double crochet into each stitch until you get to the other end. Chain 2; turn.
Repeat this pattern for 8 more rows, or until you have 10 rows. Do not chain 2 on your last row.
Step 3:
Slip stitch across the last row in all the stitches. This will make the top of the cowl look similar to the chain edge.
Step 4:
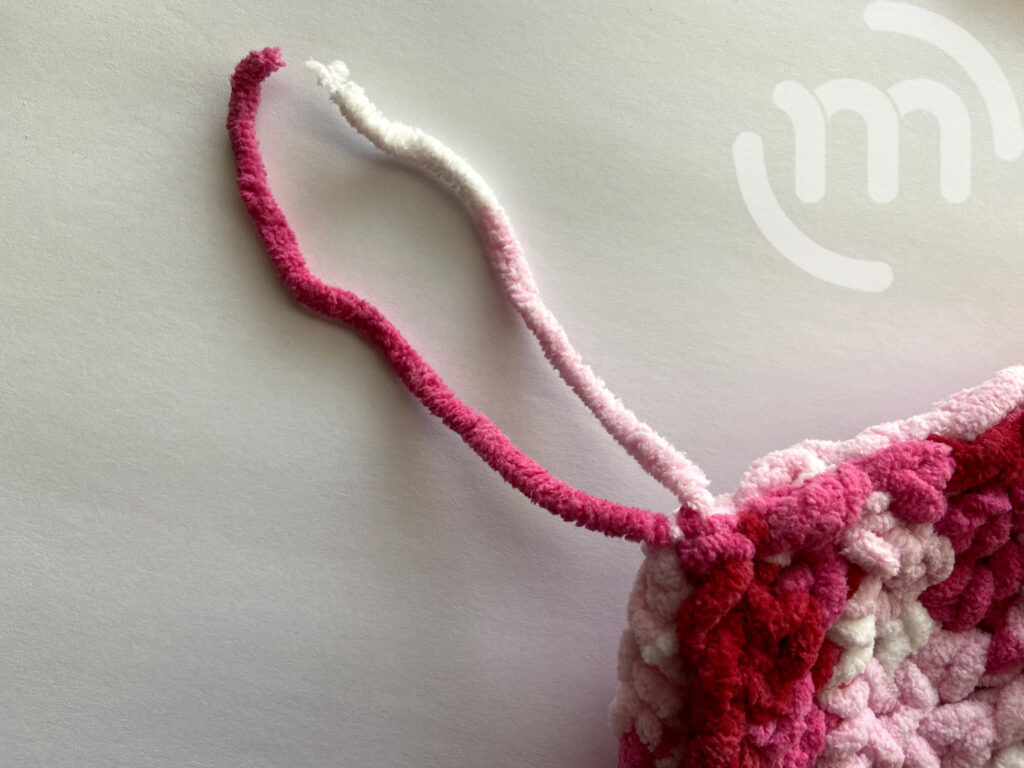
Leaving a 12-24 inch tail, cut your yarn and tie a knot.
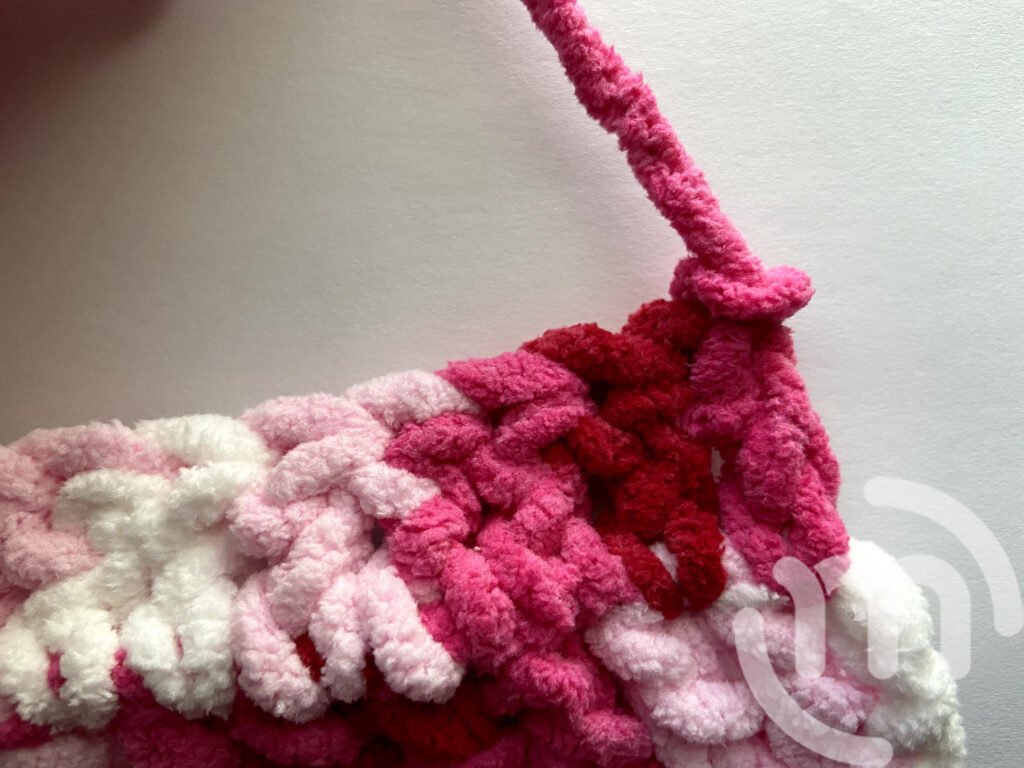
Step 5:
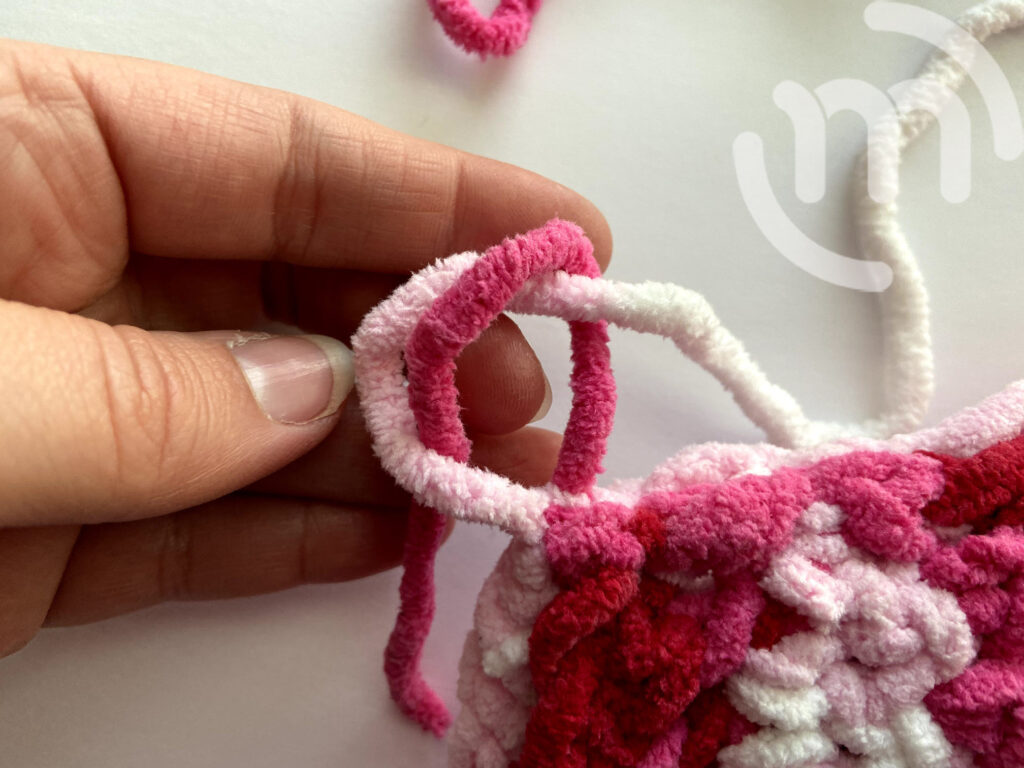
Put the two “wrong sides” together – I put it in quotes because they always look very similar to me – so I don’t feel it really matters in this case.
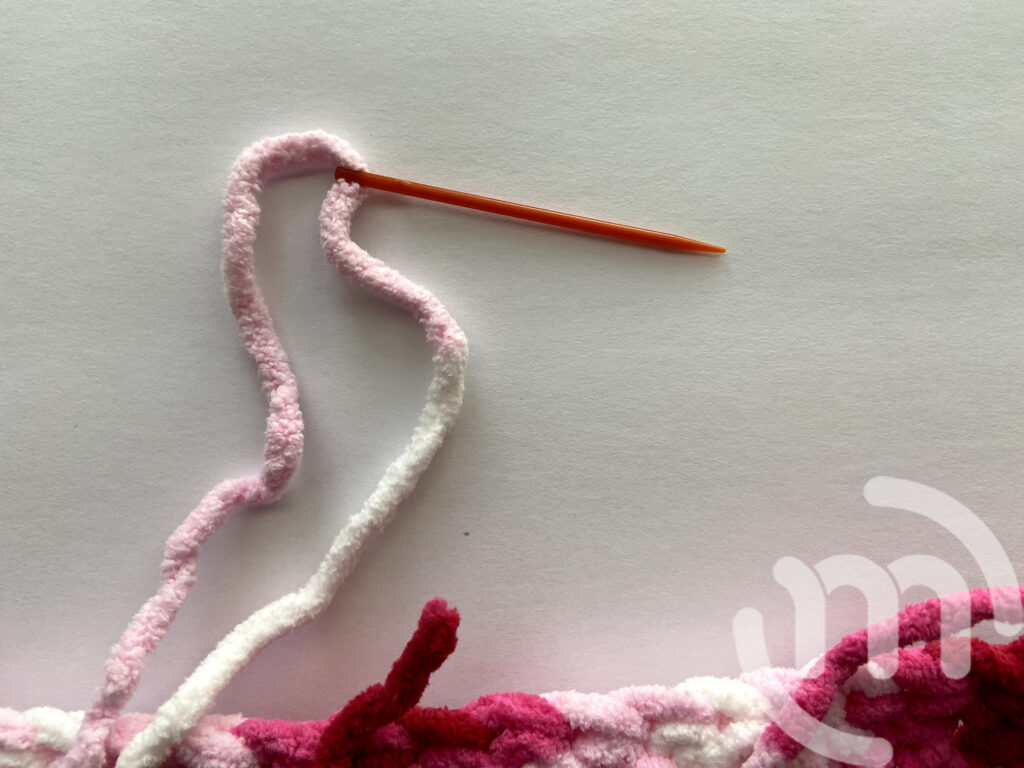
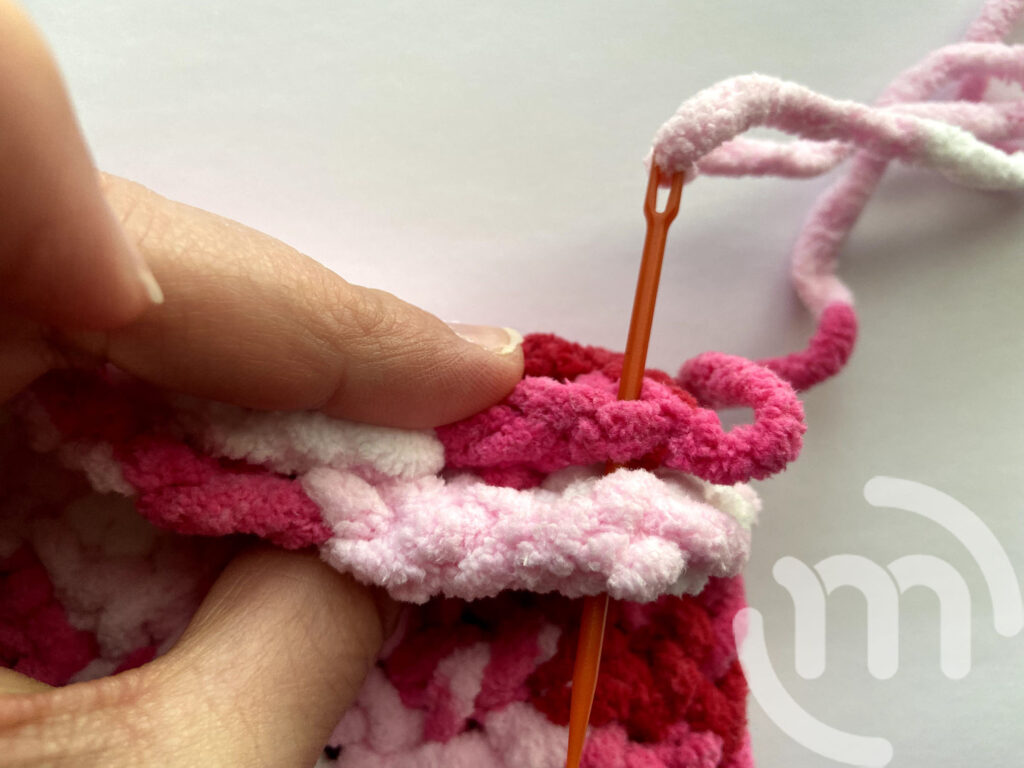
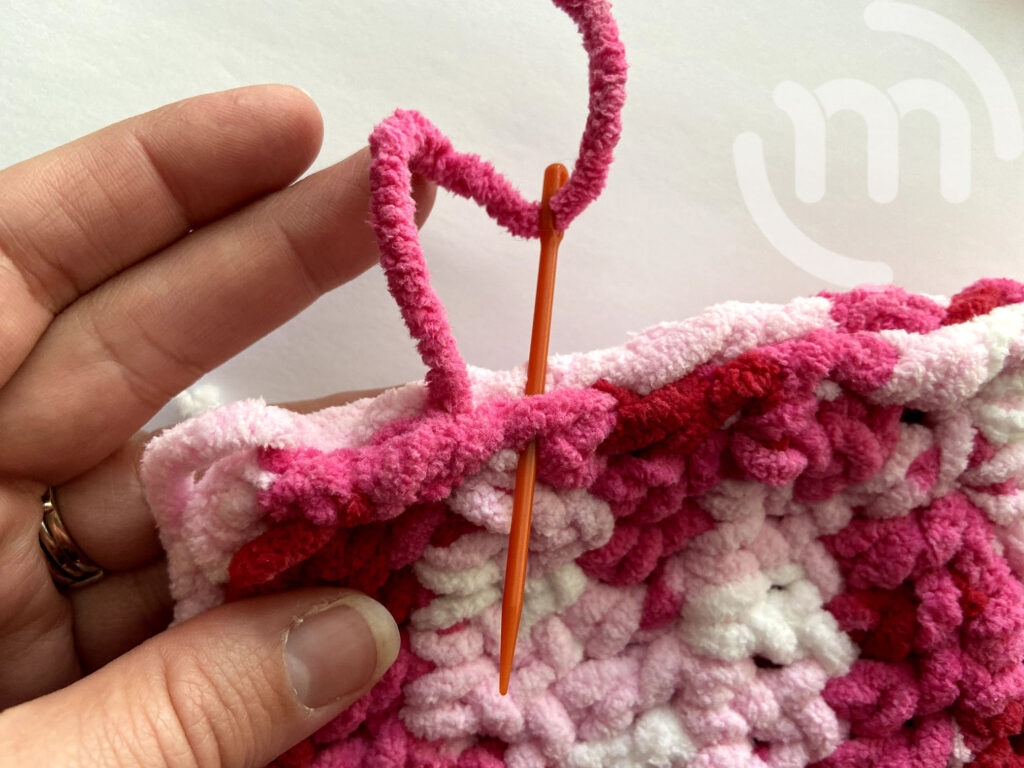
Thread the tail through your yarn needle and sew the two short ends together creating a circle.
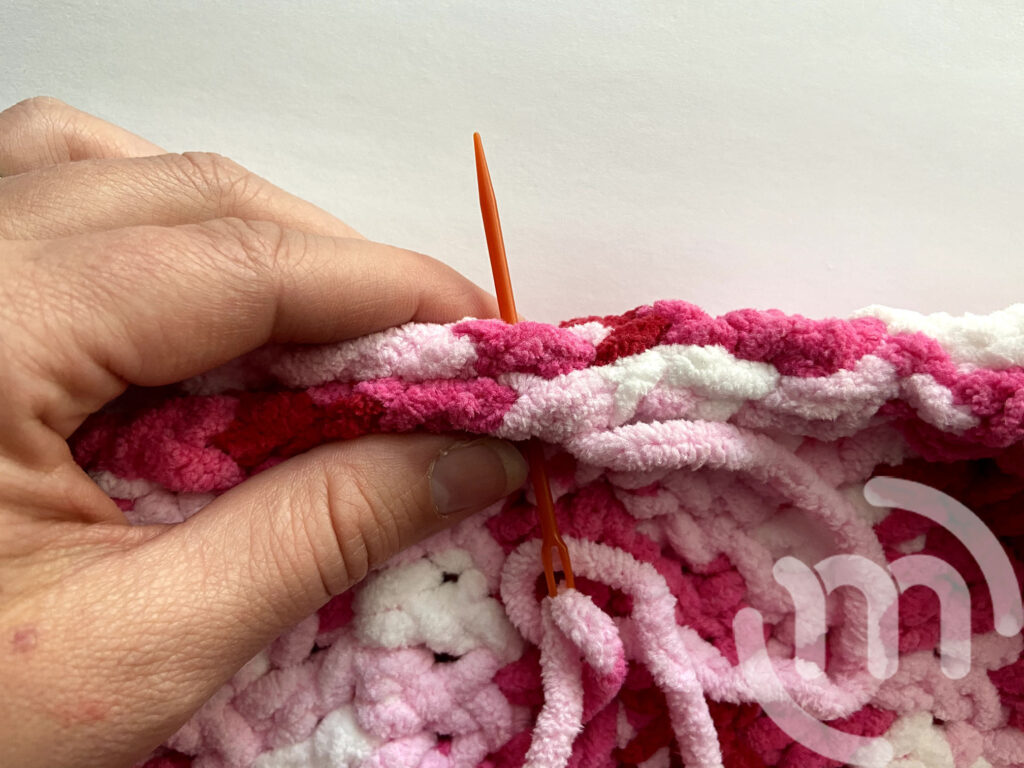
Step 6:
Tie the two ends together into a knot and cut. Weave in your ends and trim the rest of the yarn off.
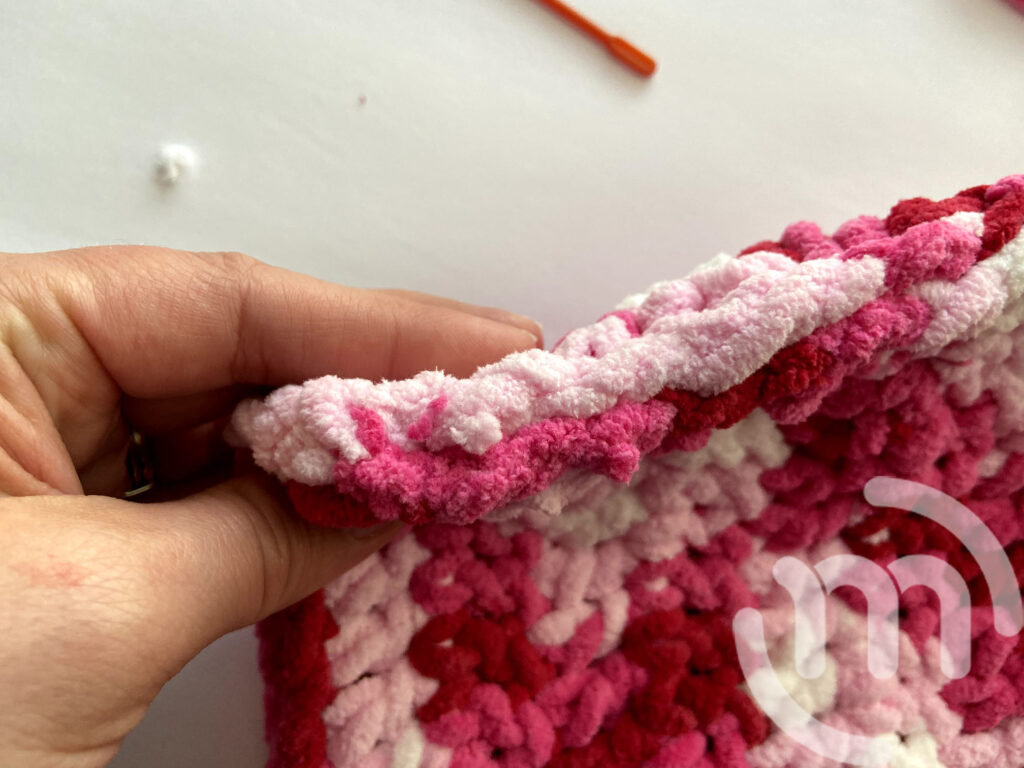
Turn the cowl right side out hiding your sewn edge.
I also made a cute little crochet hat from this tutorial on YouTube!