
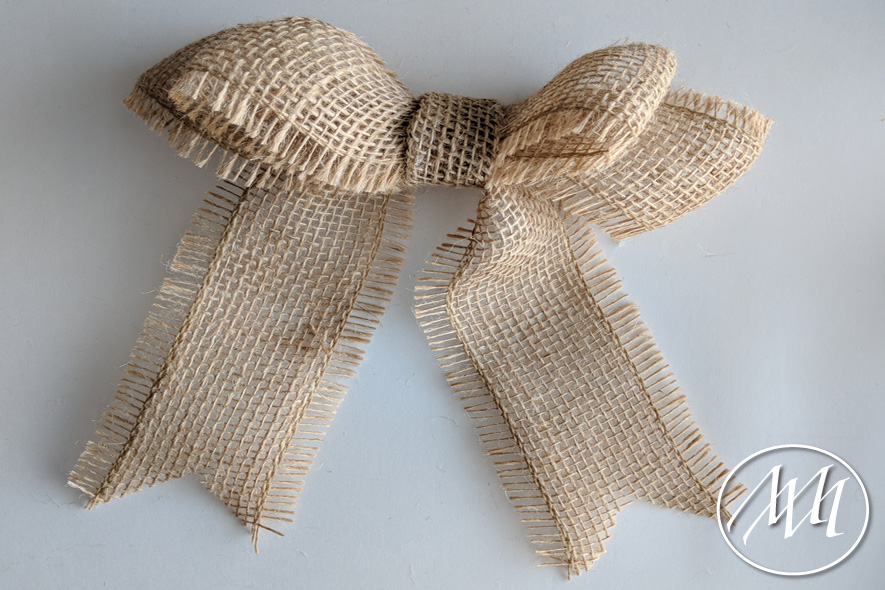
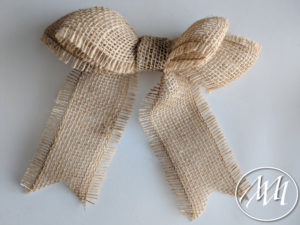
Quickly DIY this adorable, yet simple, burlap bow for any of your next projects! Perfect for wreaths, too!
*This most may contain affiliated links. For more information on this, please see my Disclosure page!*
Materials:
- Burlap Ribbon
- Hot Glue Gun
- Scissors
- Floral Wire or Bead Wire
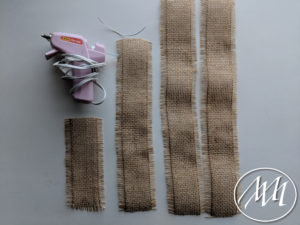
Step 1:
Cut your burlap ribbon in 3 sizes:
- 1 short ribbon 6”
- 1 medium ribbon 12”
- 2 long ribbons 16” each
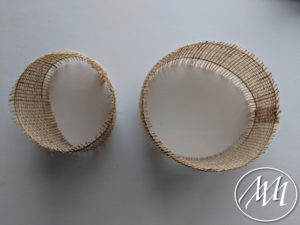
Step 2:
Apply some hot glue to the medium ribbon and one of the long ribbons on the short edge and attach it in a circle.

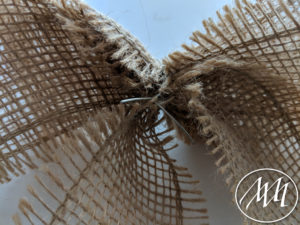
Step 3:
Place the long ribbon circle on the bottom and the medium ribbon circle on top. Pinch in the middle and twist the floral wire around to hold in place, but keep the wire open on the end.

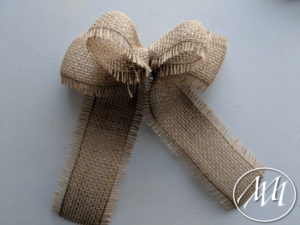
Step 4:
Pinch the other long ribbon in the middle and attach it to the bow with the floral wire. You can now twist it together and close it all the way.
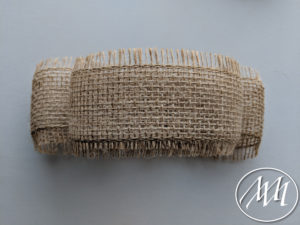
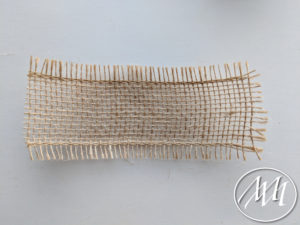
Step 5:
Apply some hot glue to the short ribbon’s long edge and fold it to the middle. Do the same on the other side. Cut to make a clean edge.

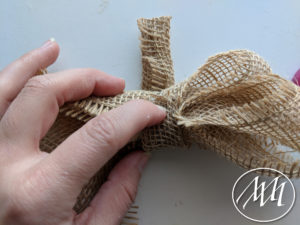
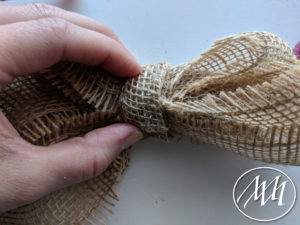
Step 6:
Wrap around the center of the bow to hide the floral wire and attach with more hot glue. Cut off any excess.
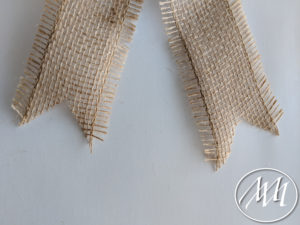
Step 7:
Cut triangles out of the long ribbon that hangs down to add a little bit of extra character.
3 thoughts on “How to Make a Burlap Bow”