Love Ice Cream? You’ll love getting to create your own and it’s so simple!
*This post may contain affiliated links. For more information on this, please see my Disclosure page!*
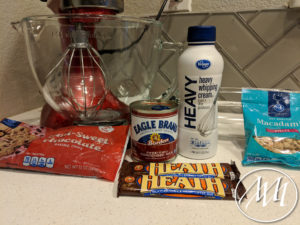
Ingredients:
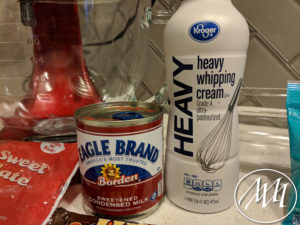
- 2 Cups (16 oz) Heavy Whipping Cream
- 14 oz Sweetened Condensed Milk
- 2 Heath Candy Bars
- 1 Cup Chocolate Chips
- 1 Cup Macadamia Nuts
- Food Coloring (Optional)
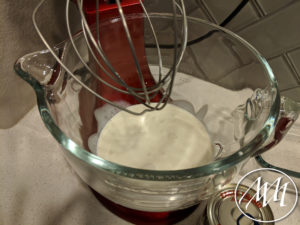
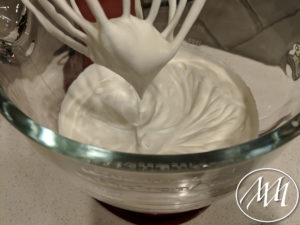
Step 1:
Whip up the heavy whipping cream until you have medium peaks. I just throw mine in my Kitchen Aid Stand Mixer and turn it to 3-4 to whip for 5-8 minutes. My mixer saves me both time and energy!
Step 2:
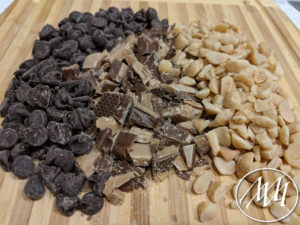
While your heavy cream is whipping, cut up your heath bars into bite sized pieces. I like to cut them in thirds length wise and then into pieces the other direction.

Step 3:
Portion out the rest of your ice cream mixtures: chocolate chips and macadamia nuts.
Step 4:
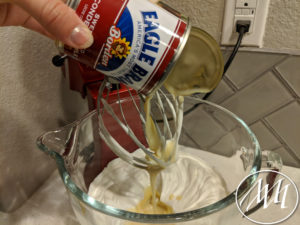
Once you have your medium peaks in your whipping cream, fold in your sweetened condensed milk, but do not over mix.
Step 5:
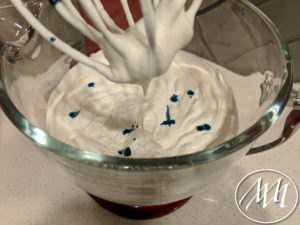
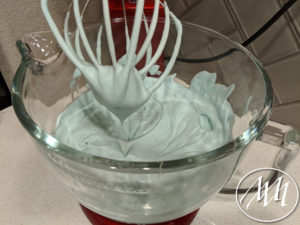
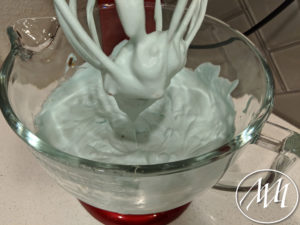
Add 6-8 drops of food coloring of your choice. Mix until well combined. This step is optional, but I think it’s kind of fun to add some color without changing the flavor of the ice cream at all!
Step 6:
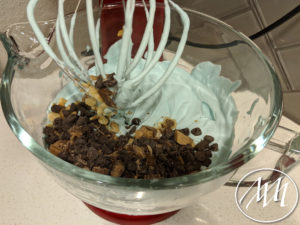
Add in your mixtures: Heath Bar, Chocolate Chips and Macadamia Nuts.
Step 7:
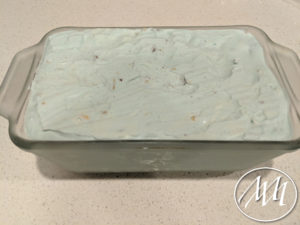
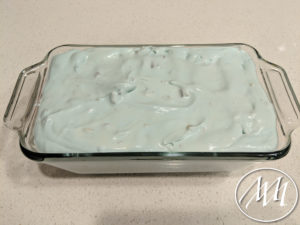
Pour the mixture into a glass container. I like to use my 1.5 quart casserole dish. Spread it out so the mixture is even in the dish.
Step 8:
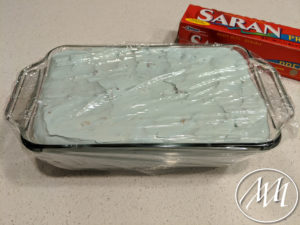
Cover with Saran Wrap and put in the freezer upright for 6+ hours.
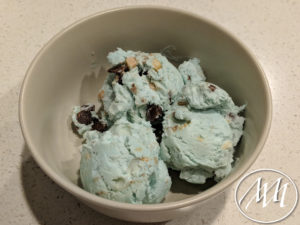
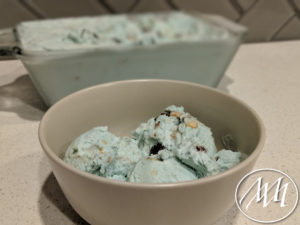
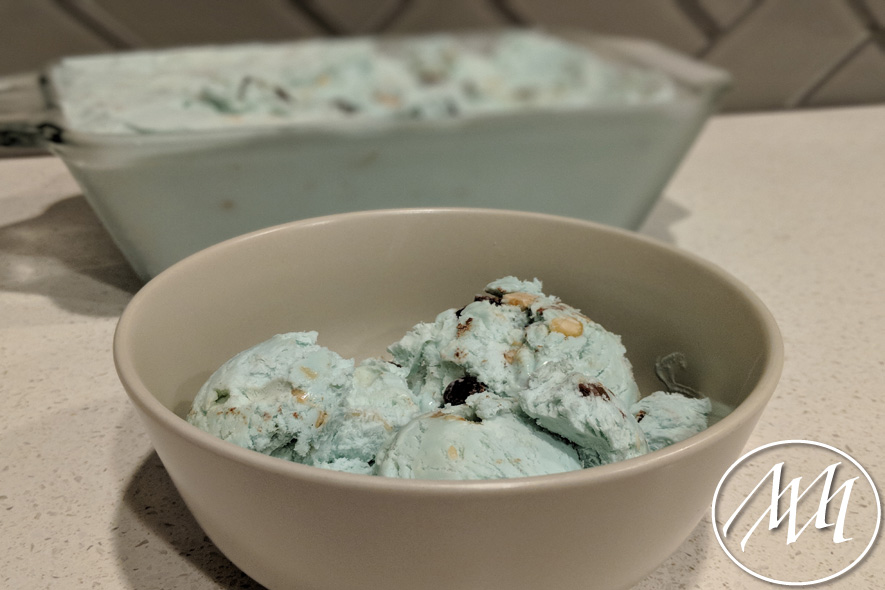
Step 9:
Enjoy your own homemade ice cream!