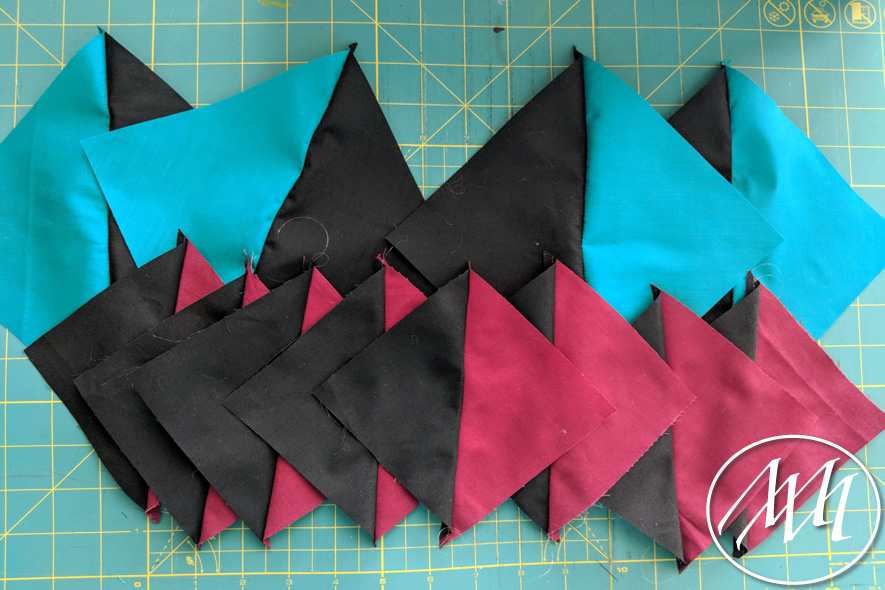
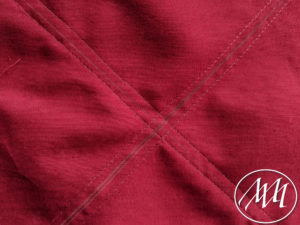
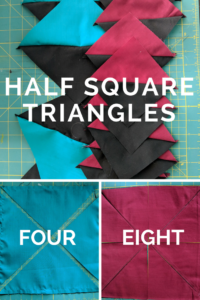
Use these techniques to sew some half square triangles for your next quilting or sewing project! They are so quick and fun to make — it’s magic!! This is also a great way to use up your left over fabric and bust that stash!
*This post may contain affiliated links. For more information on this, please see my Disclosure page!*
Materials:
- Fabric of choice
- Rotary cutter
- Scissors
- Self Healing Mat
- Sewing Machine
- Straight Edge
- Thread
- Iron
- Ironing Board
Step 1:
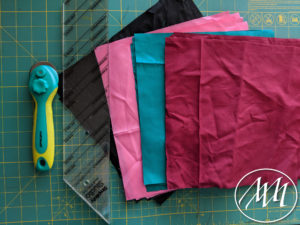
Cut several 10” x 10” squares out of your fabric of choice. I like to use my self healing mat with my rotary cutter to get accurate and quick cuts.
Step 2:
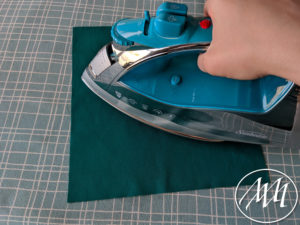
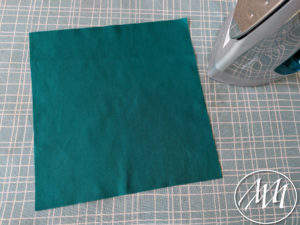
Iron any wrinkles out of the fabric and square up the fabric better if necessary.
Step 3:
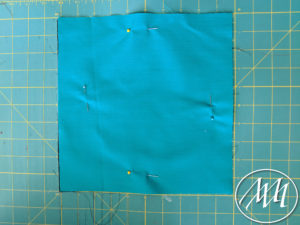
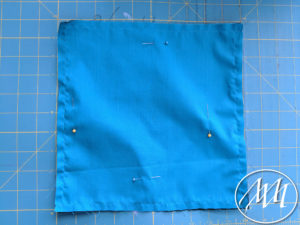
Place two of your 10” x 10” fabric pieces right sides together and place four pins to hold in place.
Step 4:
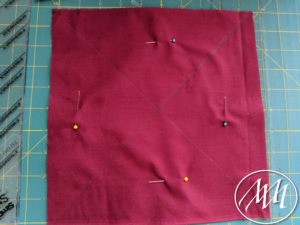
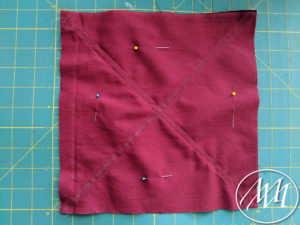
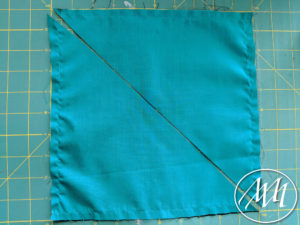
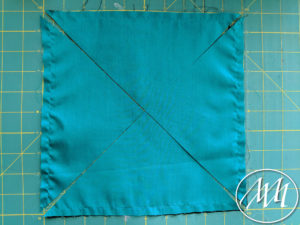
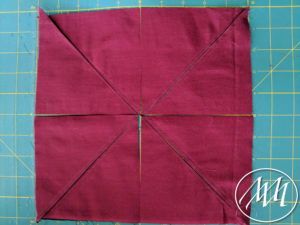
Draw a line diagonally from one end to the other. Turn and draw one more diagonal line so they make a X in the middle of the fabric. (This part isn’t necessary for four at a time technique)
Step 5: Sewing
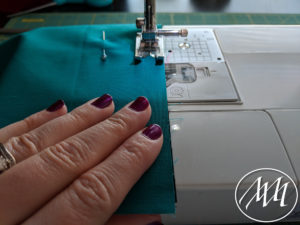
Four at a time: Sew a ¼” seam all the way around the edges of the two fabric pieces to sew them completely together.
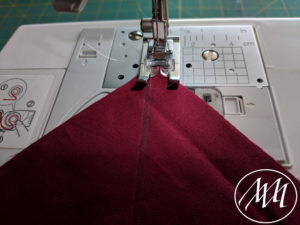
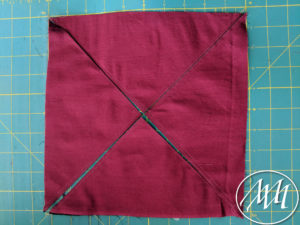
Magic 8: Sew a ¼” seam on each side of your lines in both diagonal directions. You’ll end up with 4 lines total.
Step 6: Cutting
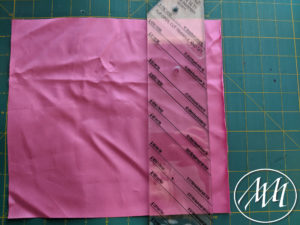
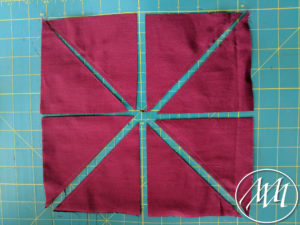
Four at a time: Place your straight edge diagonally from one end of the other. Cut, turn and repeat in the other diagonal direction.
Magic 8: Place your straight edge diagonally from one end to the other. Cut, turn and repeat in the other diagonal direction being careful not to move your pieces after you cut them. Place the straight edge in the middle. Cut, repeat in the other direction to cut in the middle. You should have made a total of 4 cuts.
Step 7:
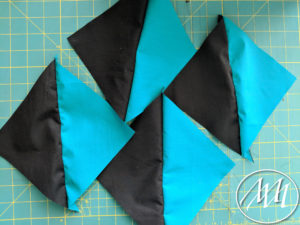
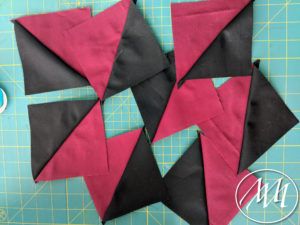
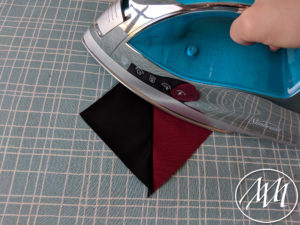
Open each triangle and iron the seams open. Set aside for your project! MAGIC!!

