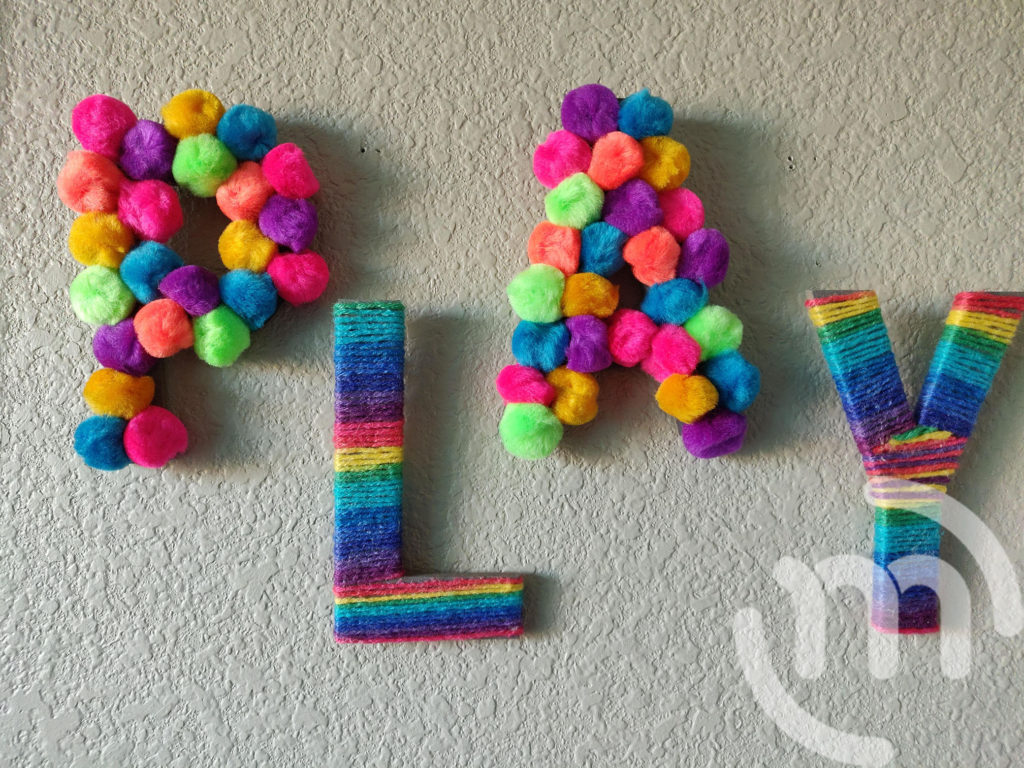

This is such a fun little project to easily (and cheaply) decorate a room. You could even get your kids to help with it!
*This post may contain affiliated links. For more information on this, please see my Disclosure page!*
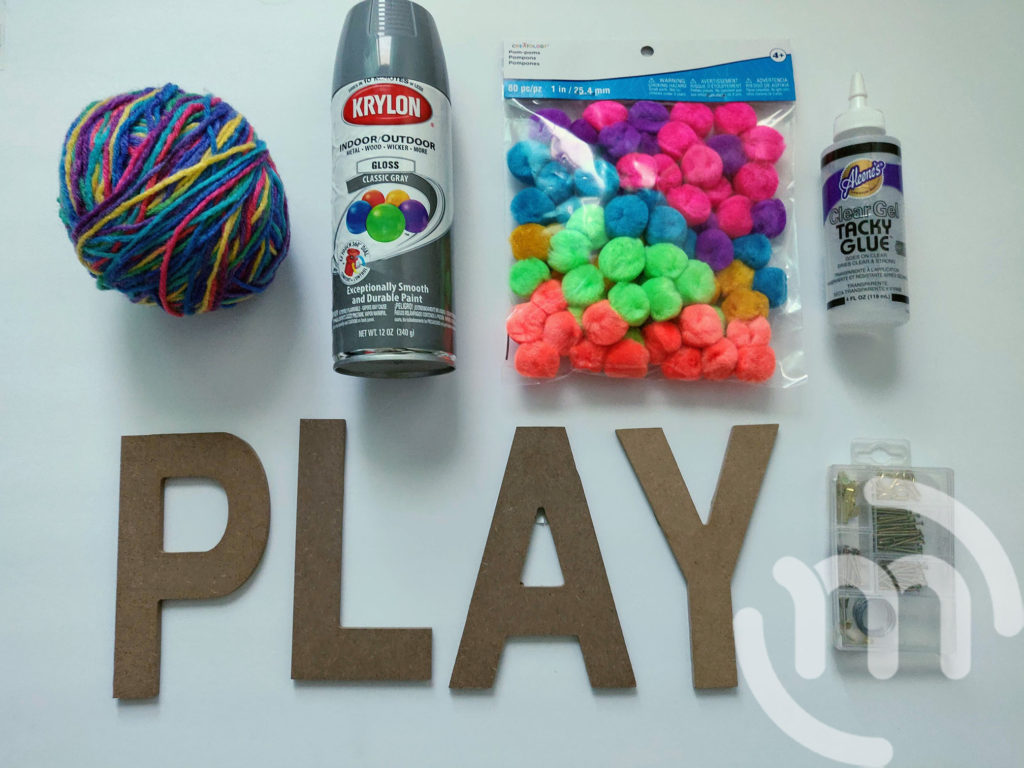
Materials:
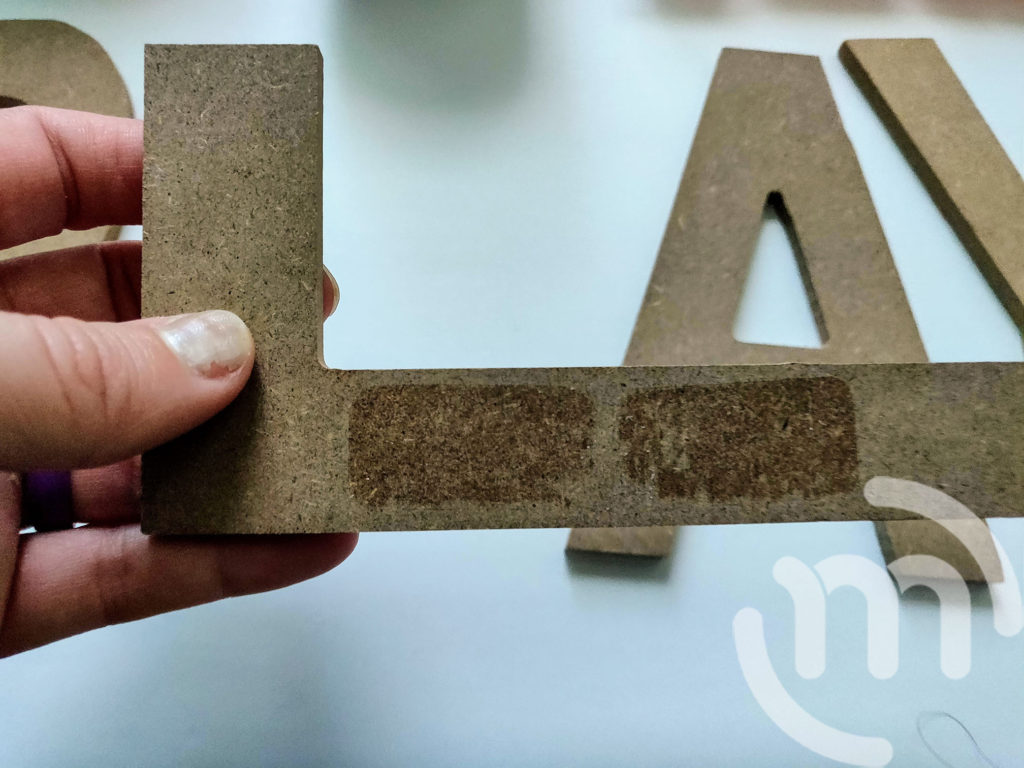
- 5” Wooden Letters
- Pom Poms
- Yarn
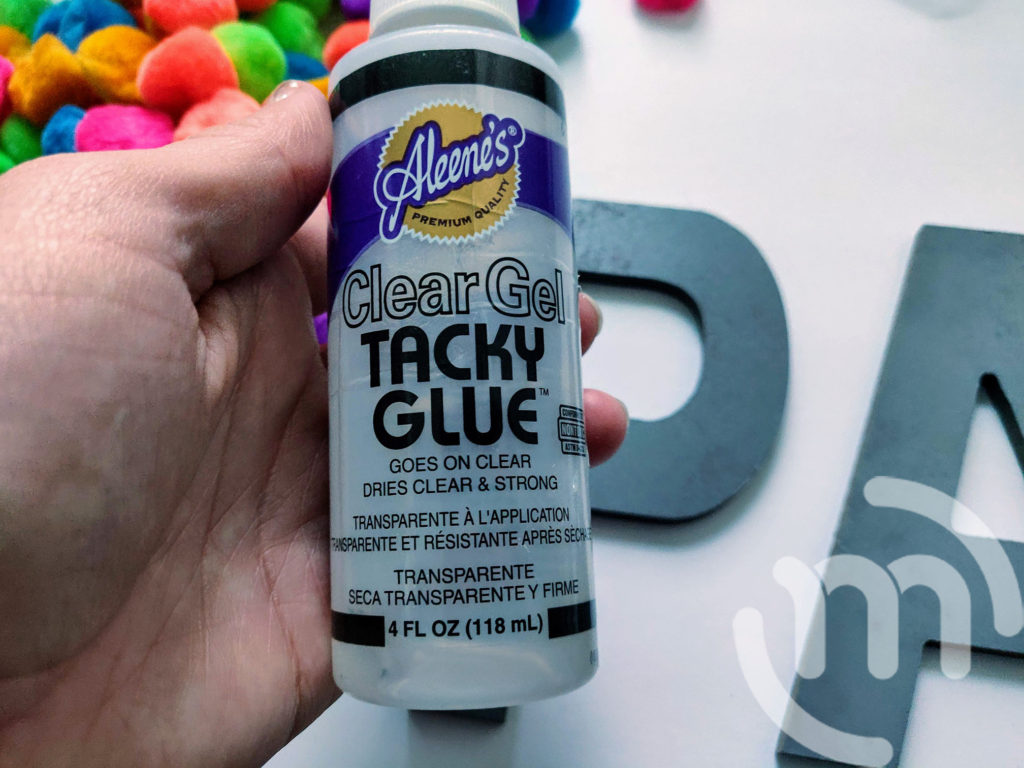
- Glue
- Wall Hangers
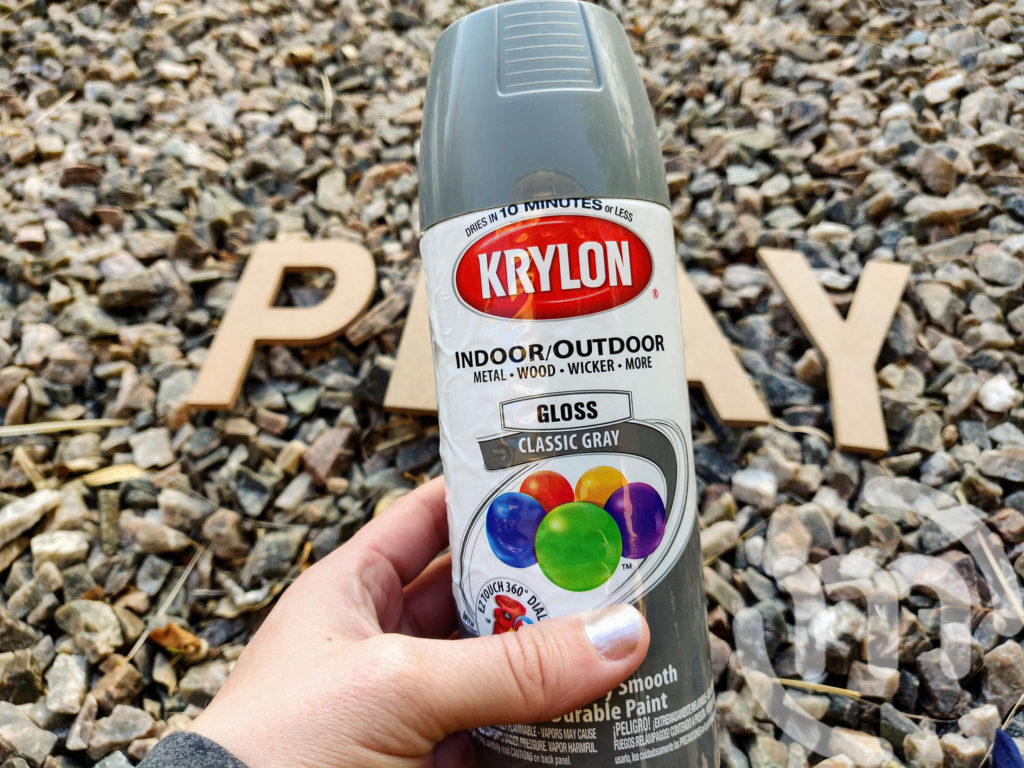
- Spray Paint (optional, but recommended)
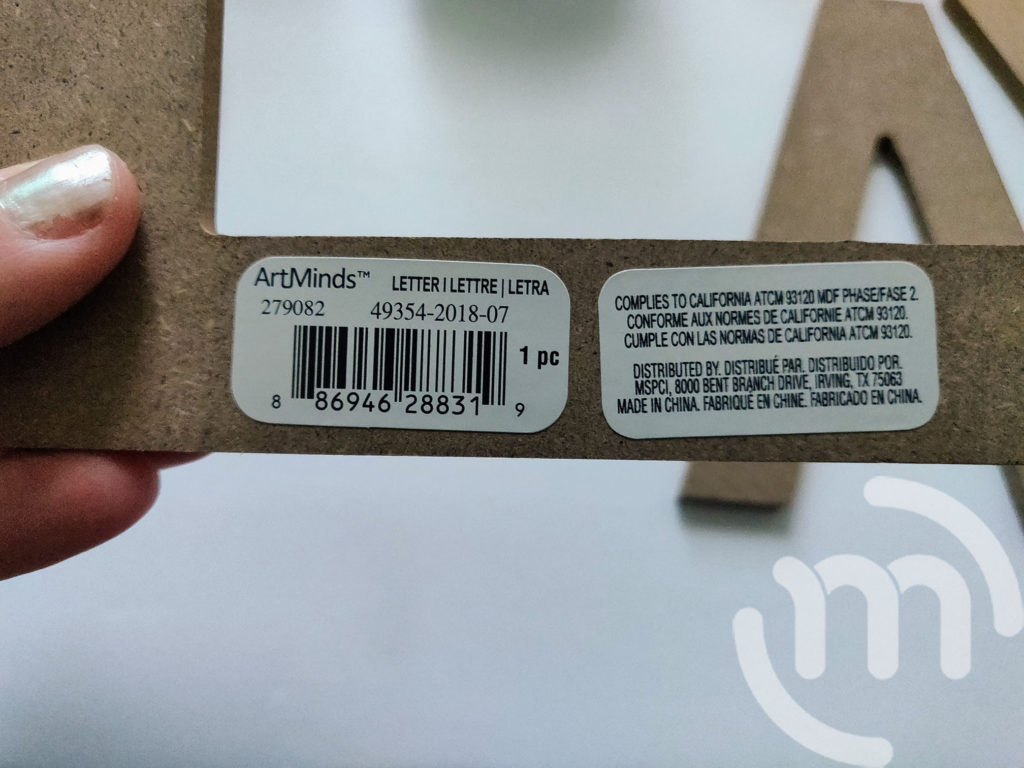
Step 1:
Remove any stickers or anything that is on the wooden letters.
Step 2:
Take the letters to a well ventilated area to spray paint. I did mine in my front yard rocks. Paint all areas of the letters including the front, back, and insides. Wait until fully dry before handeling.
This part is optional, but I recommend it for a cleaner look. If there are any gaps in your pom poms or yarn, it will be more uniform and less noticeable.

Step 3:
Figure out which letters you want wrapped in yarn and which letters you want covered in fun pom poms. I decided to save the “easier” letters for the yarn since that would be a little more difficult.

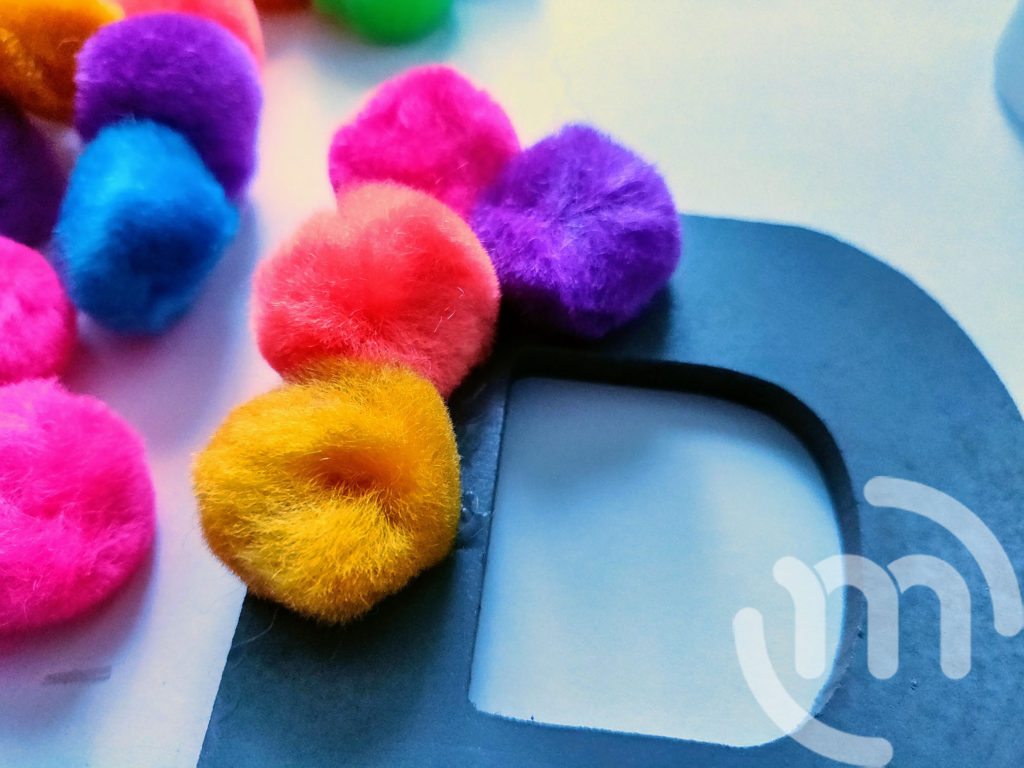
Step 4:
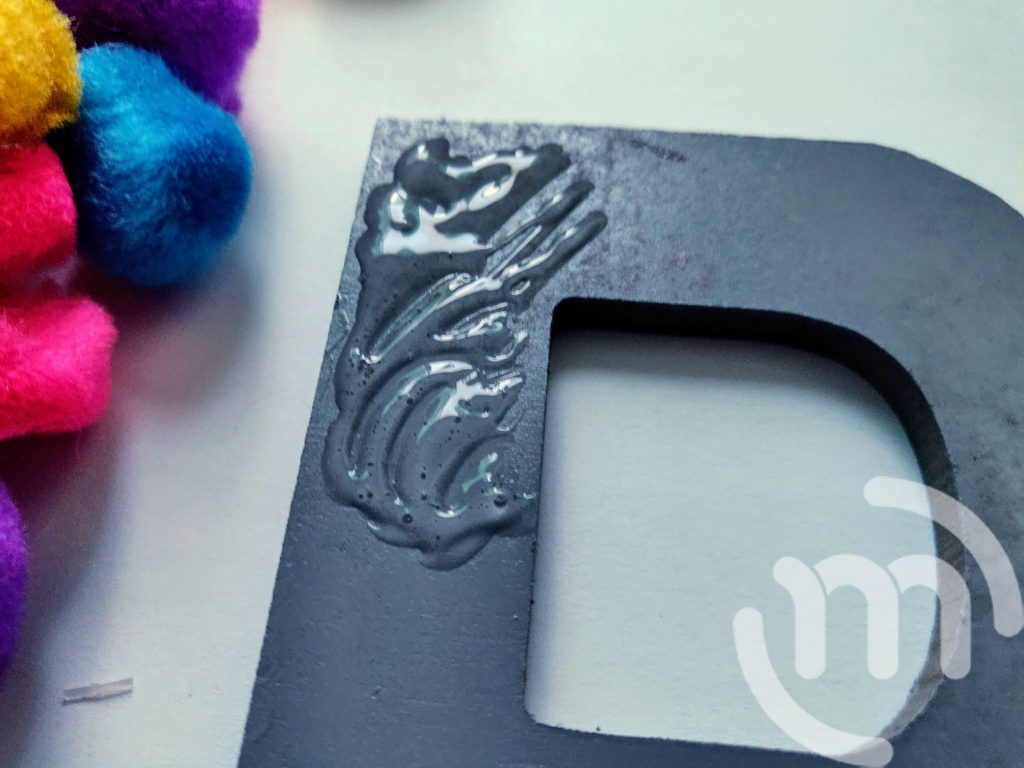
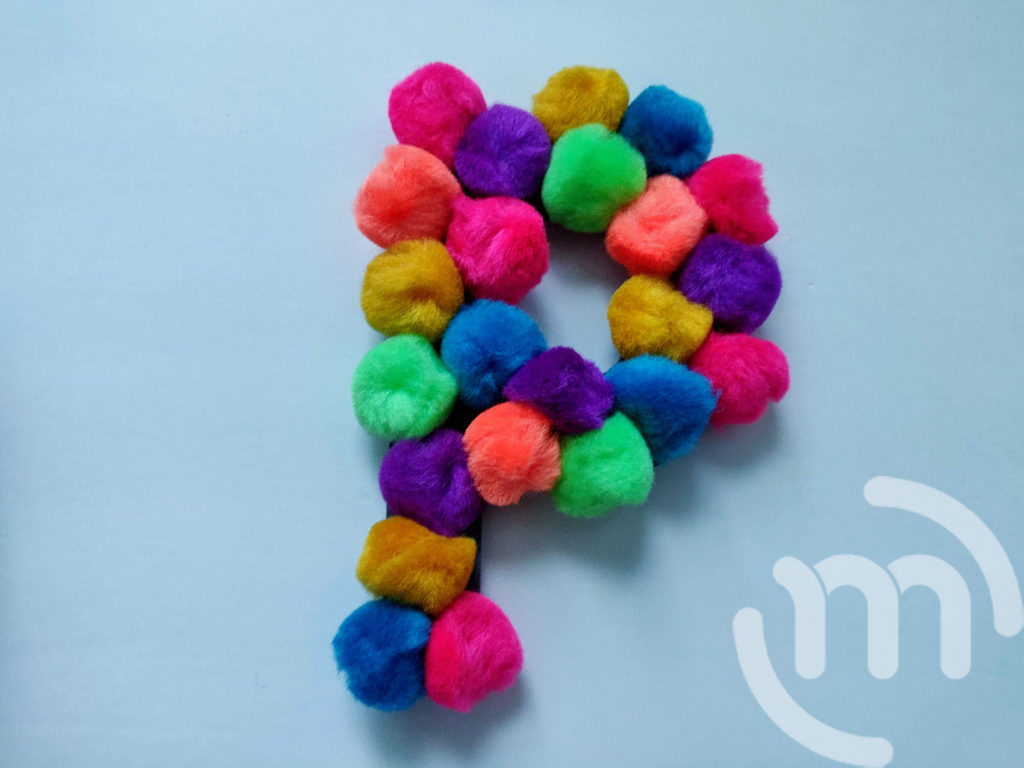
For the pom pom covered letters, apply some glue to the wooden letter in small increments so you can add all of the pom poms before it dries too fast. Attach your pom poms in whichever order you want them to be in. I did a more random pattern and just mixed up the colors.
Repeat on any additional letters.
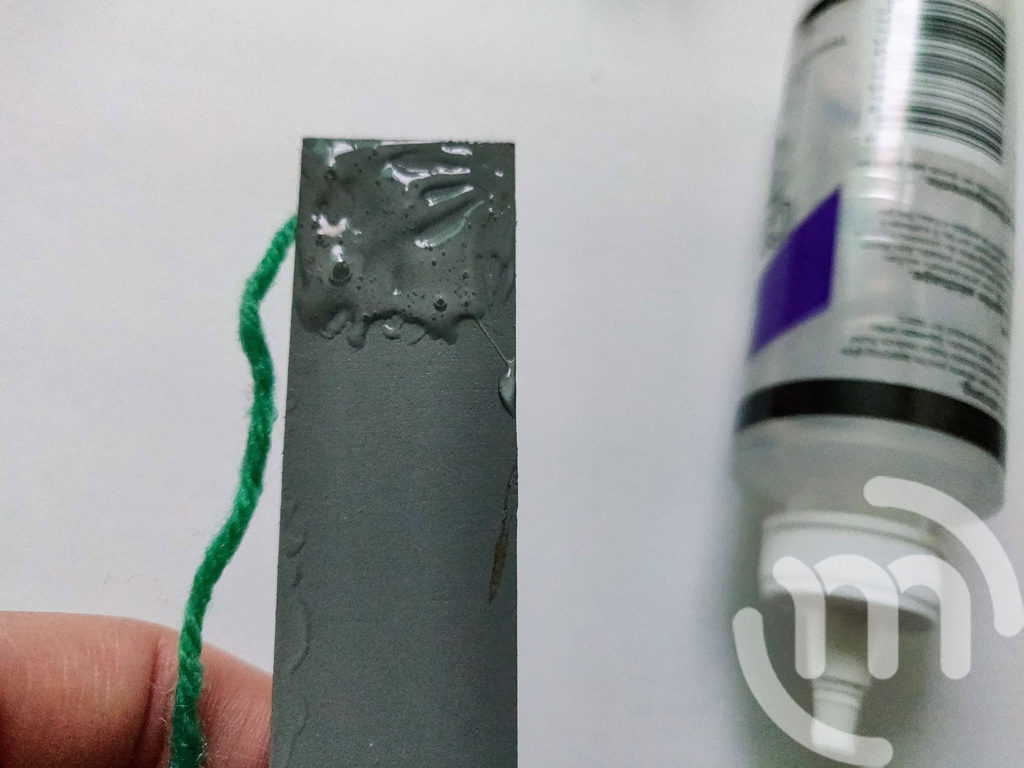
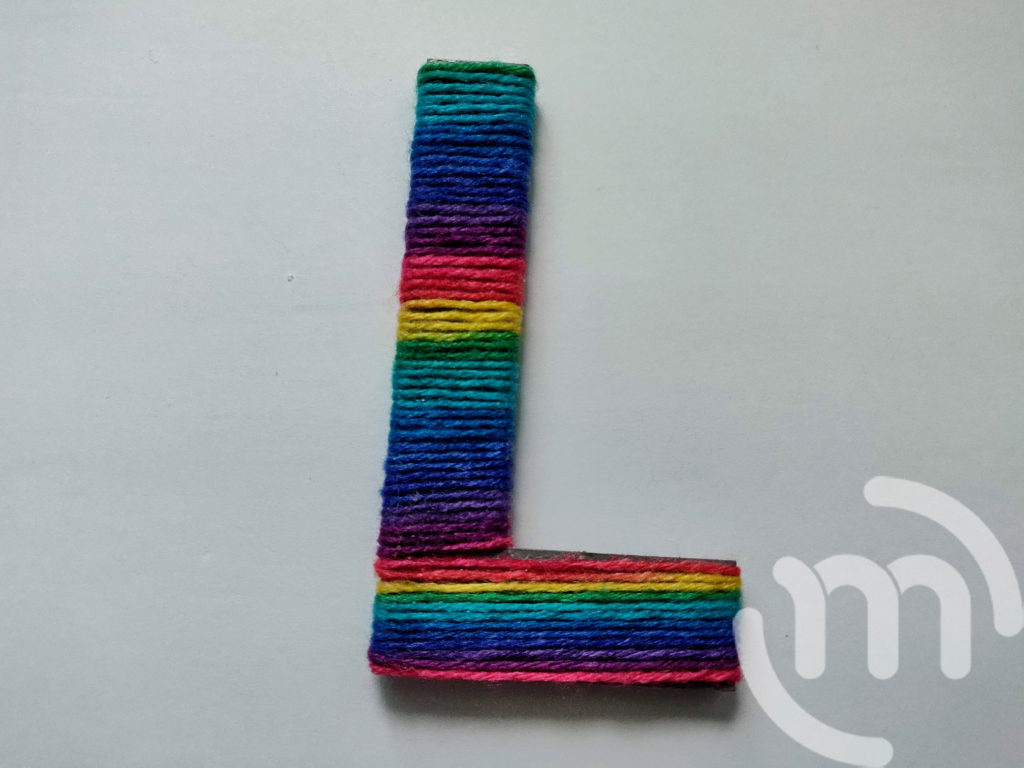
Step 5:
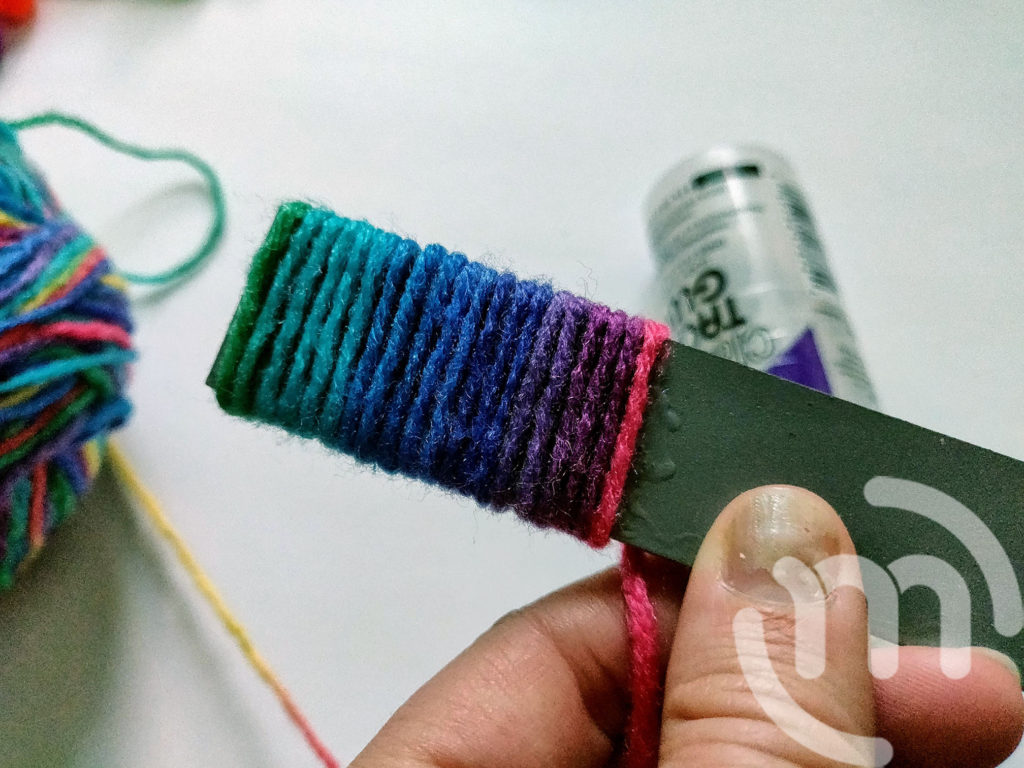
For the yarn wrapped letters, apply a small amount of glue near the top of one of your letters on the back so you can start your yarn wrapping on the back of the letter. Hold it in place on that back until it dries a little bit enough to hold it. Apply more glue in small increments on the front of the yarn and gently wrap your yarn around the letter.
Repeat on any additional letters.
Allow letters to fully dry before going on to the next step.

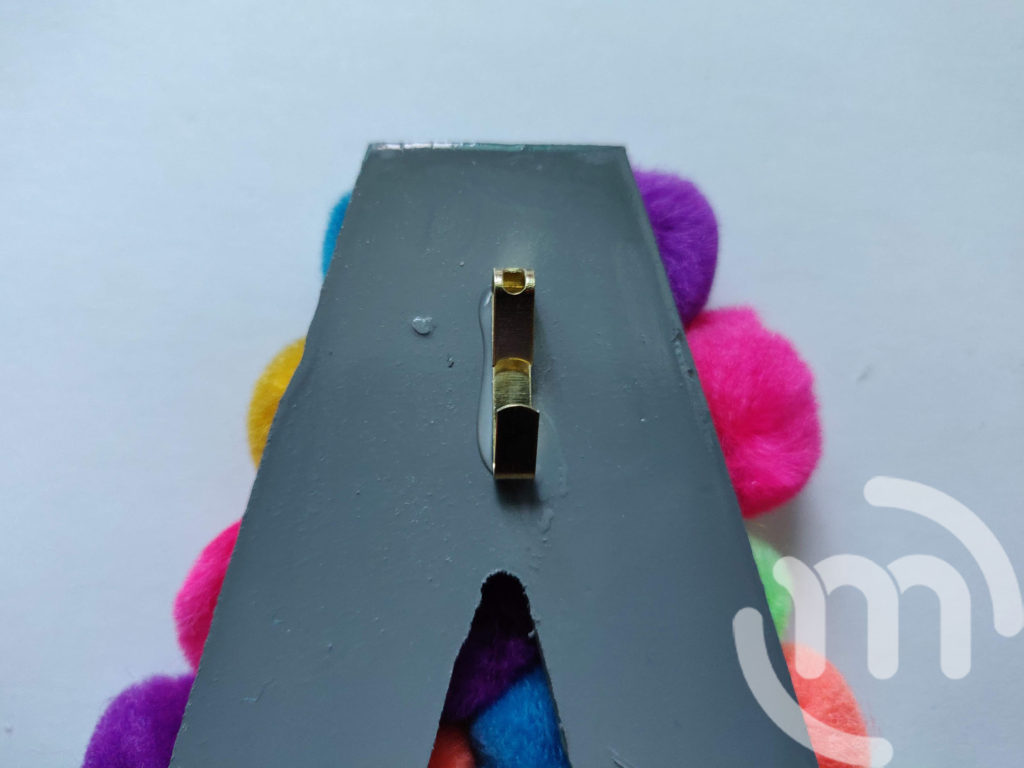
Step 6:
Apply some wall hanging pieces to the back of each letter so you can hang them easily on the wall in your room. I didn’t use the correct hangings, I know that, but it still worked. I just used glue to glue the pieces in place because the nails that came with the hangings were longer than the wooden letter and would have gone straight through them.
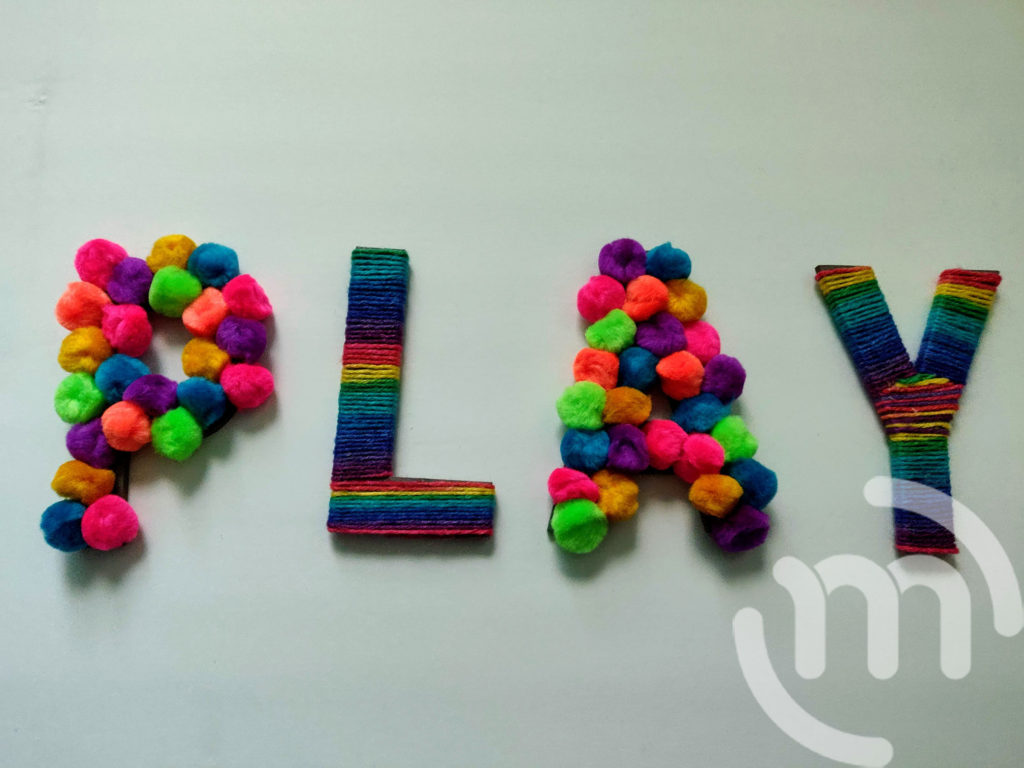
Step 7:
Hang your word in the room that you want them in! Enjoy your fun work!