

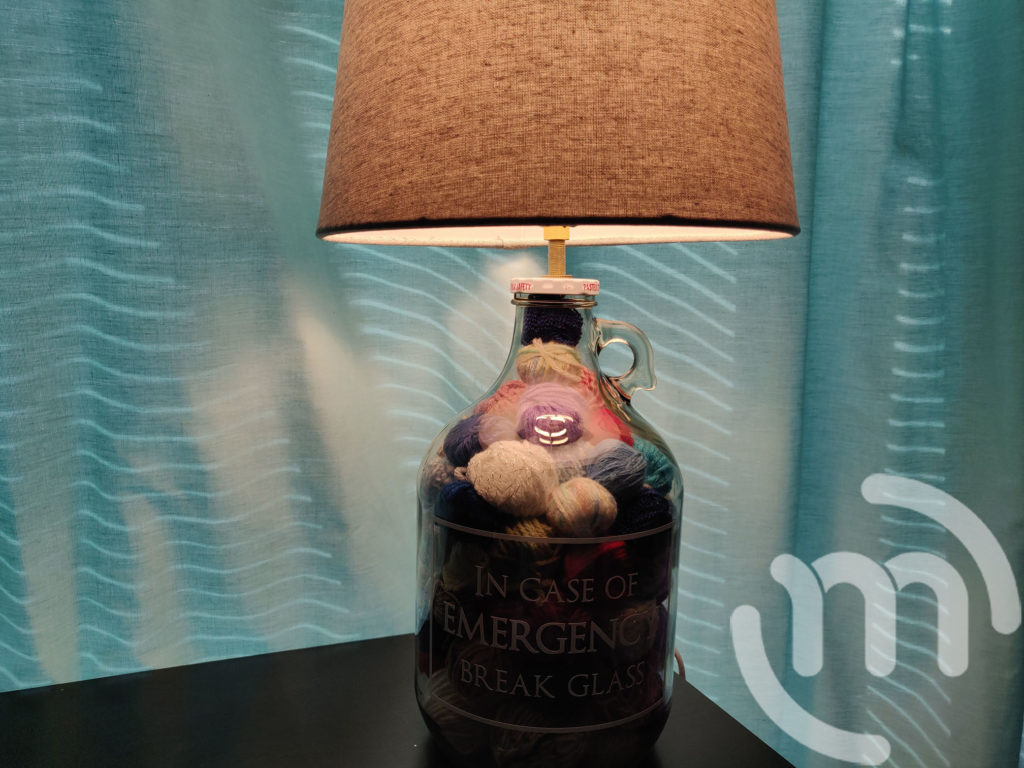
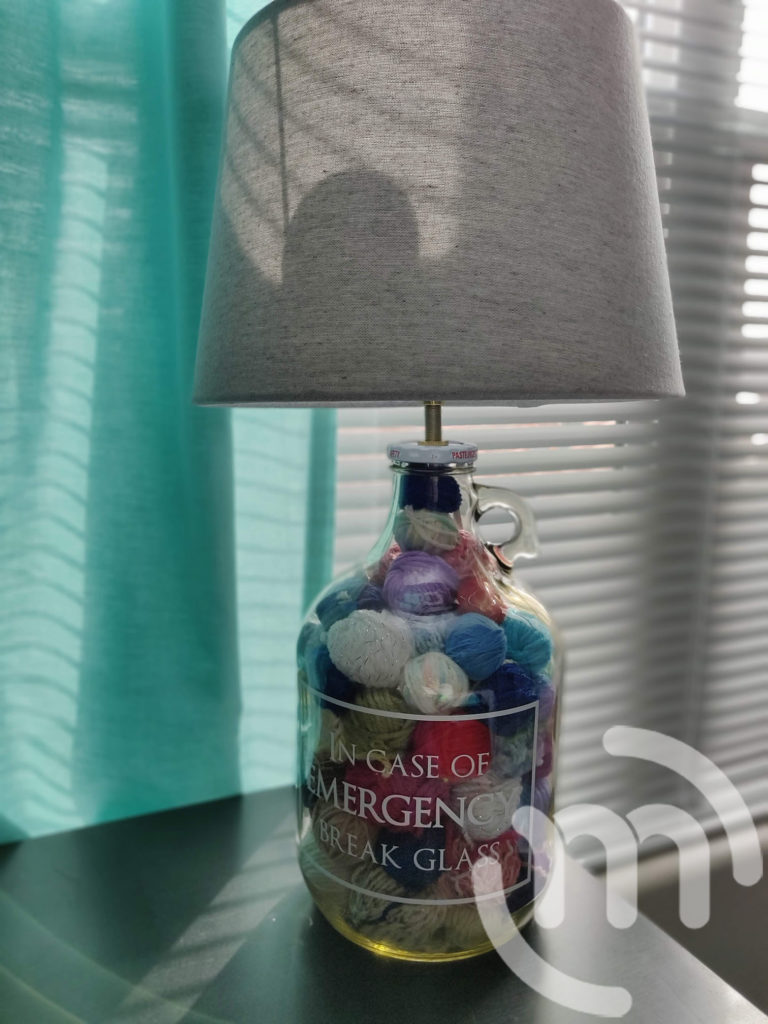
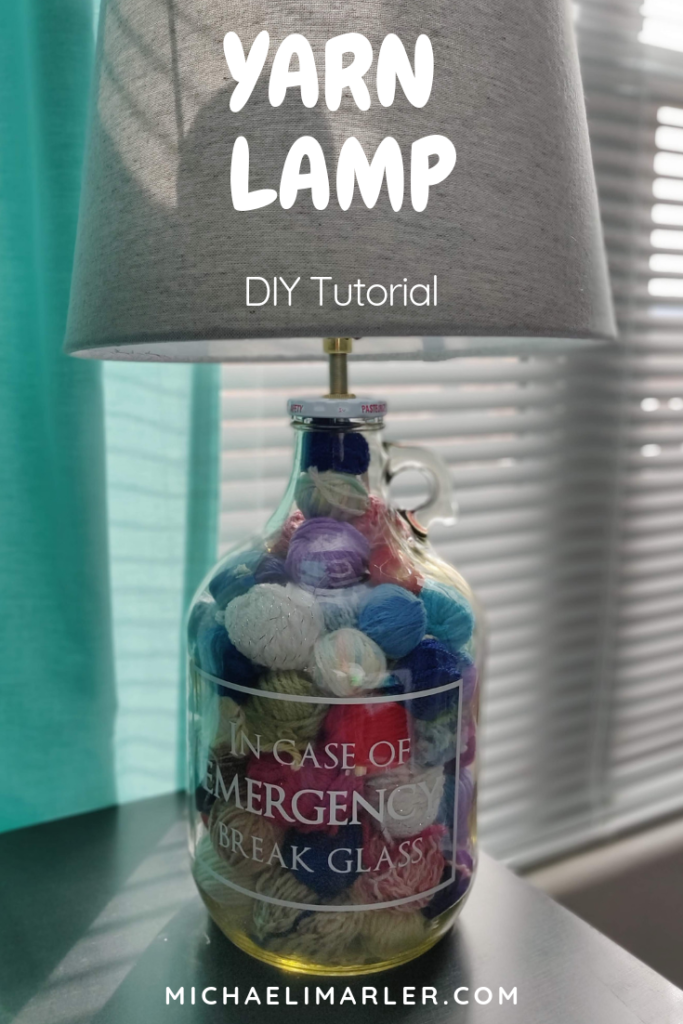
Are you looking for a unique way to use up some of your scrap yarn? DIY a lamp!!
*This post may contain affiliated links. For more information on this, please see my Disclosure page!*
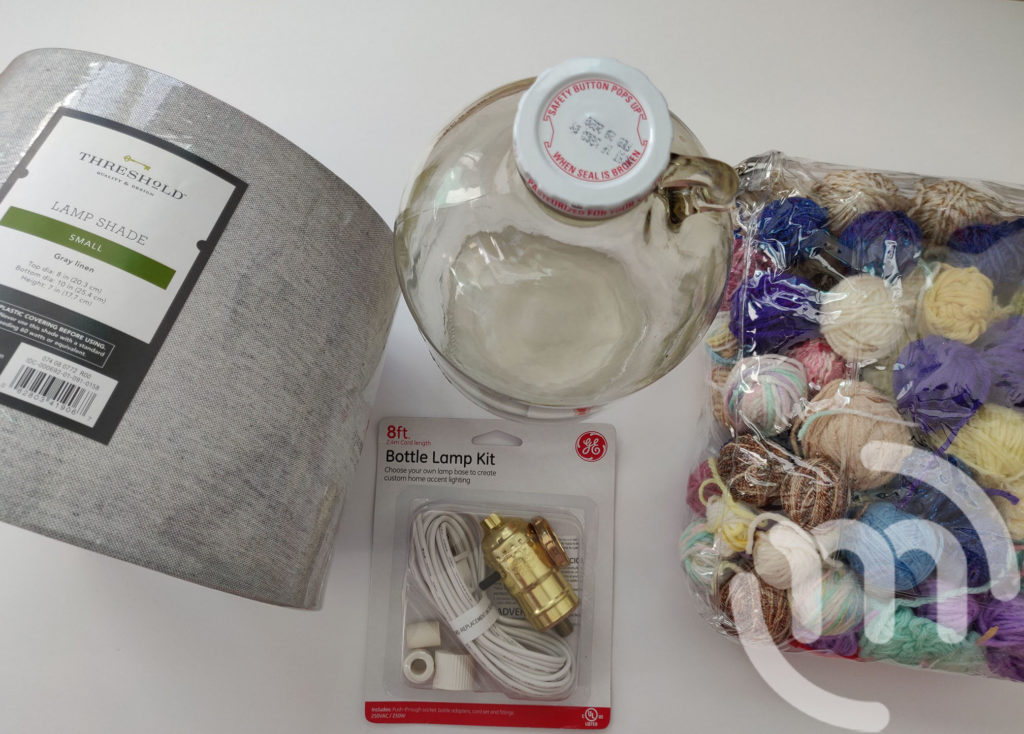
Materials:
- Recycled Jar
- Lots of yarn balled up
- GE Bottle Lamp Kit
- Drill with Glass Drill Bit
- Screwdriver
- Lamp Shade
- Sticker (optional, but super cute)
Step 1:
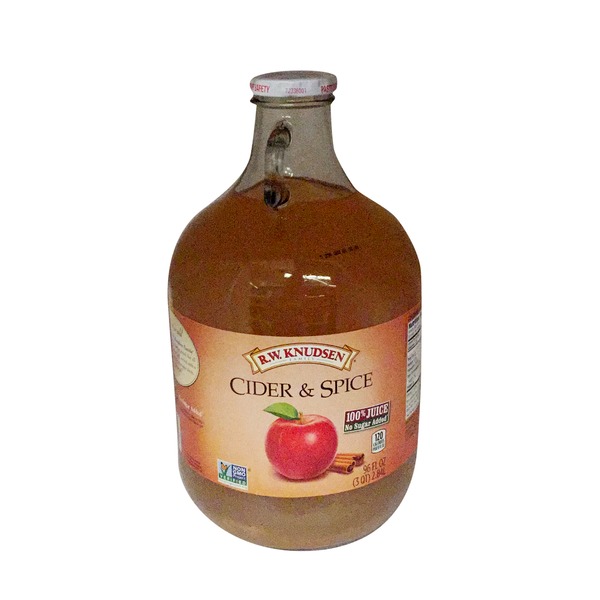
Clean your glass jar really well inside and out. You’ll want to make sure all the label glue and printed dates are gone. This particular jar I used is from Whole Foods Apple Cider. I like to use a Brillo pad for this step, but you can use a rag and some rubbing alcohol too.
Step 2:
Once your jar is dried, figure out which side of the jar you want to be the back of your lamp. Place it upside down in a small trash can so you can drill a hole without it moving all over the place.
Step 3:
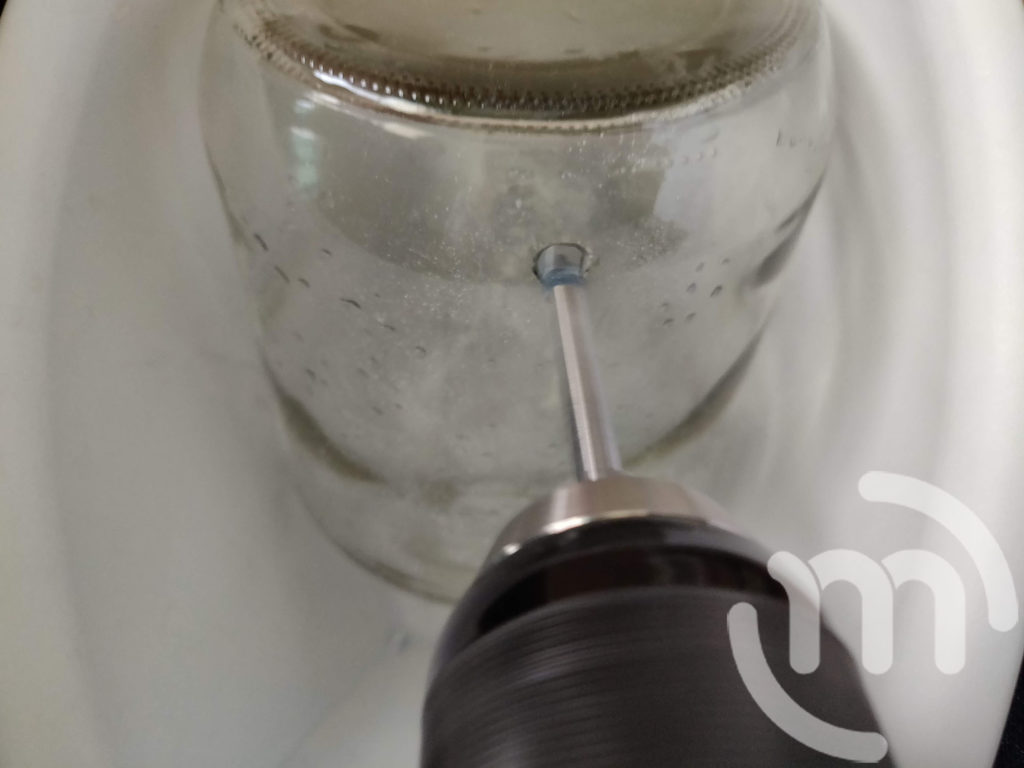
Drill a hole near the bottom of the glass with your special ⅜ inch glass drill bit. This step takes a while, so don’t be surprised and don’t rush it. The glass drill bit turns the glass into a powder while it turns so shards of glass aren’t flying around. Stop just before the drill bit will fit through the glass. I went a little too far and it caused a small crack. It’s not super noticeable, but it can be avoided.
Step 4:
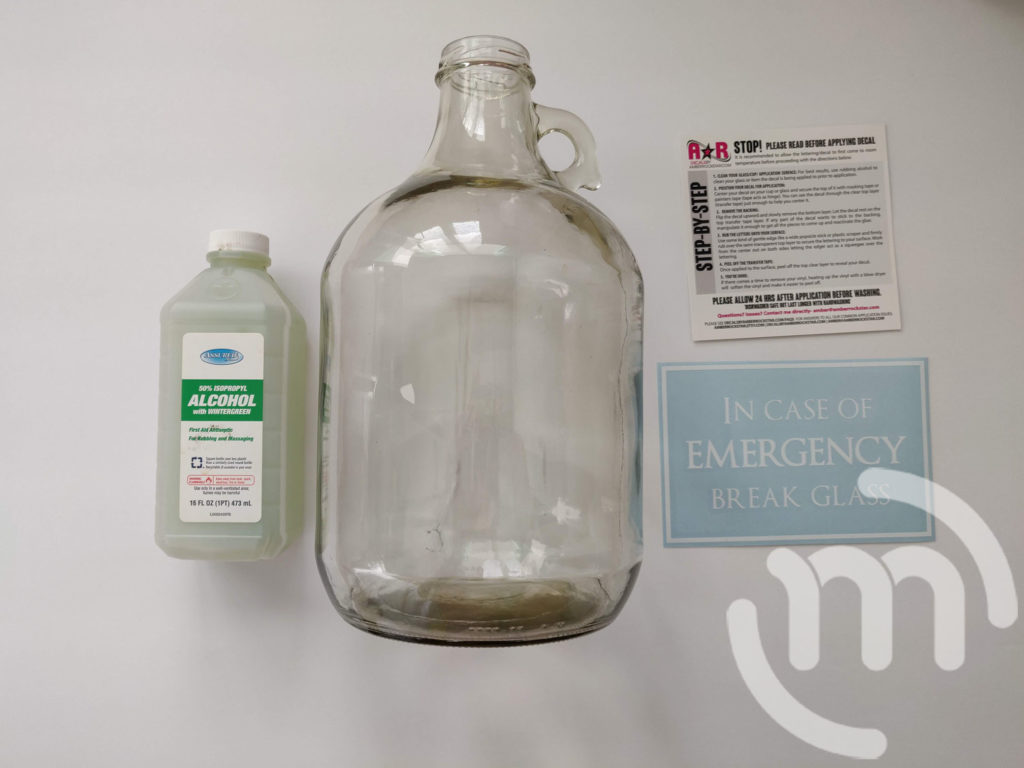
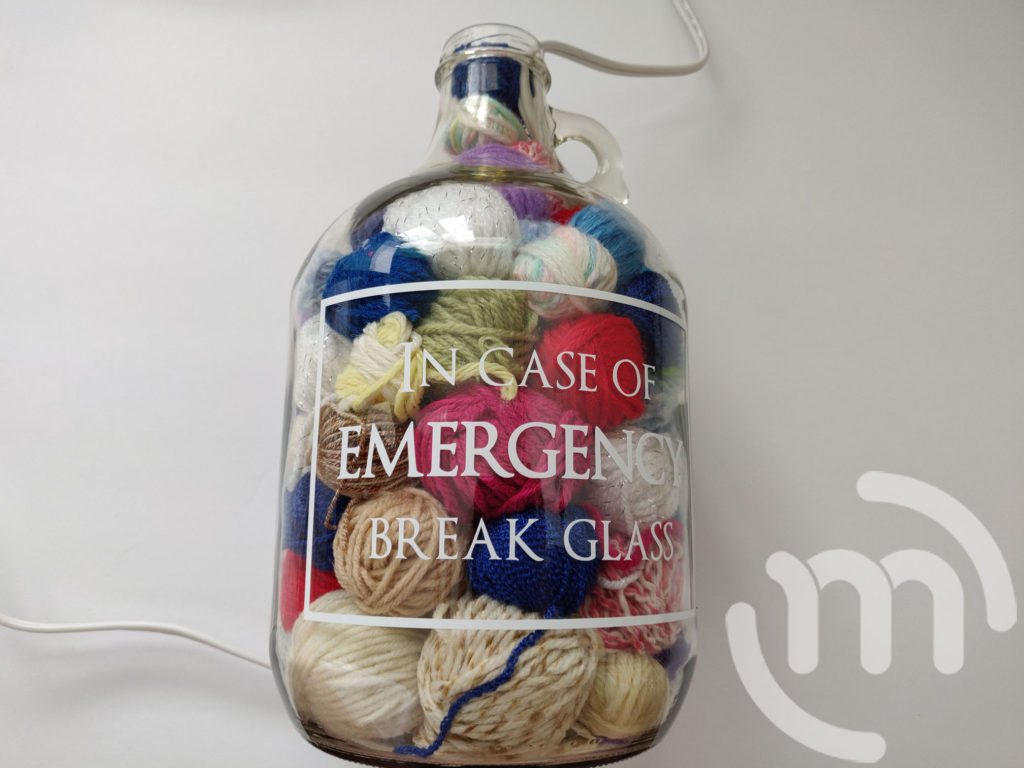
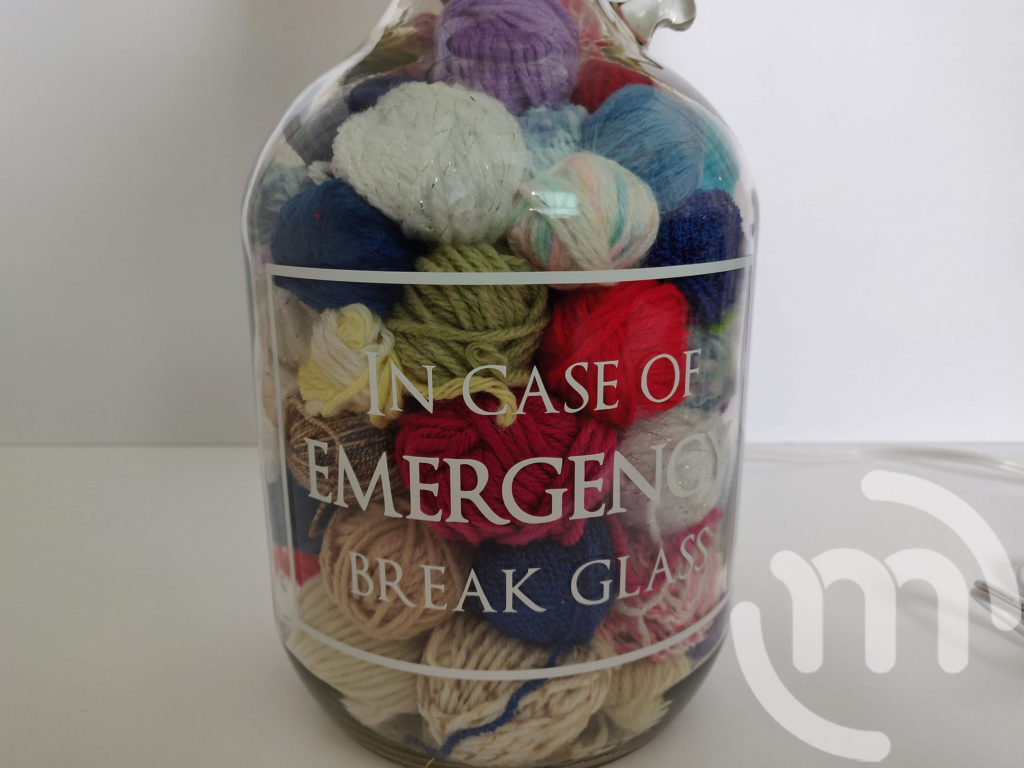
If you want to add this funny sticker to the glass, you should do it before moving forward. The sticker just adds an extra touch.
I ordered this sticker from AmberRockstar on Etsy (not an affiliate). Follow the directions from the vinyl sticker.
Step 5:
Feed the lamp cord through the bottom of your hole and up through the top of the bottle. You can use some take to hold the cord out of the way while you fill it up, or you can just make sure there’s enough extra hanging out so it doesn’t go inside the bottle.


Step 6:
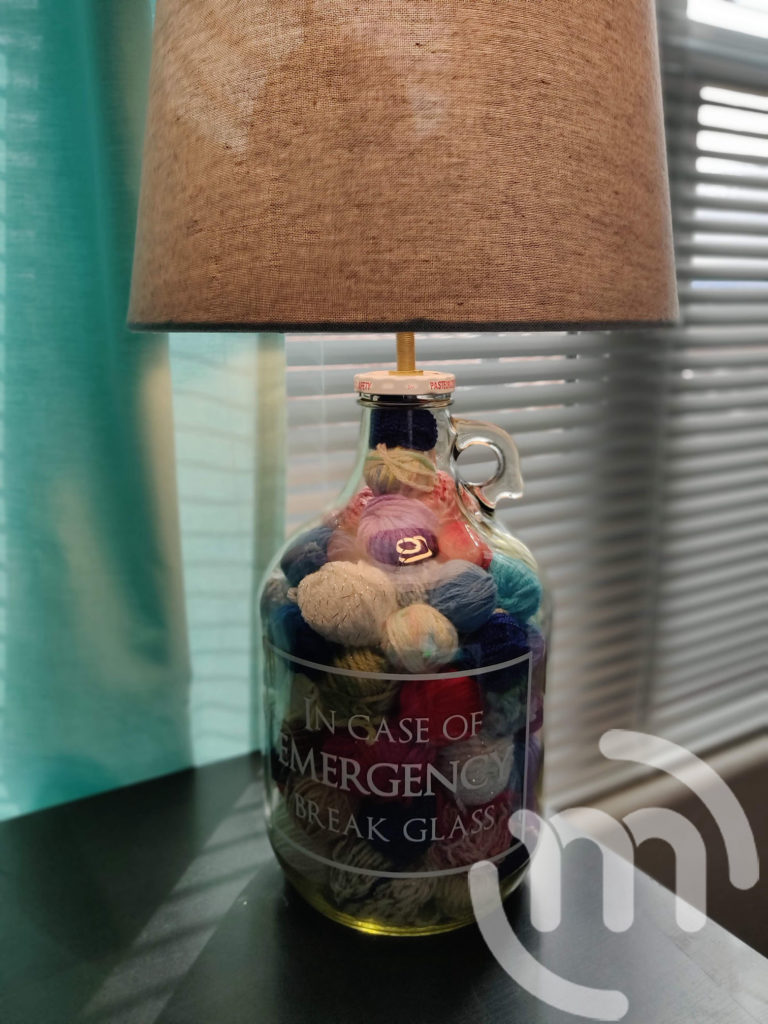
Fill the bottle with your balled up yarn in random sizes and colors until it’s filled to the top. You may need to use something to squish it down a bit so you can fit more.
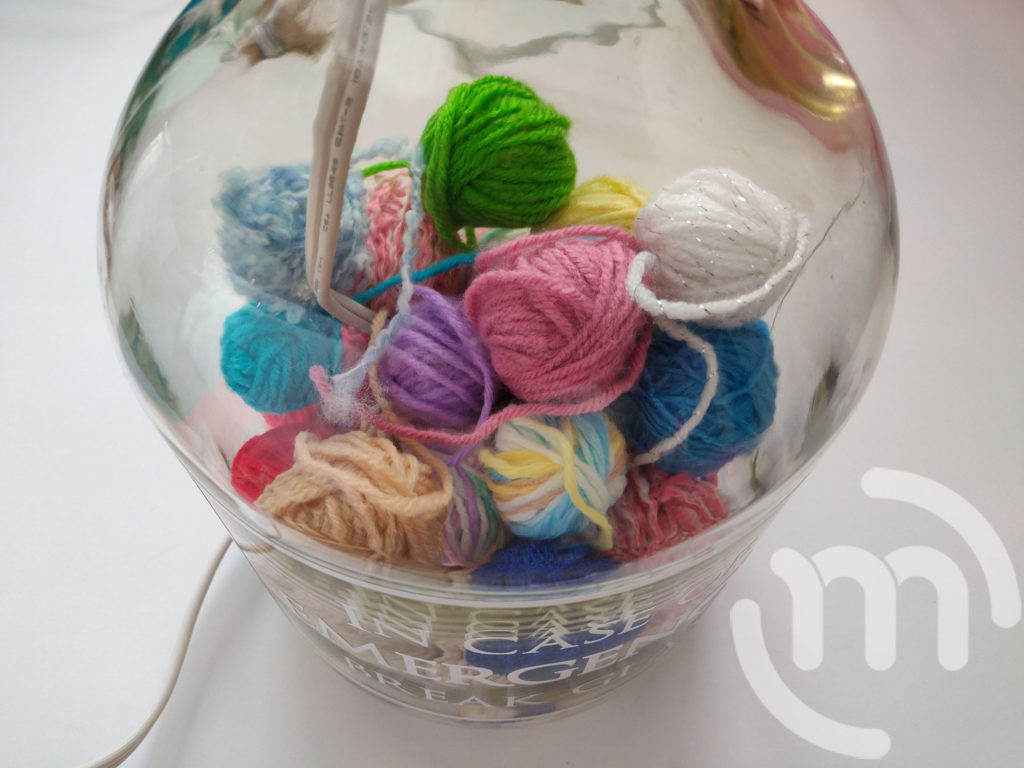
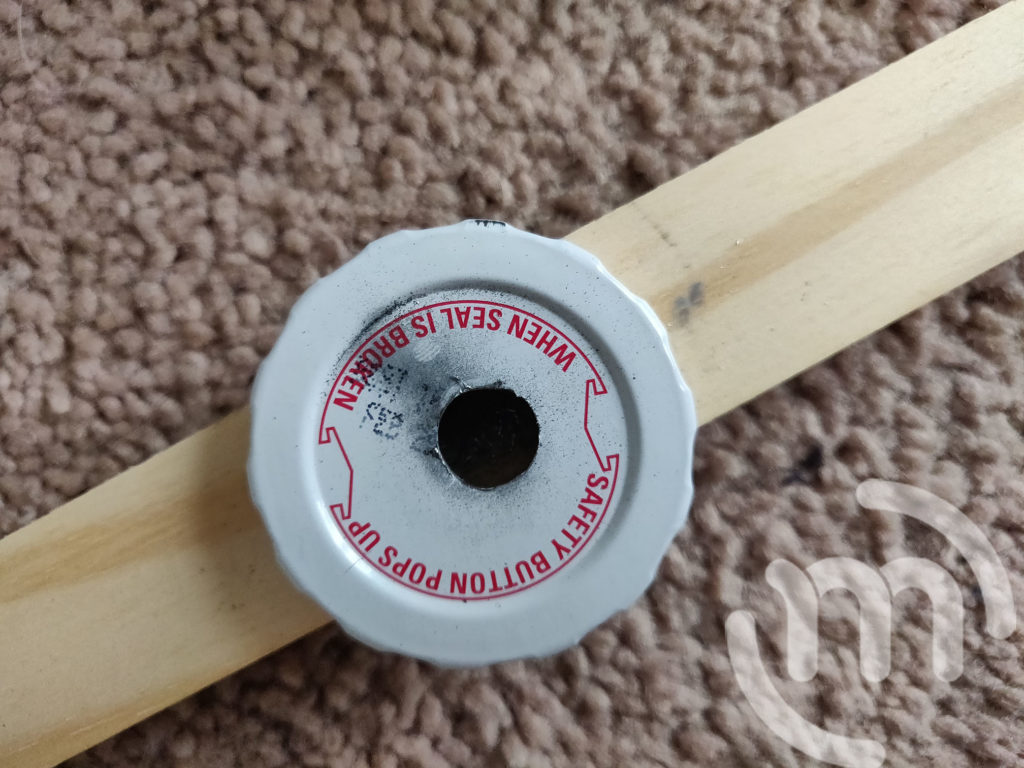
Step 7:
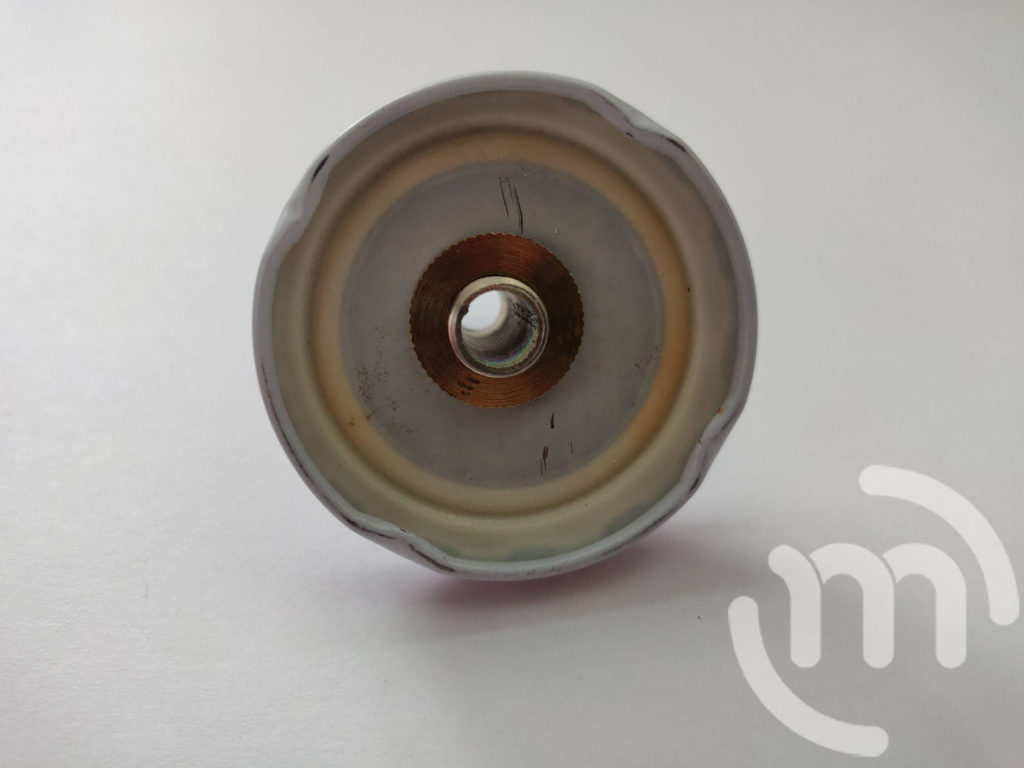
This particular bottle that I used has a larger than normal bottle neck, so the bottle kit didn’t exactly work. I needed to improvise. Instead, I used my glass drill bit to slowly drill a hole in the top of the lid for the jar under a small piece of wood (to avoid drilling into my floor!).
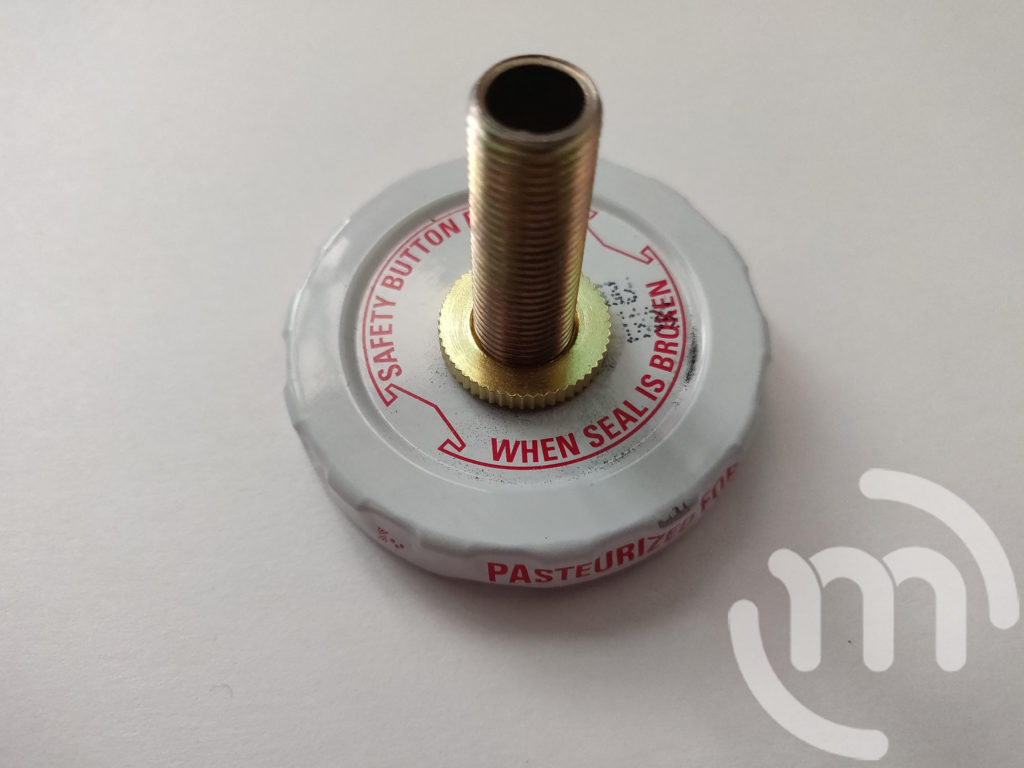
Step 8:
Once your hole in the lid is drilled, attach the nipple to the lid by putting it inside the lid. You will need to use a nut to secure it on the bottom and the top of the lid.
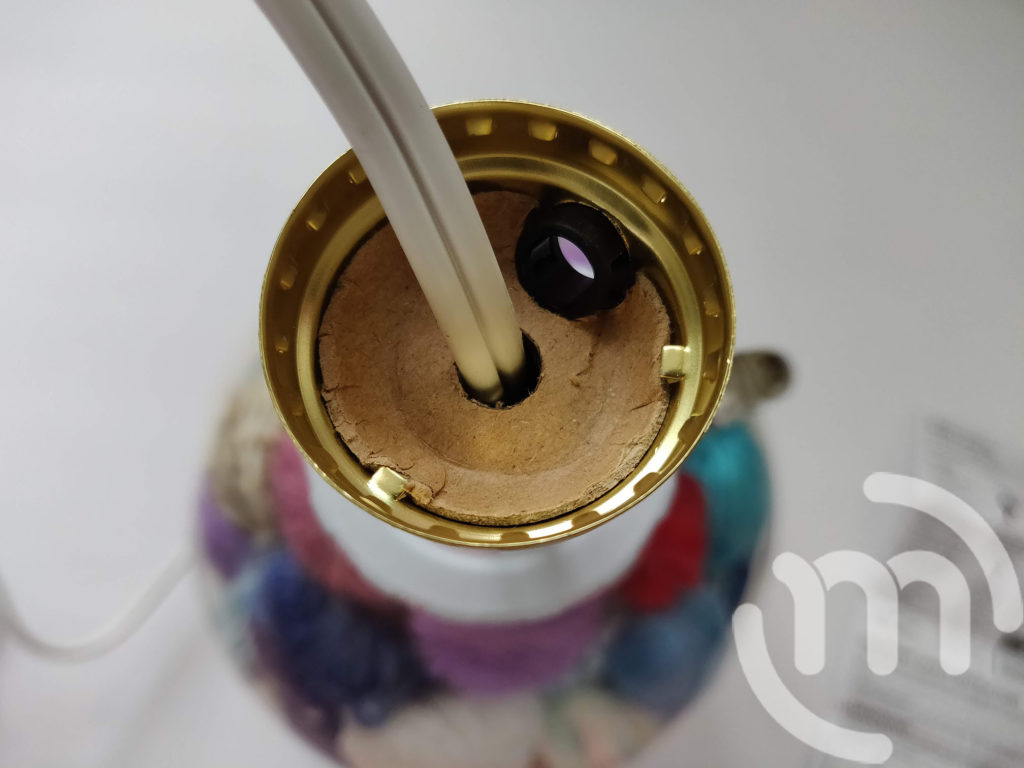
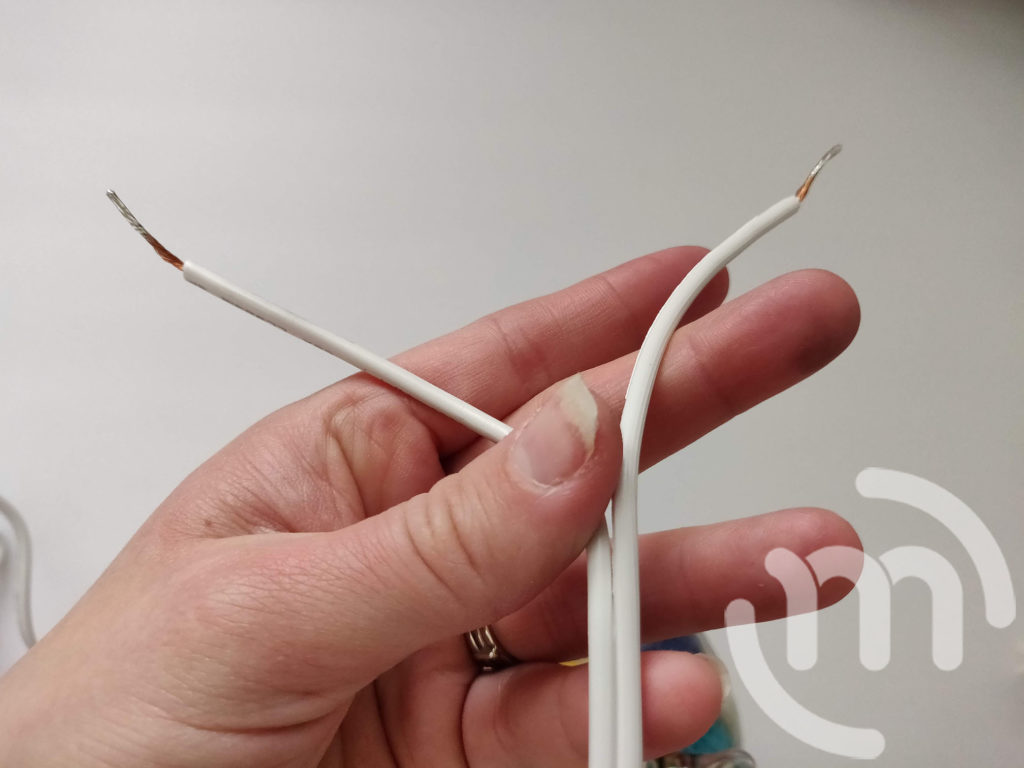
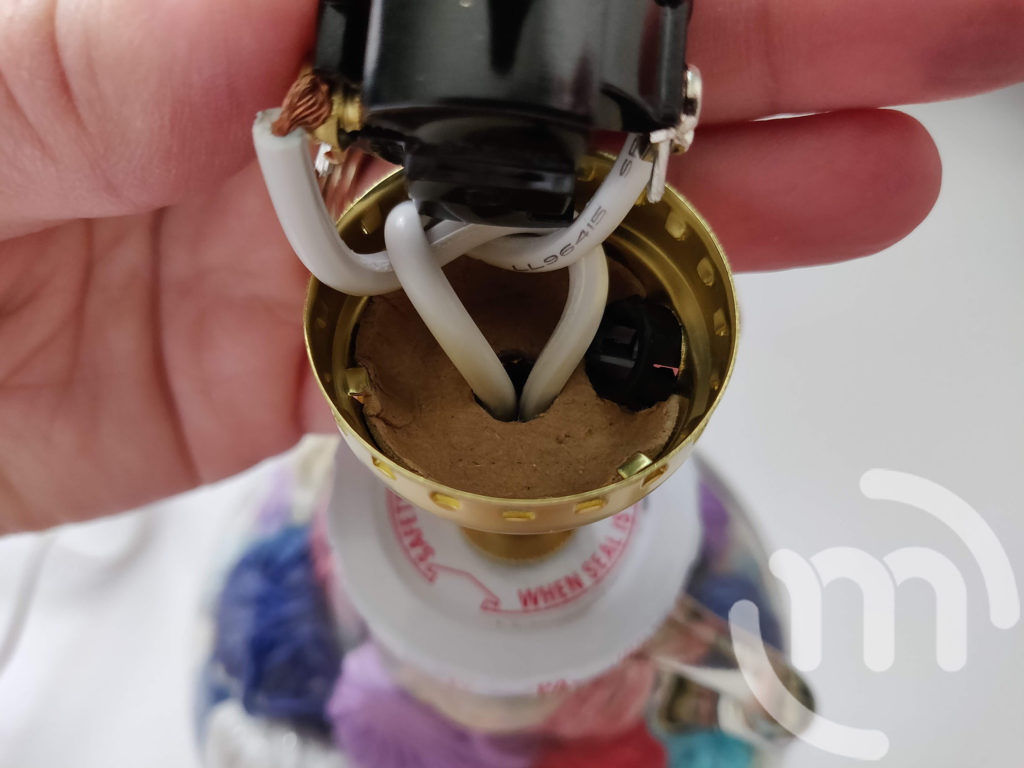
Step 9:
Feed the wire through the nipple and attach the lid to your bottle. Add the bottom of the lamp socket and tighten. Pull the wires apart a little and tie a loose knot. This will keep the lamp from pulling apart at a later step.


Step 10:
Attach the wires to the light socket by unscrewing the screws a little and wrapping the wires around the screws. You then tighten the screws to secure the wires in place.
Make adjustments as you need to so you don’t have too much wire in the bottom of the light socket before moving on.
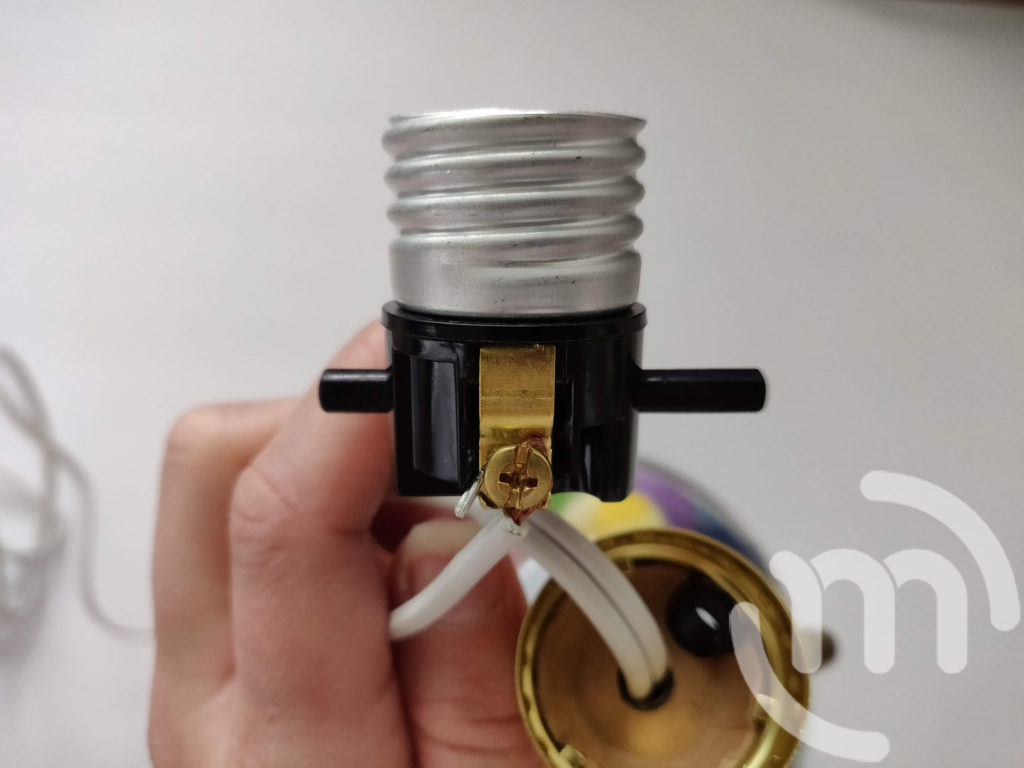
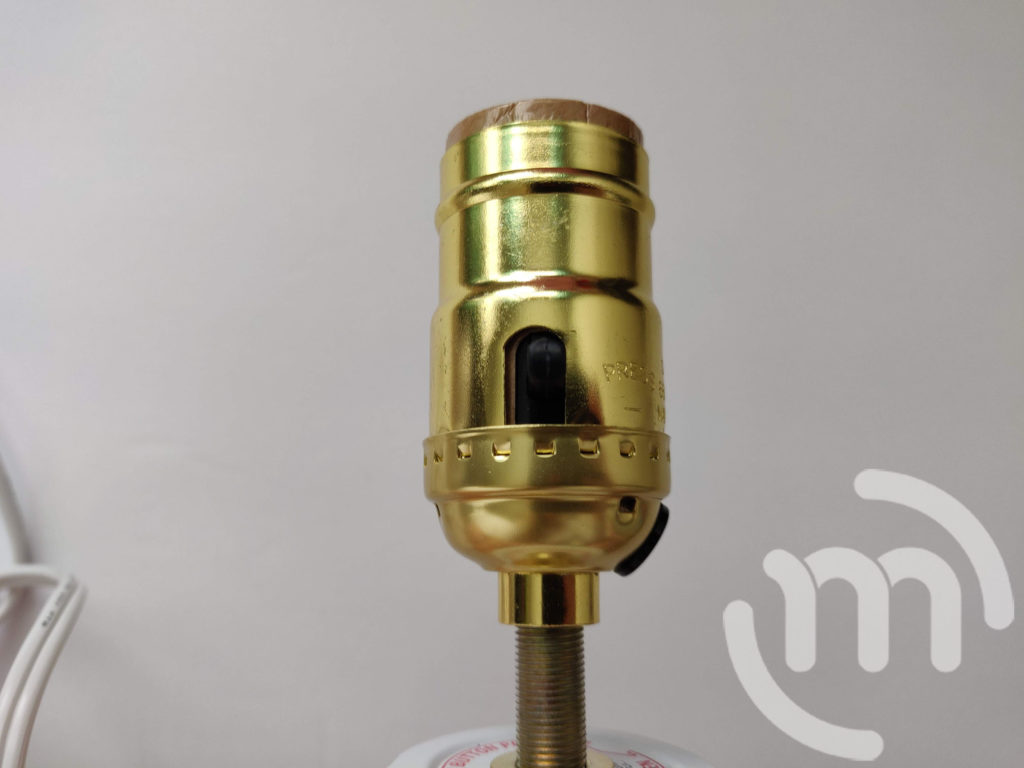
Step 11:
Once you’re ready, add the top portion of the lamp socket until it clicks into place. Make sure everything is secured.
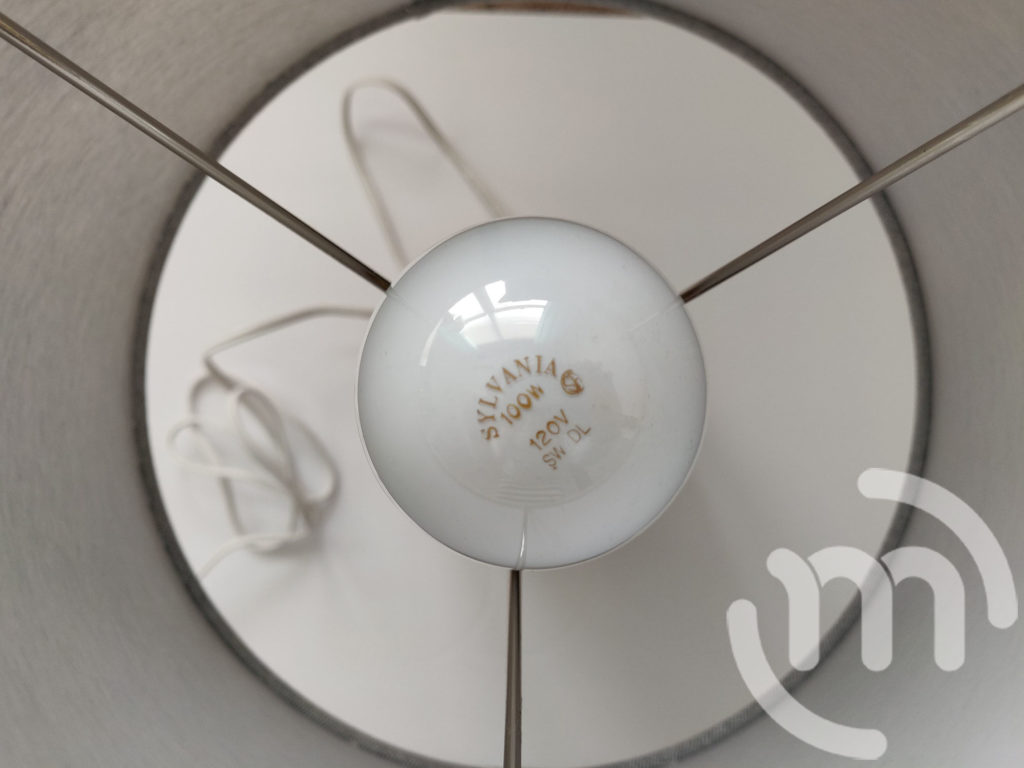
Step 12:
Add your lampshade and then your light bulb. Plug it in, turn it on, and enjoy your new lamp!
1 thought on “Ball of Yarn Lamp”