
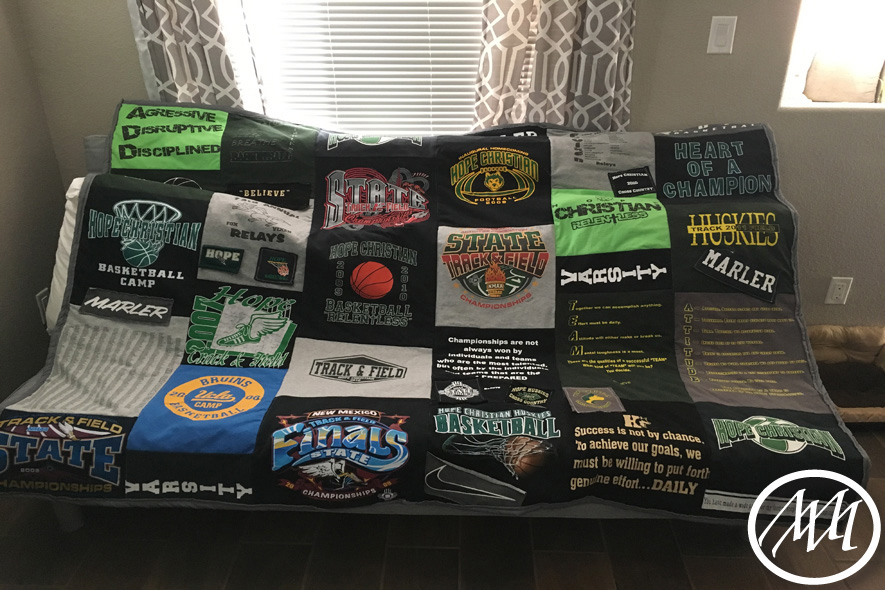
Don’t want to throw away old t-shirts, but don’t have space to keep them all? You can easily turn your keepsake T-Shirts into a quilt!
Materials:
- T-Shirts
- Batting (I used Queen)
- Flat sheet (I used Queen)
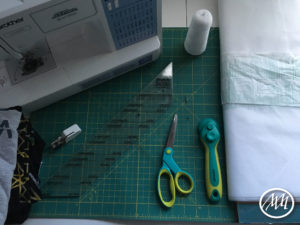
- Rotary Cutter
- Rotary Mat
- Straight Edge
- Scissors
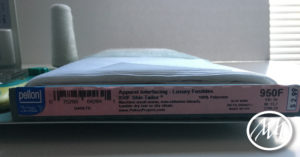
- Interfacing: Iron on
- Sewing Machine
- Walking foot
- Sewing foot
- Thread
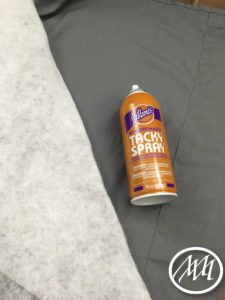
- Repositionable spray adhesive (optional but recommended)
Step 1:
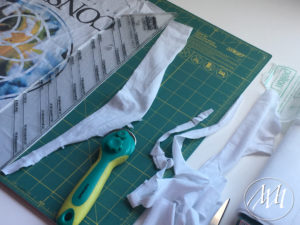
Cut out the designs in your shirts. I usually recommend cutting a larger area than you think you’ll use around the design so there’s enough fabric depending on how big your squares will be.
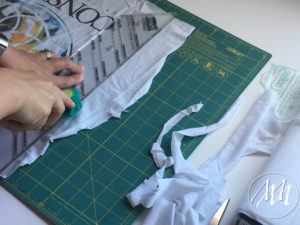
Step 2:
Clean up your square by using your rotary cutter, mat, and straight edge. Try to make your squares all the same size if you can (it’ll make it a lot easier later on). 15” x 15” is a good size for each T-shirt, but of course you’ll have to adjust a bit depending on the size shirts. I had a lot of small pieces as well from sleeves, etc., so I just cleaned up the edges and put them to the side to become “patches” for later.
Step 3:
Iron on your interfacing to each T-shirt on the back side. The interfacing usually has instructions you can follow for this part. The kind I purchased from JoAnn’s fabric is the iron on kind. You cut it to size, put your T-shirt on top, take a damp wash cloth to put on next, and then place the iron on the wash cloth to make the interfacing adhere to the T-shirt. Do this for all the pieces. Cut off any excess interfacing around the edges of the T-shirt.
Step 4:
Design the layout for your quilt so you can begin sewing the pieces together. When you’re ready to start sewing the pieces together, place them face sides together and sew along one edge.
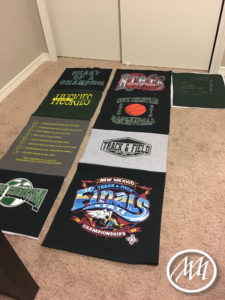
Step 5:
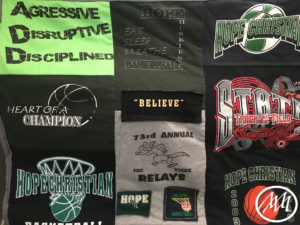
Once you get your desired length, you can begin sewing the rows together by putting the row face sides together and sewing along the edge.
Optional: After you have all of your rows sewn together, you can add the smaller pieces (if you have any) as patches to fill in some gaps and make it look a little more like a collage.
Step 6:
Once the top of your quilt is finished, you can begin to put it together to be quilted.
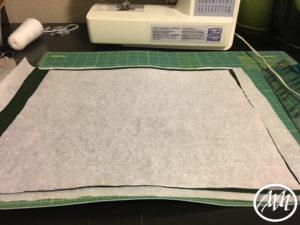
Lay the flat sheet down on a solid surface like the floor in your living room. Spray the adhesive to the flat sheet with smooth even strokes.
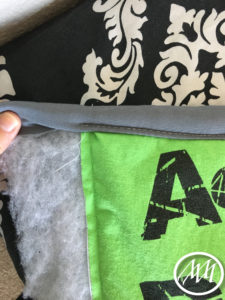
Next, place the batting on top on the flat sheet. If you’re using repositionable spray adhesive, you can move the batting to make sure it’s smooth with the flat sheet.
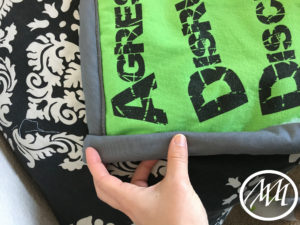
Spray more adhesive on the batting in the same fashion and place the sewn T-shirt top on top of the batting and smooth it out.
Leave about 2 inches of extra backing fabric all the way around the quilt. We’ll use this for the binding.
Step 7:
With all three pieces glued together, you can begin quilting. Switch your sewing foot on your sewing machine to a walking foot. This is very important for quilting, so the material doesn’t get bunched up in your machine.
Start by sewing a row straight down the middle and then work your way out to the edges.
I like to quilt straight lines following the pattern of the T-shirts, but feel free to get fancy with your quilting.

Step 8:
Once you’re finished with all of your quilting, you can finish off the quilt by sewing the binding.
Fold the two inches of extra fabric on the edges twice to make a nice binding next to the quilted edge and sew along the edge.
When you get to the corner, fold it to make a straight corner and sew again.
Note: You can pin the binding in place if you’d like to, but I like to just fold it and hold it as I go so I can make adjustments if needed. (I call this: Creative Quilting)
Step 9:
After you finish with the binding, you’ll want to clean up any extra thread strings that are on the quilt.
Lastly, cuddle on the couch with your new keepsake T-shirt quilt! 🙂
Looks baller!
<3