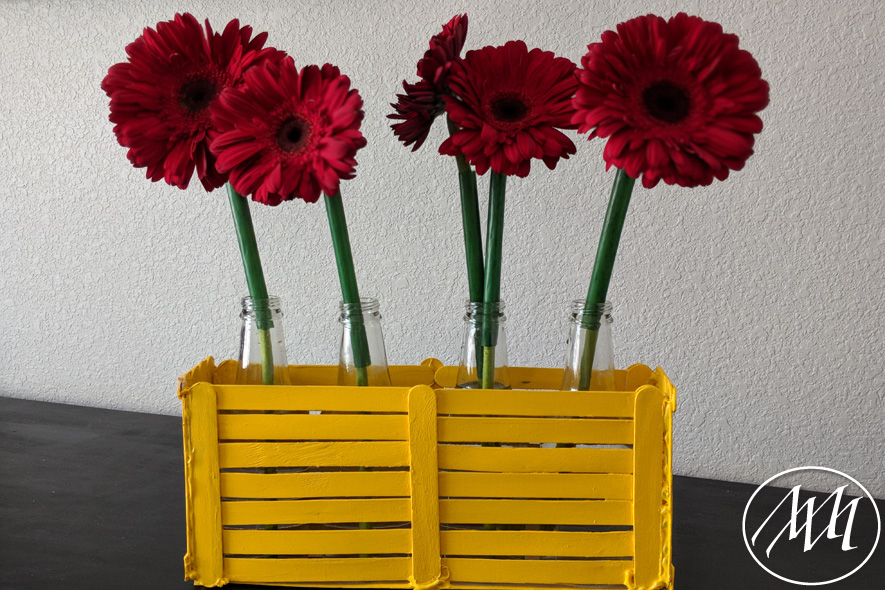
Do you want a unique centerpiece to display your favorite flowers in your house? This tutorial provides a super simple and inexpensive way to do that, plus, you’ll be recycling and reusing bottles that would otherwise end up in landfill.
*This post may contain affiliated links. For more information on this, please see my Disclosure page!*
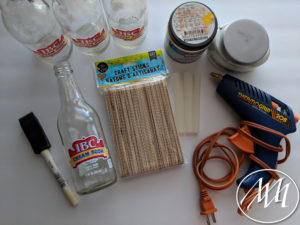
Materials:
- 60 Popsicle Sticks
- Hot Glue Gun with Glue
- 4 recycled bottles (like these)
- Paint
- Paint brush
- 1 Brillo pad
Step 1:
Construct the two long sides of the centerpiece first.
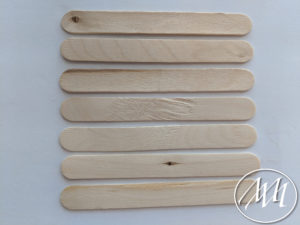
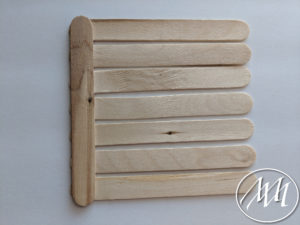
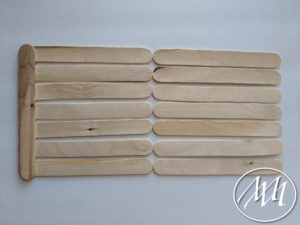
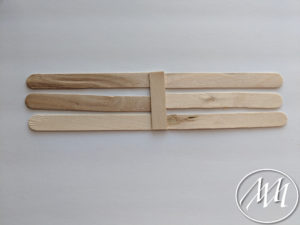
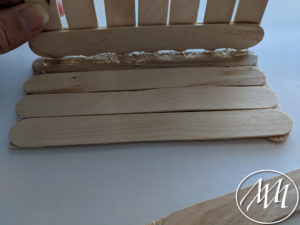
Lay out 7 popsicle sticks with just a little bit of spacing in between each one. Apply some hot glue down the length of a stick and attach it to one side to connect the 7 sticks together. Repeat this process 3 more times, or place 7 more sticks together to match the other side. Attach at the other side to hold those 7 sticks together.
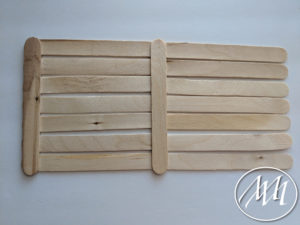
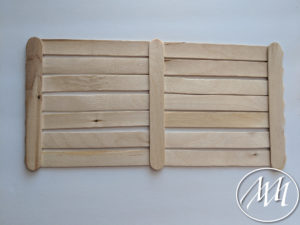
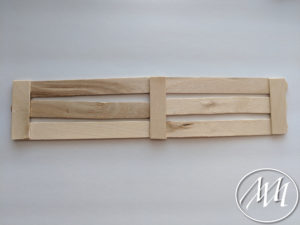
Connect two of the pieces together by attaching a third popsicle stick down the middle to hold them together. Repeat this process for the other side. You should now have two side pieces complete.
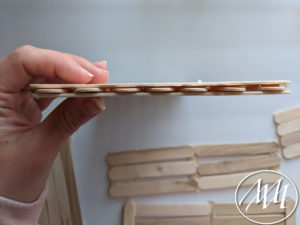
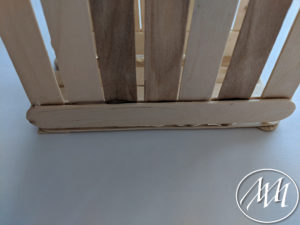
Strengthen these pieces by flipping them over and attaching 3 more popsicle sticks to match the other side for support.
Step 2:
Construct the bottom of the centerpiece next.
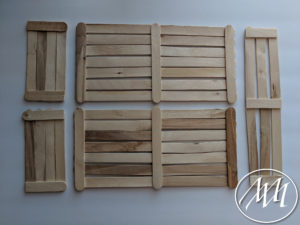
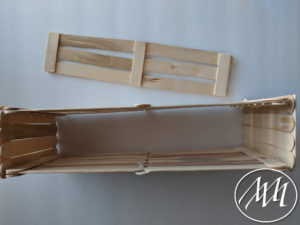
Lay out 3 popsicle sticks with just a little bit of spacing in between each one, as you previously did on the last step with more sticks. Cut a popsicle stick to fit the height of the three sticks. Attach with hot glue on one side. Repeat this process and connect in the middle with another cut popsicle stick.
Step 3:
Lastly, construct the two small sides of the centerpiece.
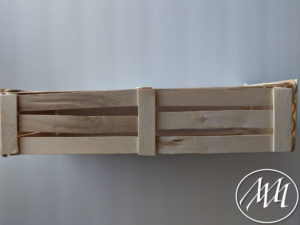
Line up 4 popsicle sticks with no gaps this time. Cut a popsicle stick in half and attach to the top and the bottom to the sticks to connect them. Repeat for other side.
Step 4:
Construction
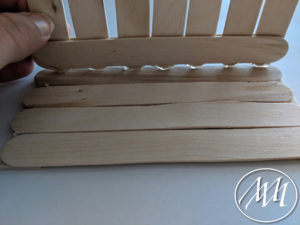
Glue the outside edges of the two long sides of the centerpiece and attach it to the inside of the small side. Hold steady until it dries a little bit. Run more hot glue along the inside of the centerpiece to secure it extra.
Repeat on the other long piece and attach to the same side, then connect to the other small side to make a complete rectangle.
Figure out which side you want to be your bottom and glue the bottom piece on by gluing it together at each point it touches.
Allow time to fully dry and cure.
Step 5:
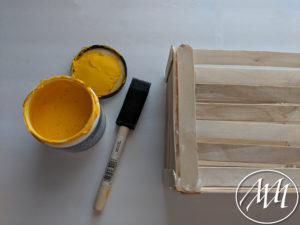
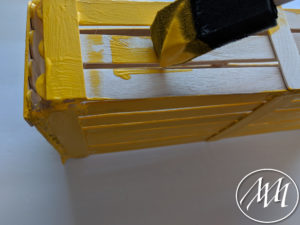
Paint your centerpiece whatever color you want — you can even stain it if you’re into the more natural wood look.
I painted 2 thin layers of this Behr color sample. I painted where all the hot glue was to “hide” it a little better. I also painted half way inside the centerpiece as well so it would look a little more finished. You can probably also choose to paint the pieces before constructing them if you’d prefer that.
Step 7:
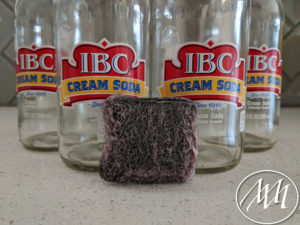
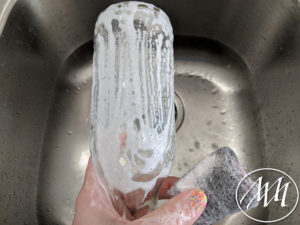
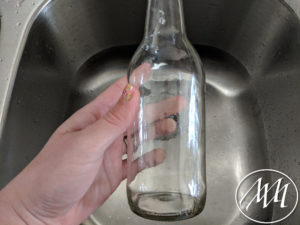
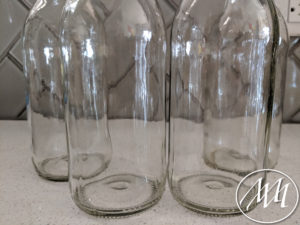
Clean out your recycled bottles. After I peeled off the labels from these IBC bottles, I used a brillo pad to scrub off any residue. I also like to use the brillo pad to remove any dates or information printed on the bottles. This is just a personal preference, but I think it gives them a cleaner look.
Step 8:
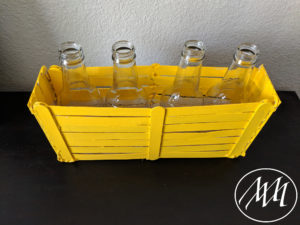
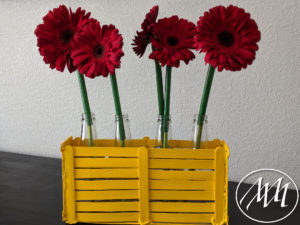
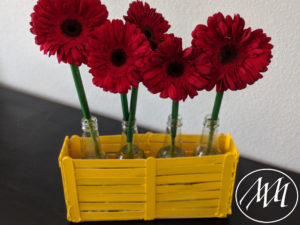
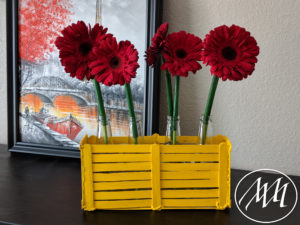
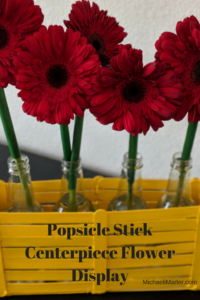
Add some water to the bottles and place them inside your centerpiece. Place your flowers into the bottles and enjoy your beautiful centerpiece!

That’s so cute! I can see this being a GREAT craft to do with young kids, either for gifting or just for fun!
Yes! Totally!
How cute! And you made it look so simple, perfect for my kiddos! Now I’m off to buy popsicles LOL!
Thank you, Shannon! Feel free to use the hashtag #MichaelisCrafts so I can see your finished project! 🙂