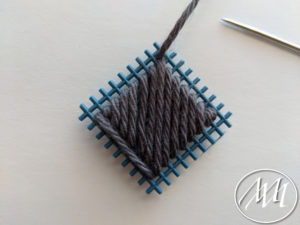
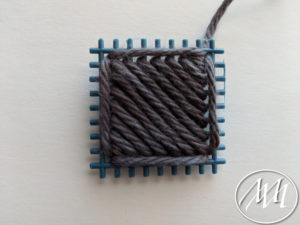
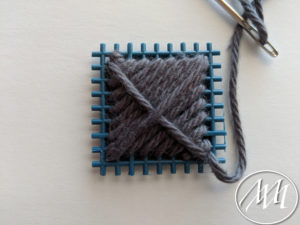
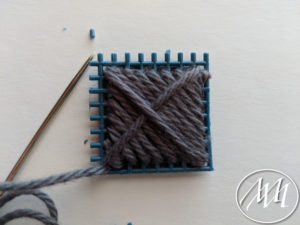
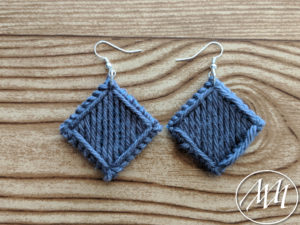
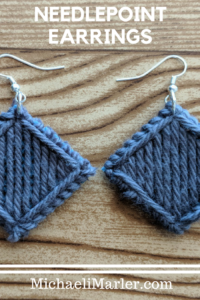
Are you looking to let your creative juices flow without spending time on a long drawn out project? These little needlepoint canvas earrings are the perfect and unique project to do that with! This one is simple, quick and cute! Let those creative juices flow! 🙂
*This post may contain affiliated links. For more information on this, please see my Disclosure page!*
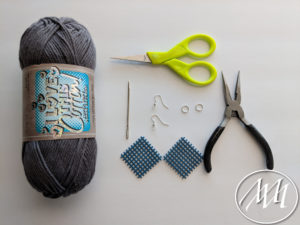
Materials:
- 2 Plastic Canvas Squares (Cut into 2” Squares)
- Yarn of Choice
- Needlepoint Needle
- Scissors
- Jewelry Pliers
- 2 Jump Rings
- 2 Earrings Hooks
Step 1:
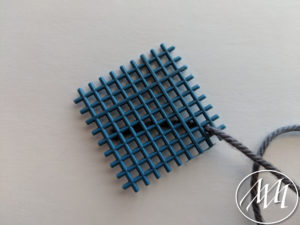
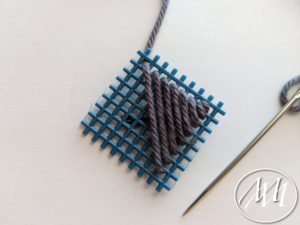
Thread your yarn through your needlepoint needle. Start by threading the yarn up through the canvas in the most far right bottom corner. Leave a little tail that you can weave in as you go.
Step 2:
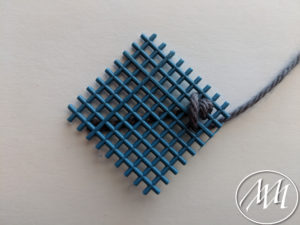
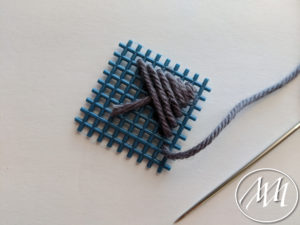
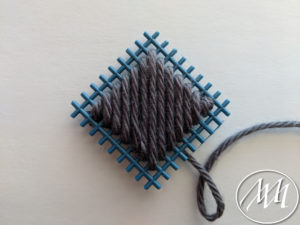
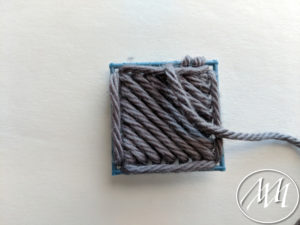
Thread the yarn up through the next hole and bring down to the next lowest point on the canvas. Keep repeating this until you’re all the way to the other side of the canvas. Be sure to go over the tail on the back side as you go to secure it without a knot.
Step 3:
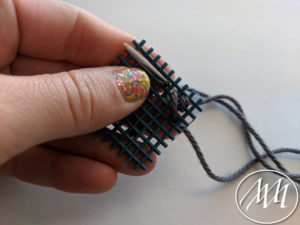
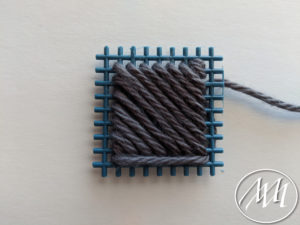
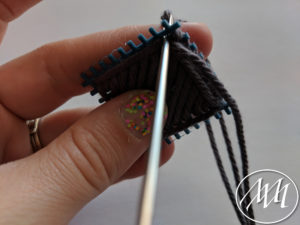
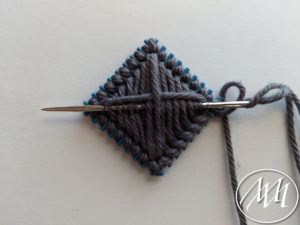
Continue with your yarn to make a square around the edges of the canvas square. Start at one end and thread down and across. Back up and across again until you have a full square around your design.
Step 4:
Cut any excess canvas from the edges before continuing on. You can also choose to trim off the excess after you finish wrapping the yarn all the way around, but it’s easiest to do it before!
Wrap the edges of the canvas by going around and around the edges to finish off the piece.
Step 5:
Weave your thread through the back of the work to tighten and cut off excess.
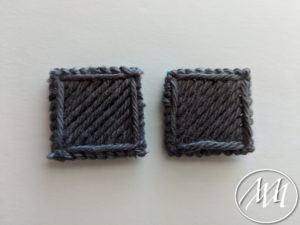
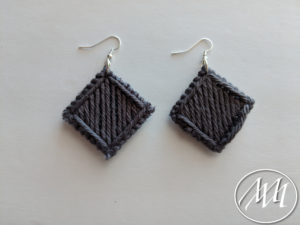
Repeat steps 1-5 on second canvas so you’ll have a matching pair.
Step 6:
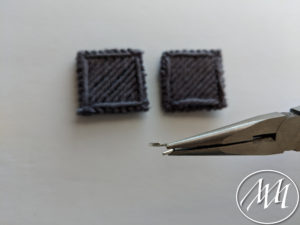
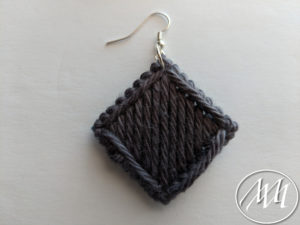
Open a jump ring with your jewelry pliers with the tearing motion instead of a bending motion. Attach to the corner of your square canvas piece and attach the earring hook. Close the jump ring by doing the opposite tearing motion to put it back together. This will help the jump ring to main its shape and stay closed.
Repeat to the other earring.


