

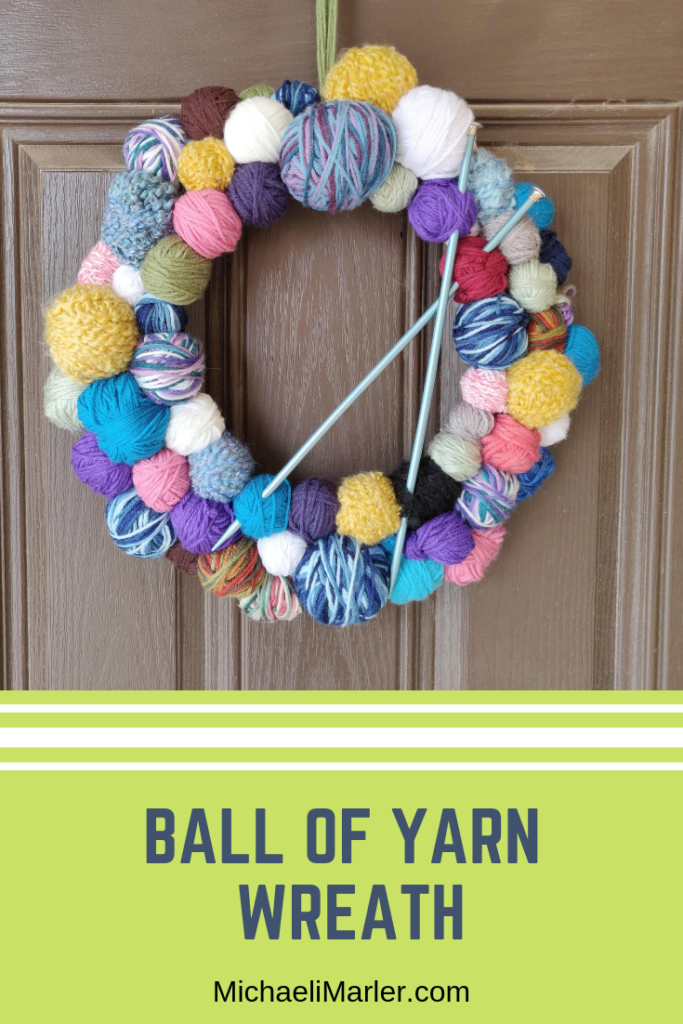
This is an AMAZING use of scrap yarn! You get to create a beautiful wreath, and show off your love of crafting to the neighbors!
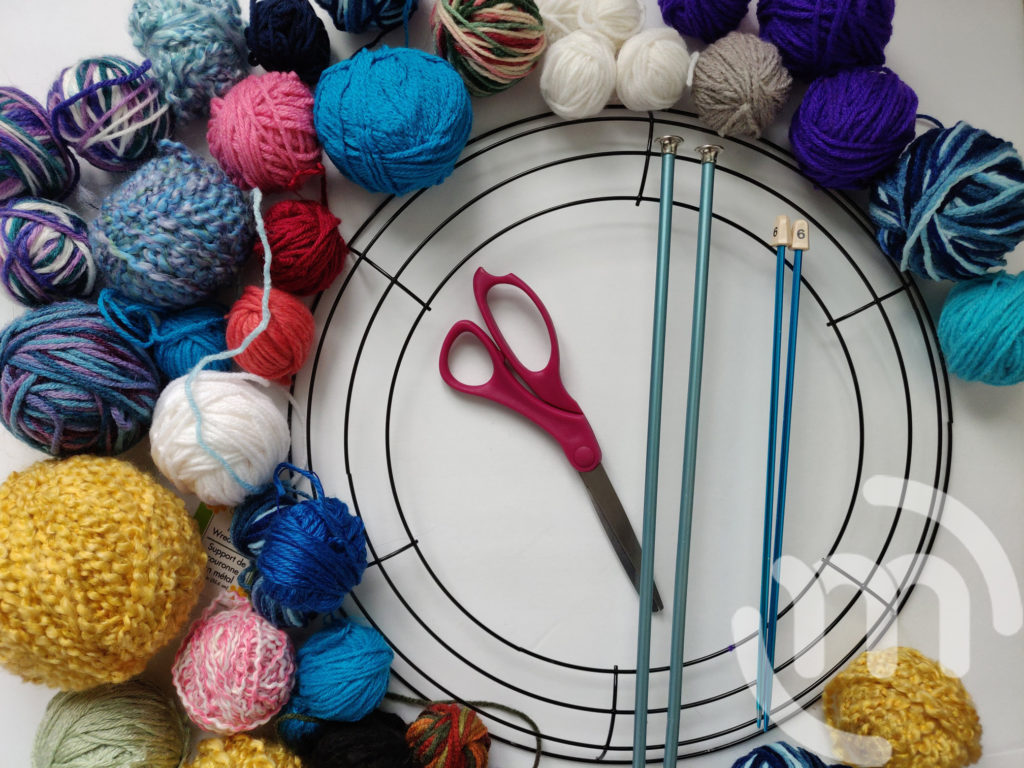
Materials:
- Metal Wreath Form
- Lots of scrap yarn
- Knitting Needles
- Scissors
- Yarn Needle
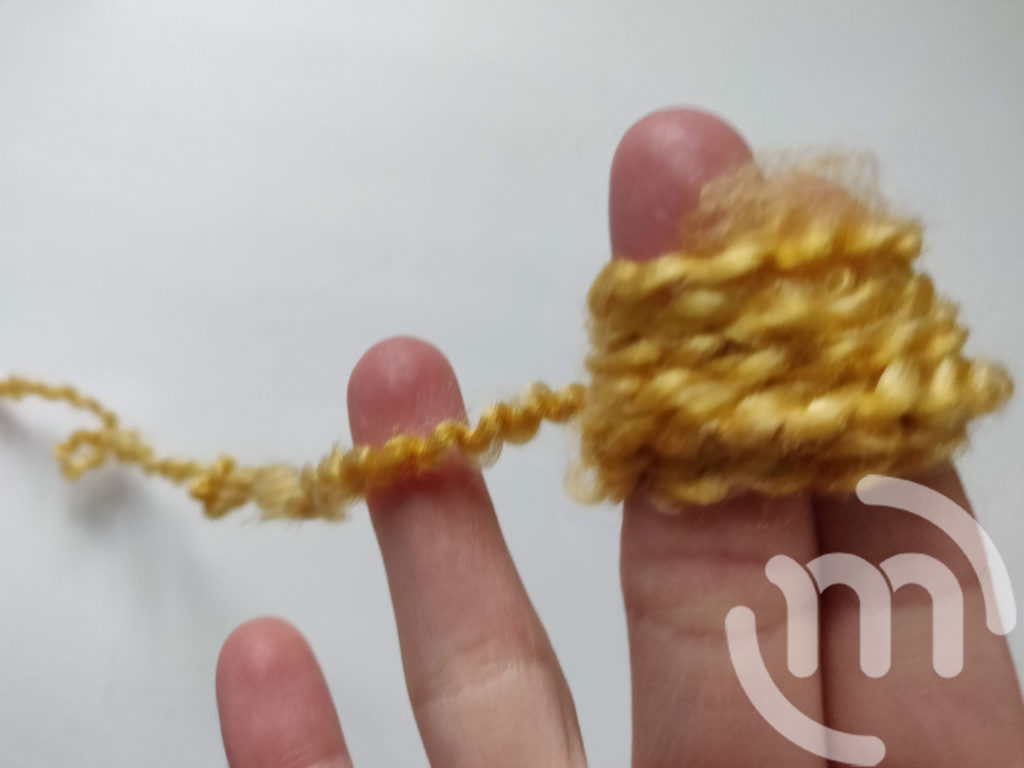
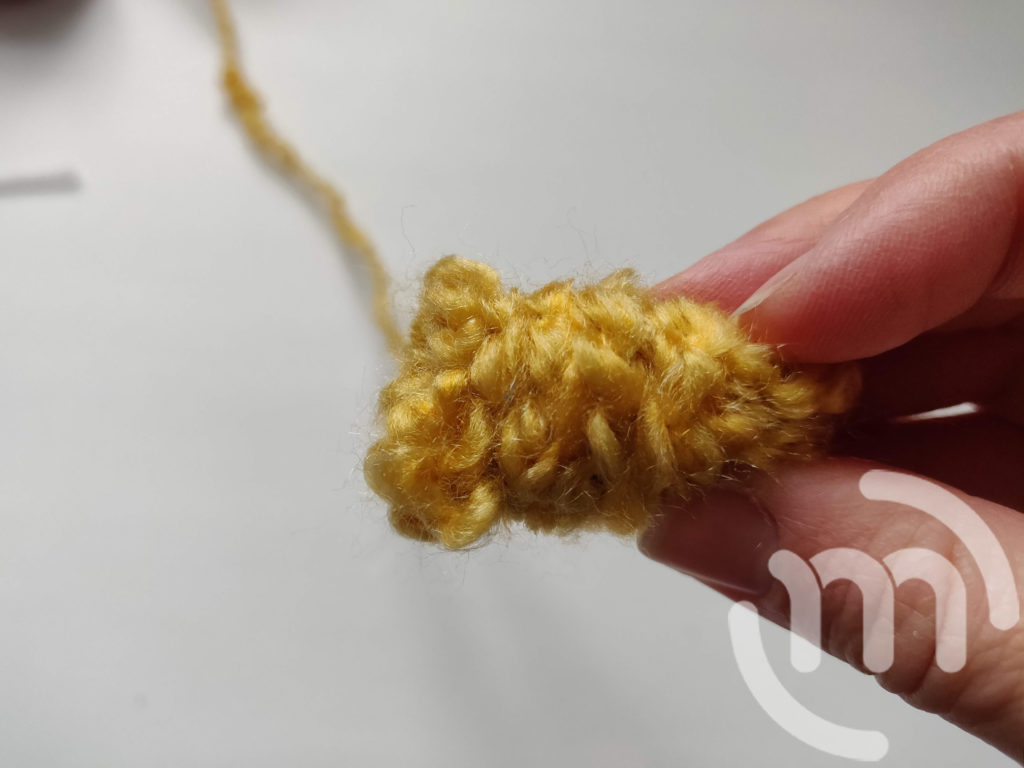
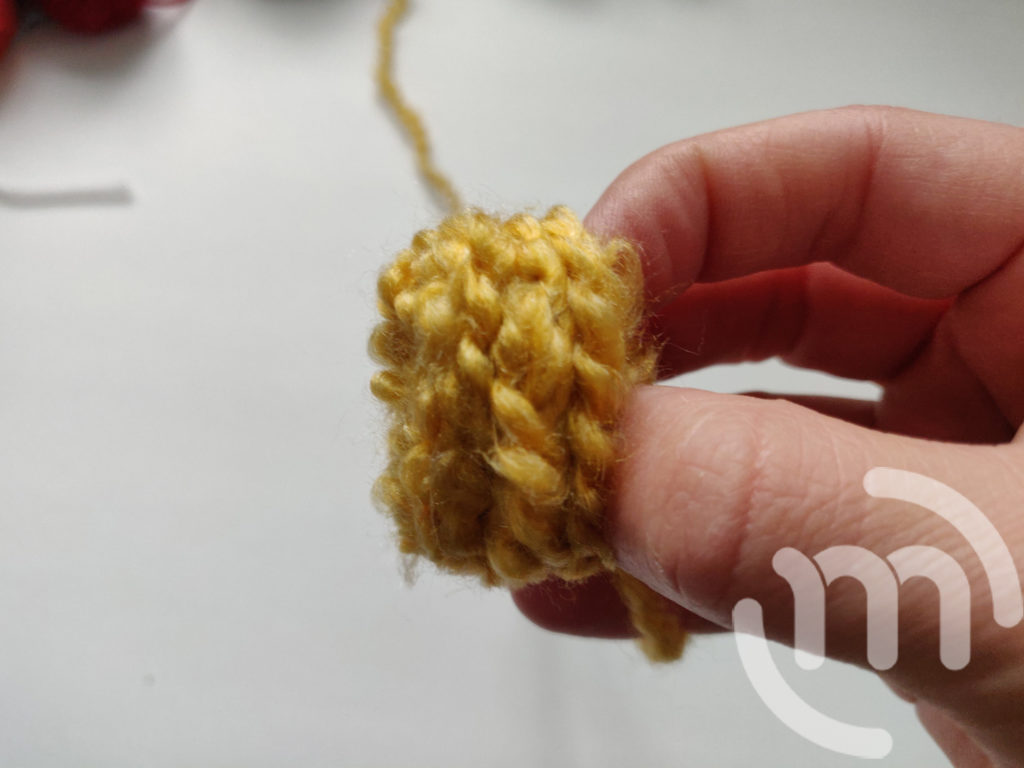
Step 1:
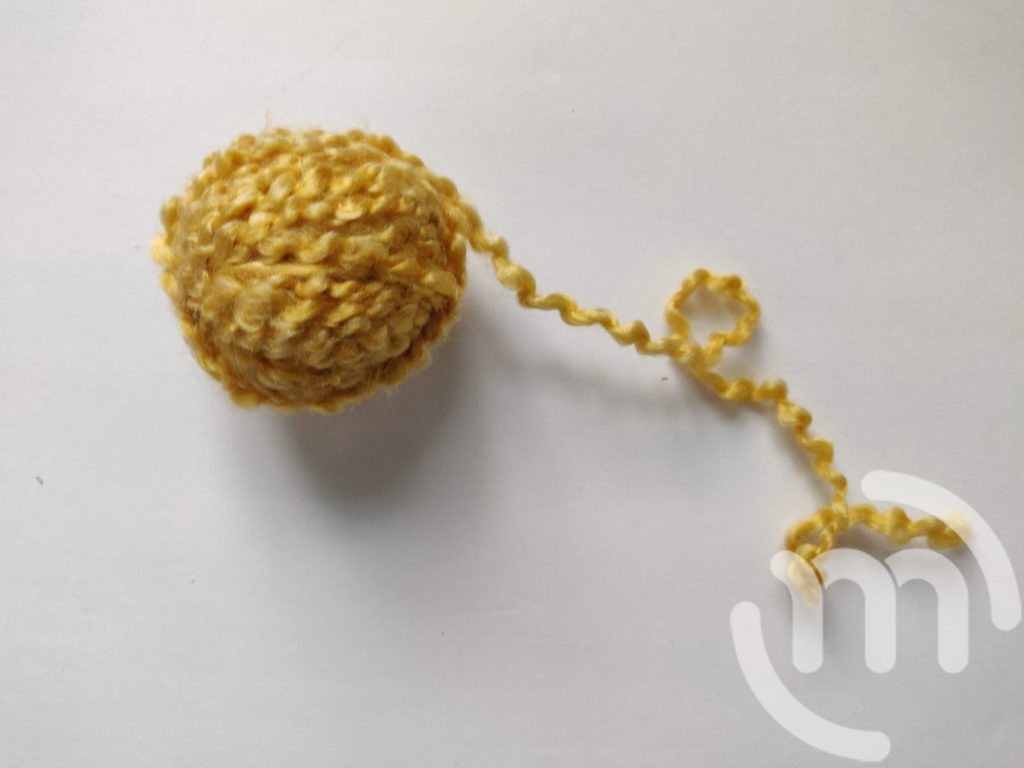
Use your scrap yarn to make varying sized balls of yarn.
Start by wrapping the yarn around your pointer and middle finger about 10 times. Remove the yarn from your fingers and turn 90 degrees. Wrap another 10 times or so. Continuing to rotate the yarn as you wrap until it’s in a ball shape.
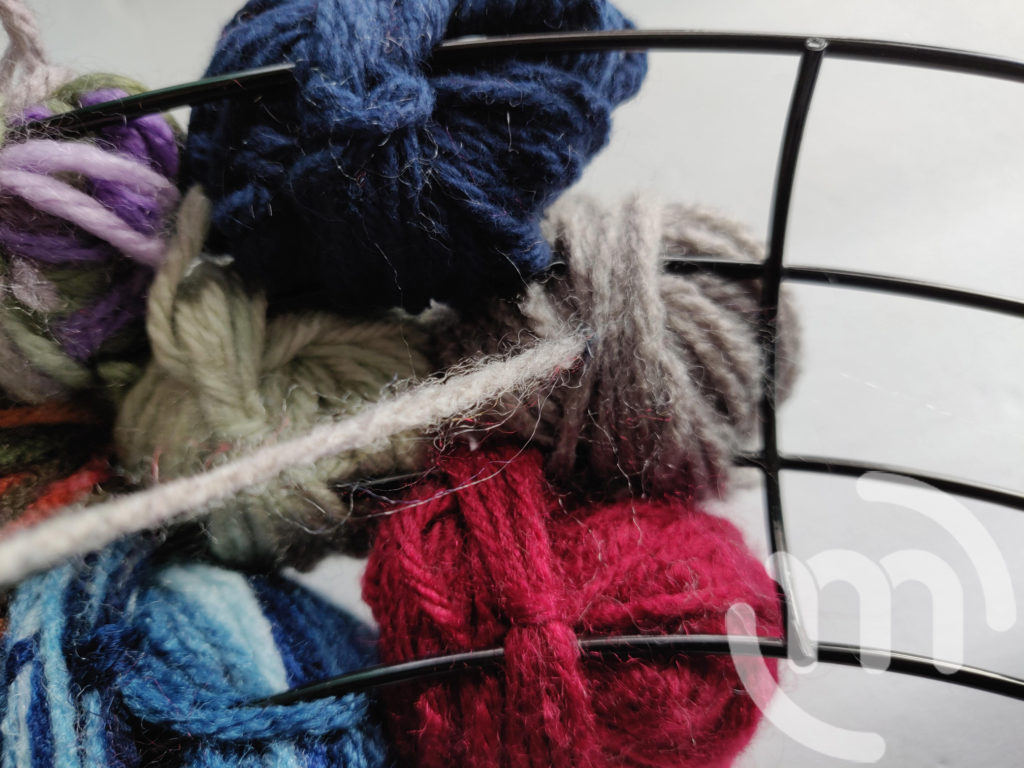
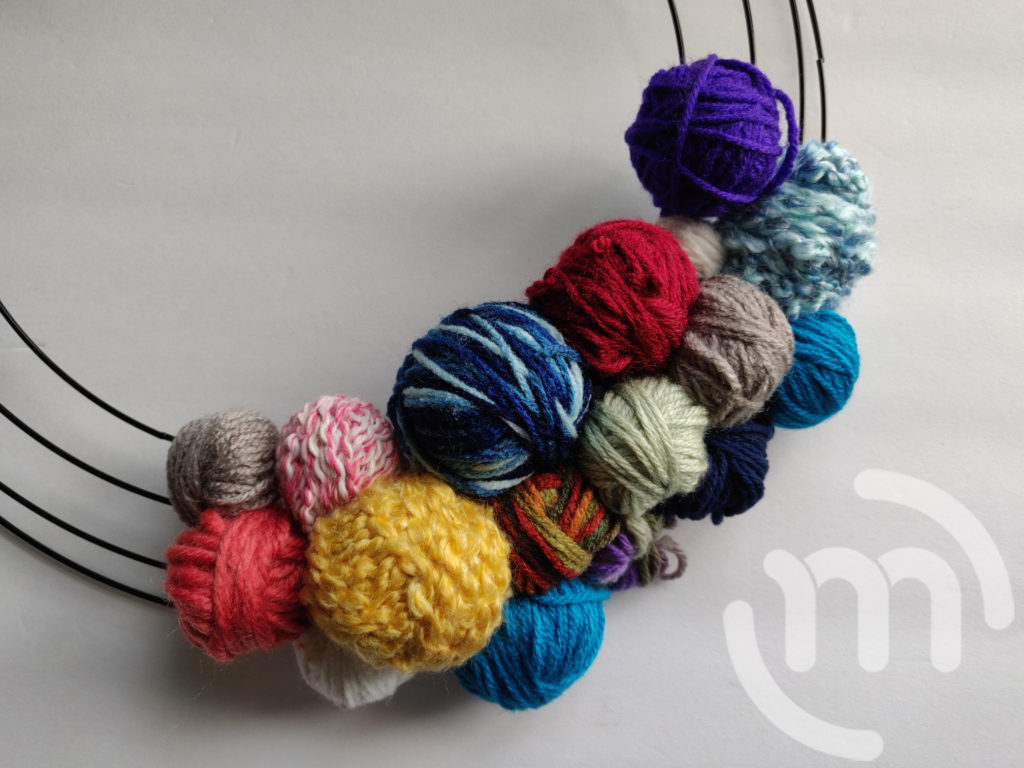
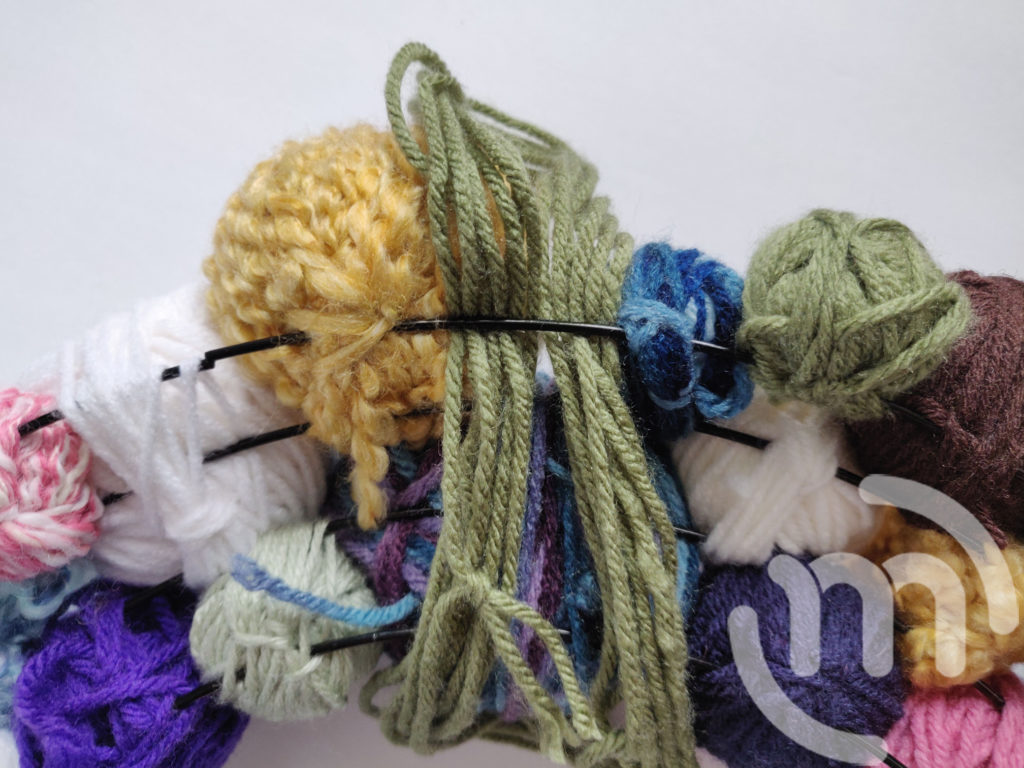
Step 2:
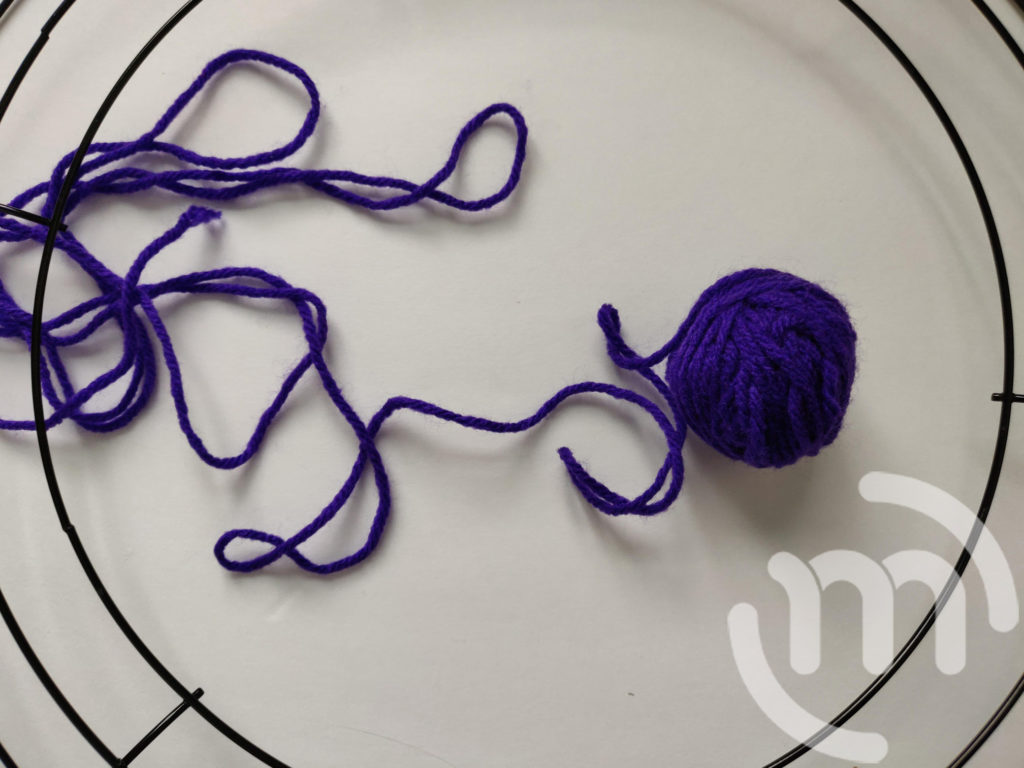
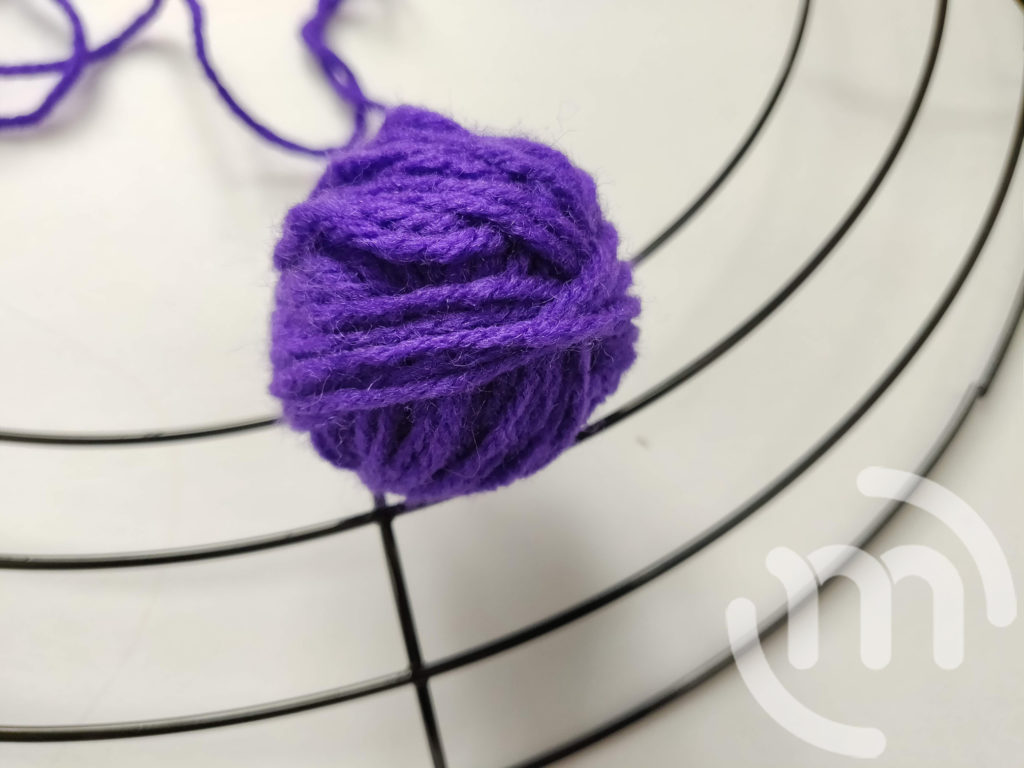
Unwrap a yard of your yarn and place the ball of yarn on your wreath frame. Wrap the extra yarn around the wreath frame and the yarn as if you were just wrapping it into a ball. If you have a form similar to mine, you can wrap the yarn around 2 of the metal framing to make it more secure.
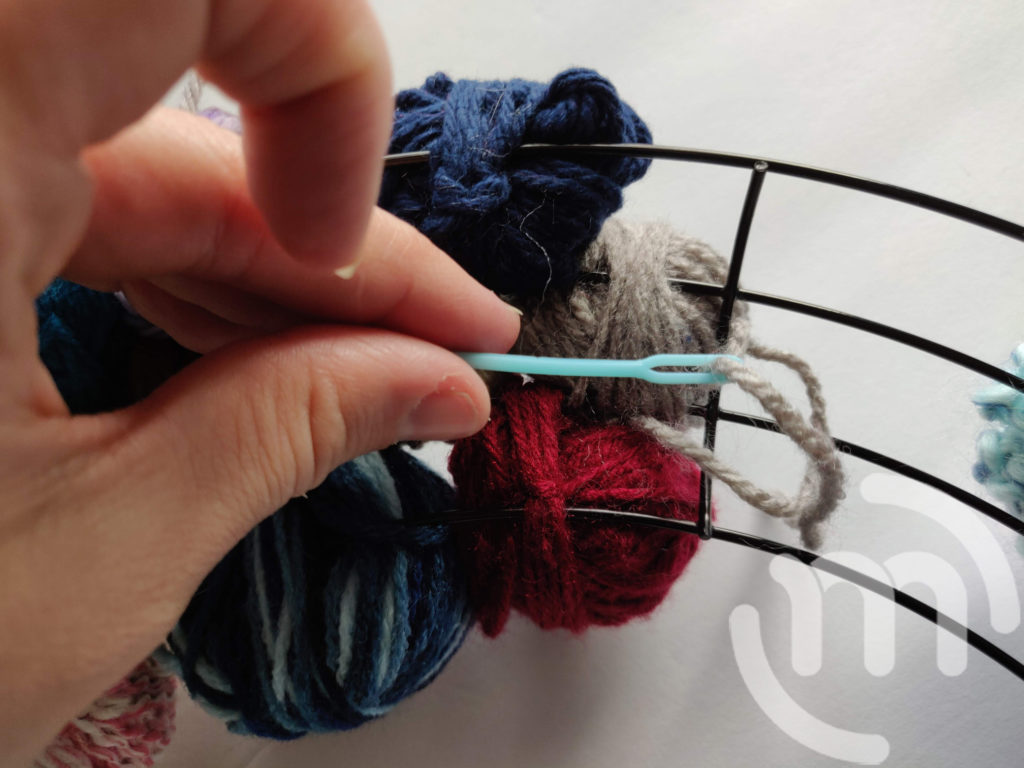
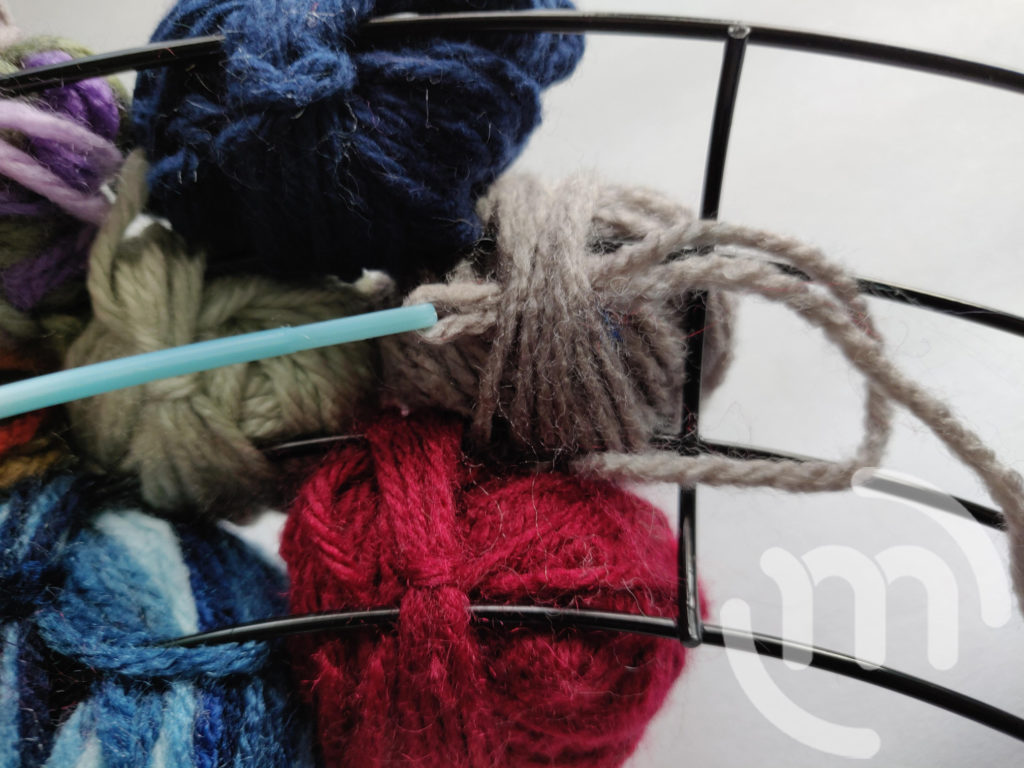
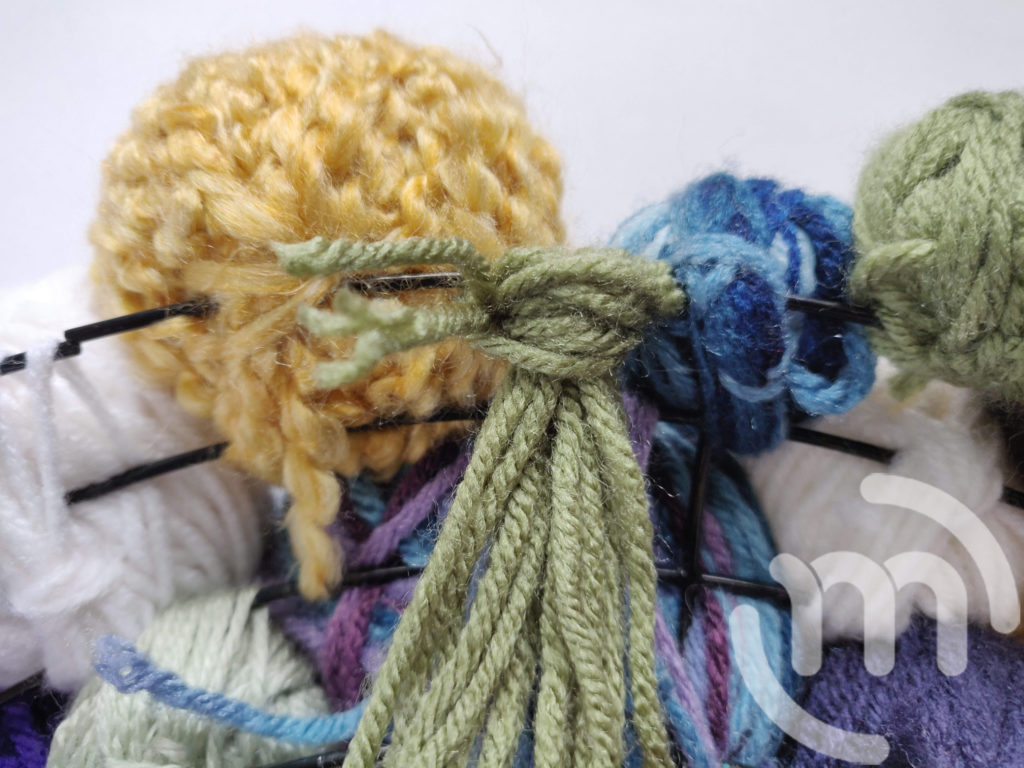
Step 3:
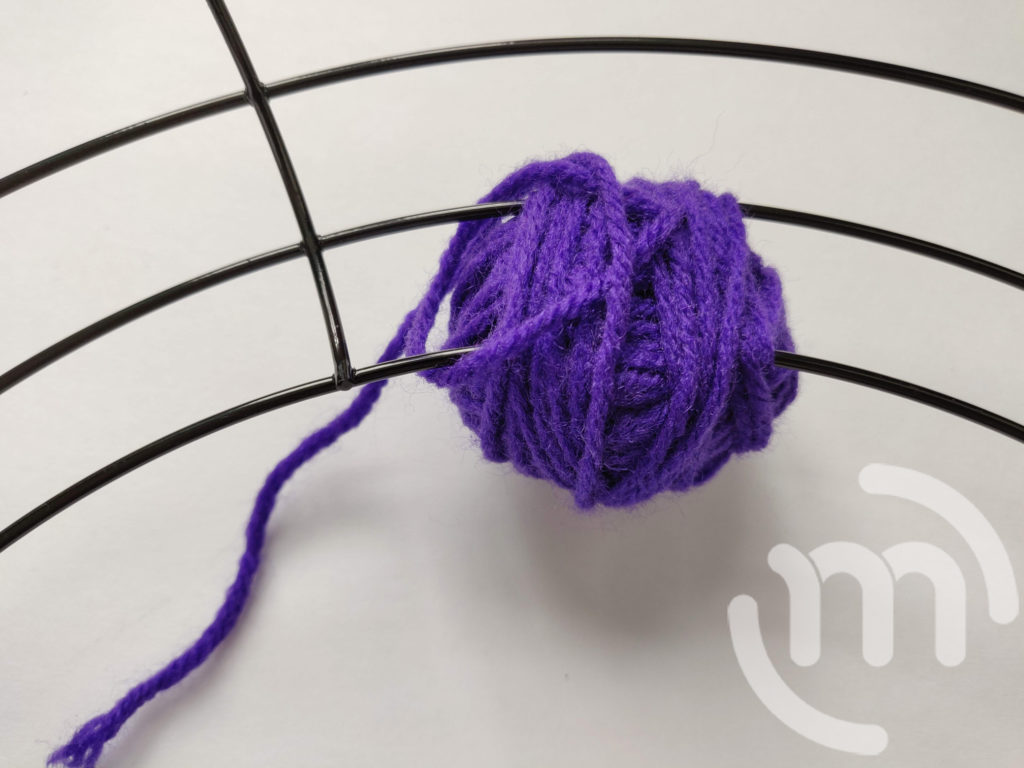
Leave a small tail approximately about 12” to secure your yarn. Thread your yarn needle with the end of the yarn. Weave your tail back and forth wrapping it around the form until the yarn is secured. Cut off any excess yarn.
You can do this part without the yarn needle, but it is so much easier with the needle!
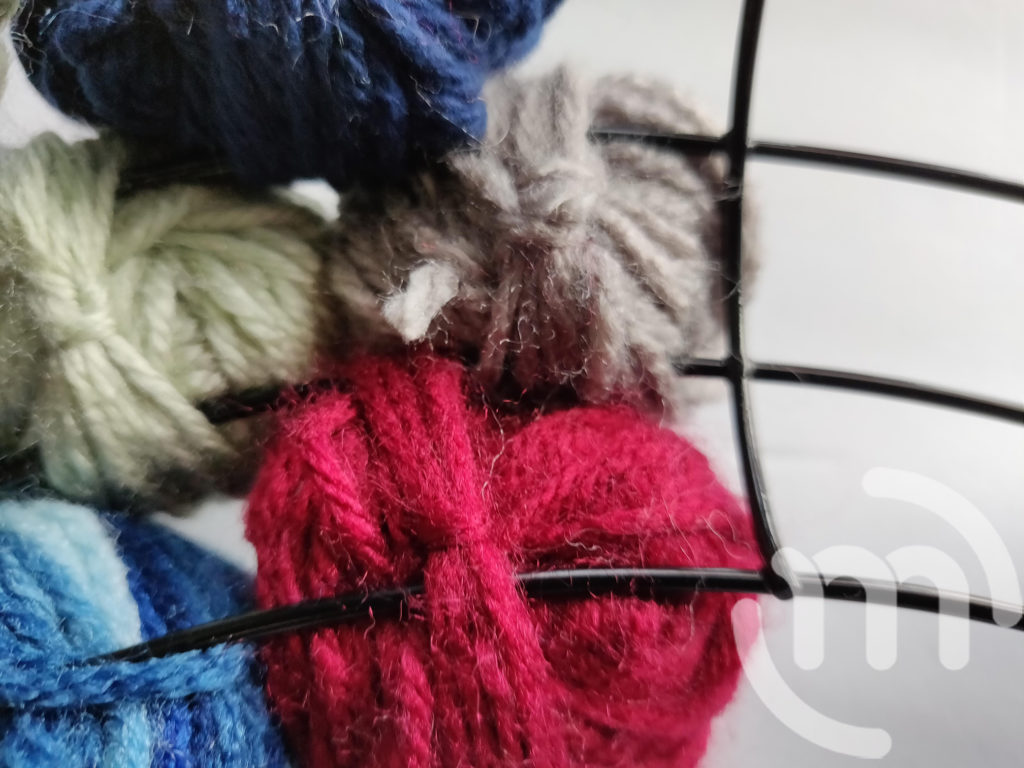
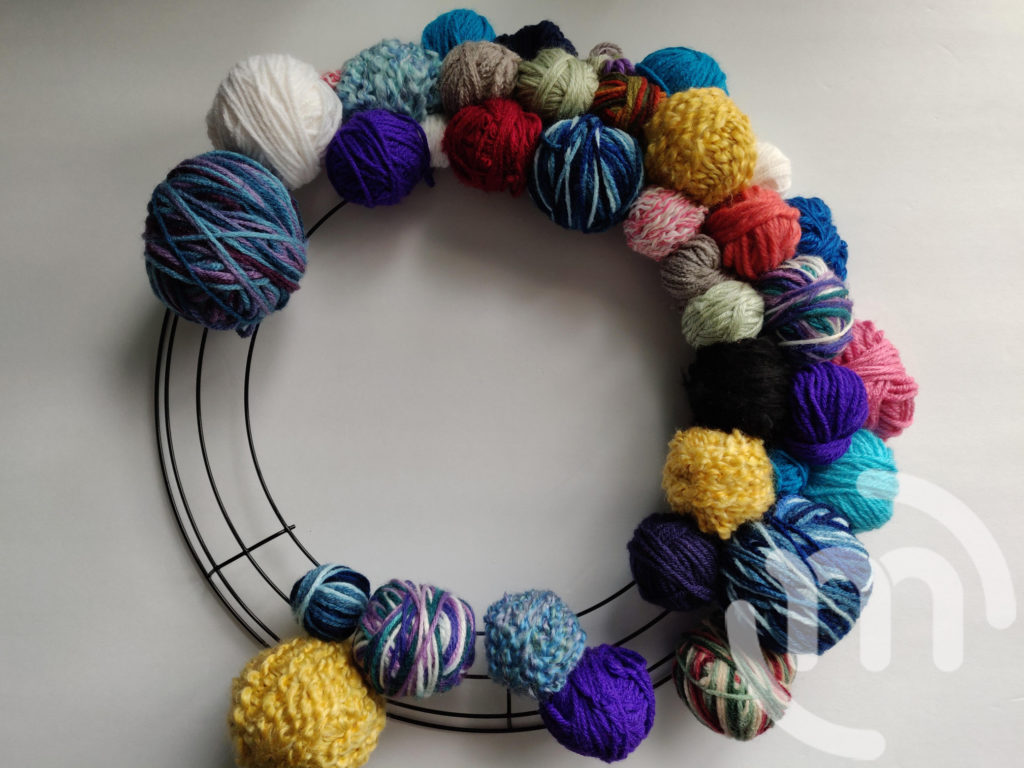
Step 4:
Repeat the steps until your wreath form is completely covered. Try to alternate your colors, sizes, and patterns to give it more interest.

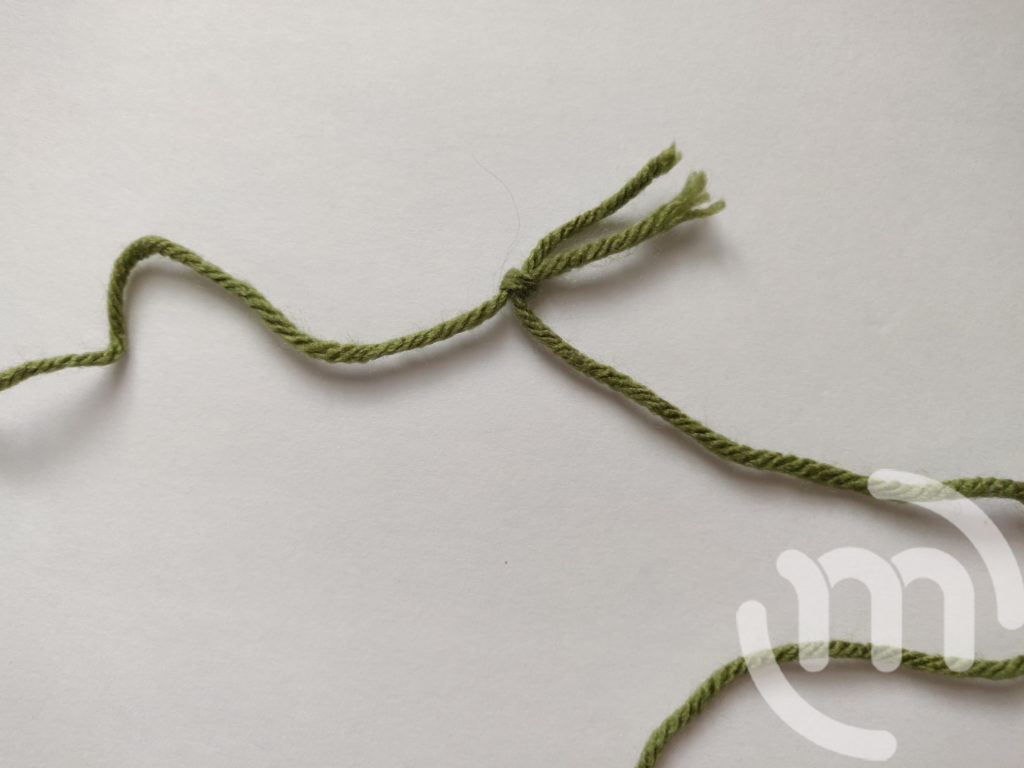
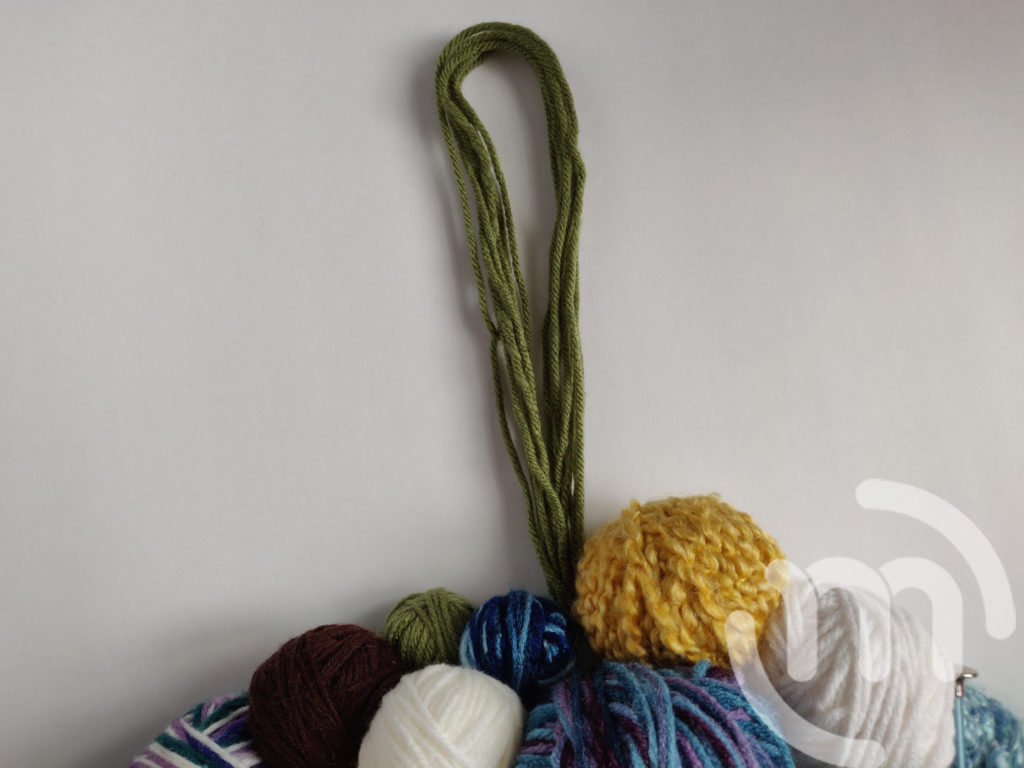
Step 5:
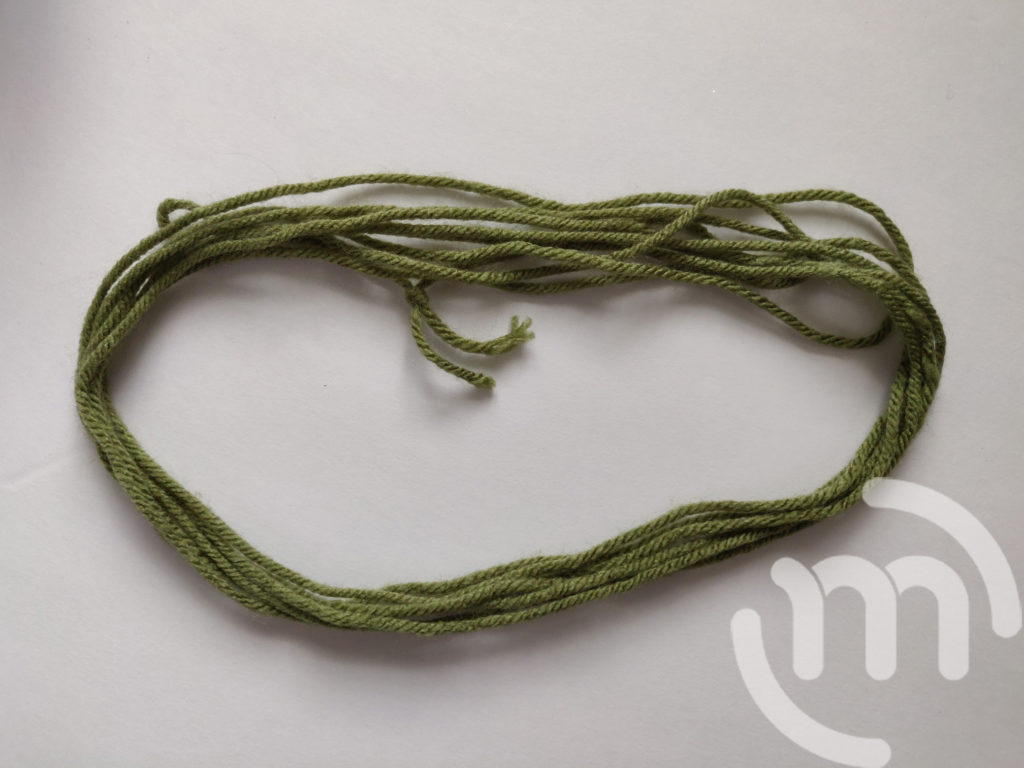
To create a yarn wreath hanger, cut about a yard of your scrap yarn. Tie a knot and half it over and over until it’s the length you want it.
Attach your hanger by feeding the yarn through the form and pull it through to secure.
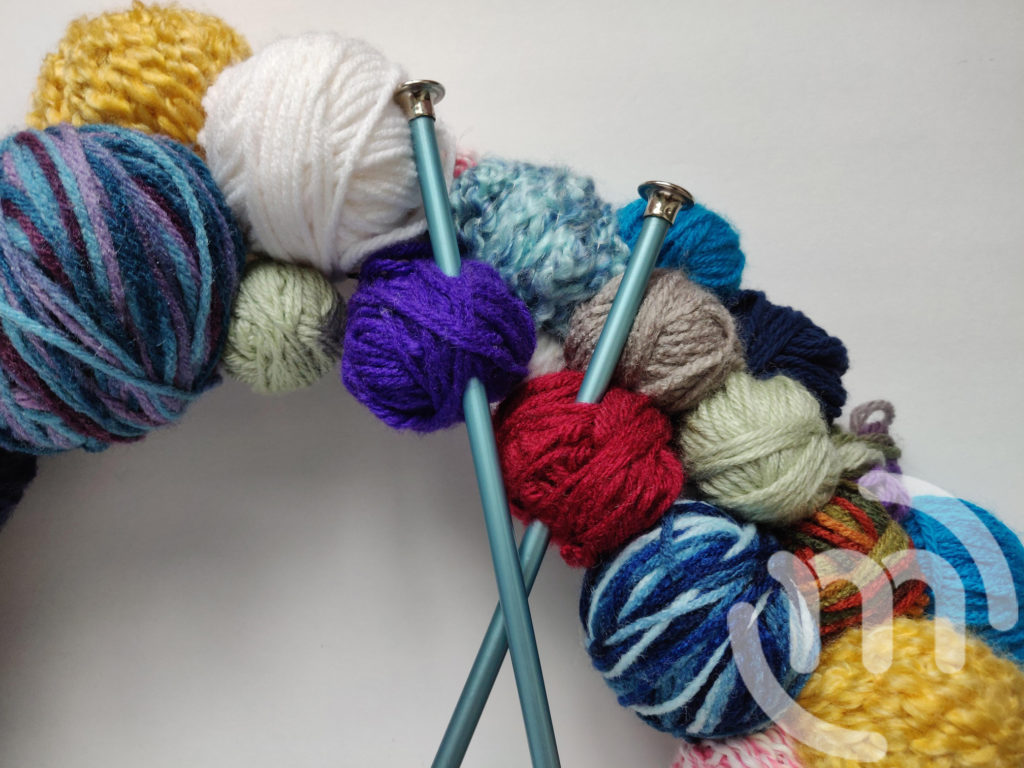
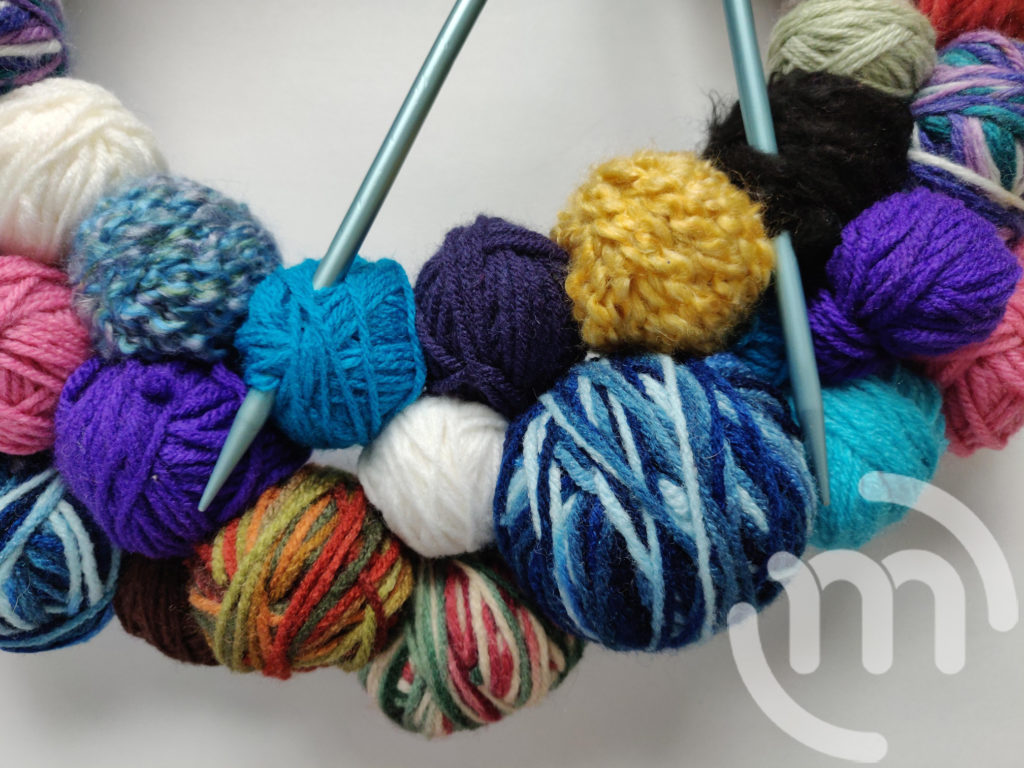
Step 6:
Add some knitting needles to your wreath by feeding them through your balls of yarn carefully. I had a bunch of old needles that were given to me that I have as duplicates, so this is the perfect use for them!
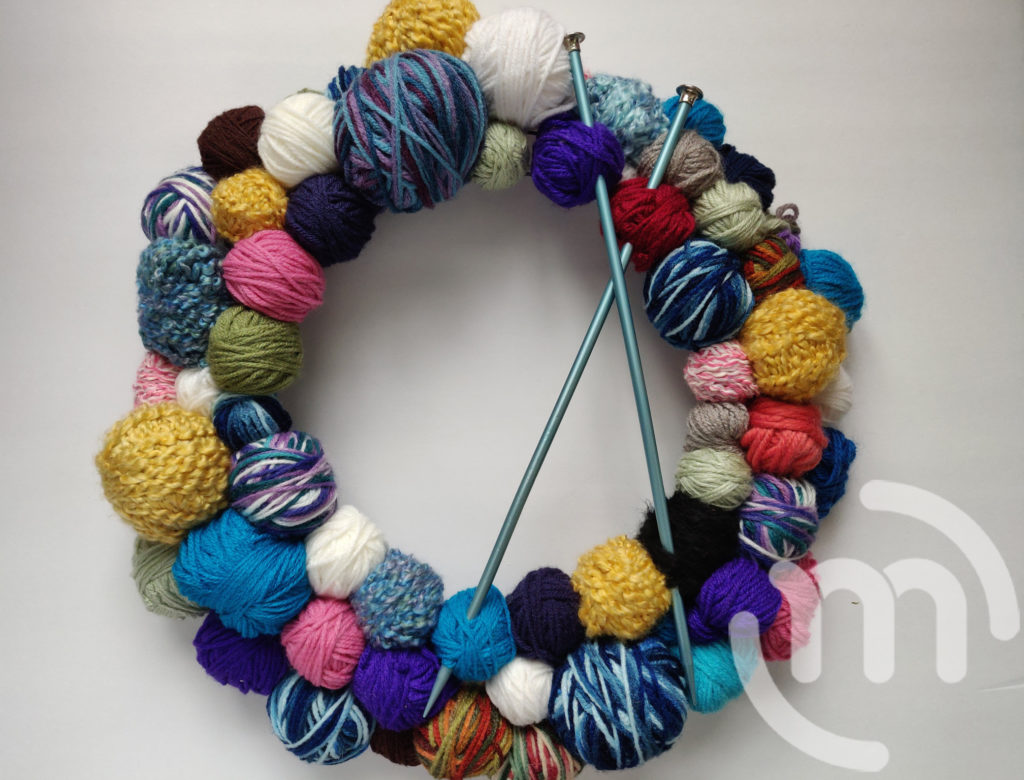
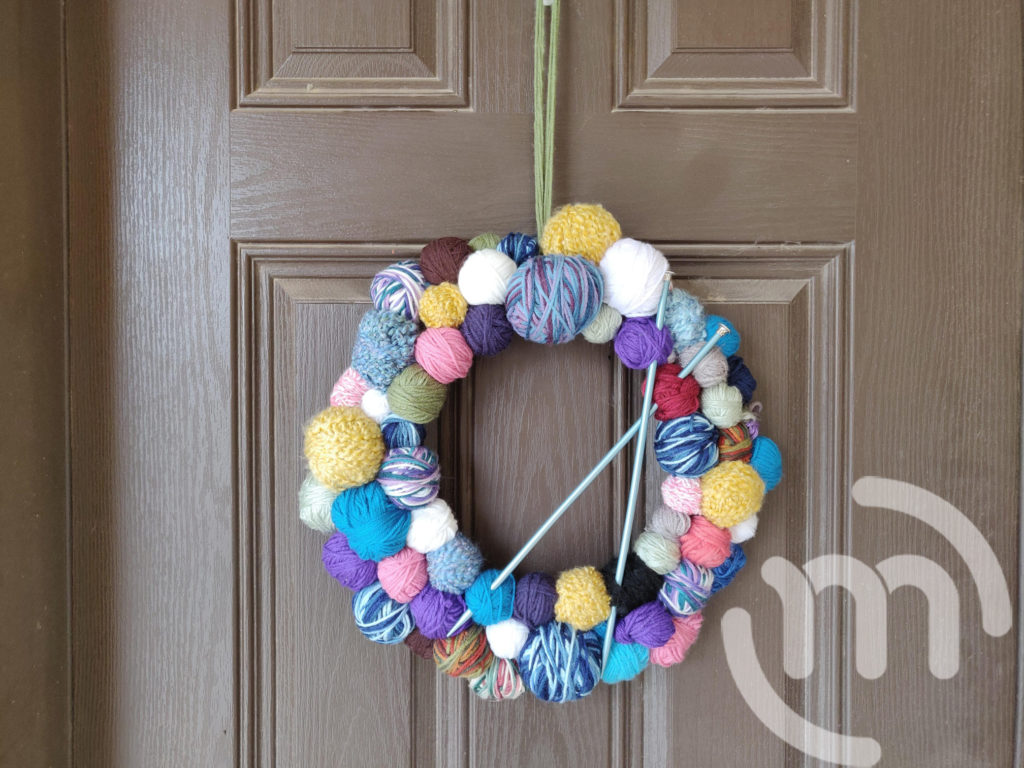
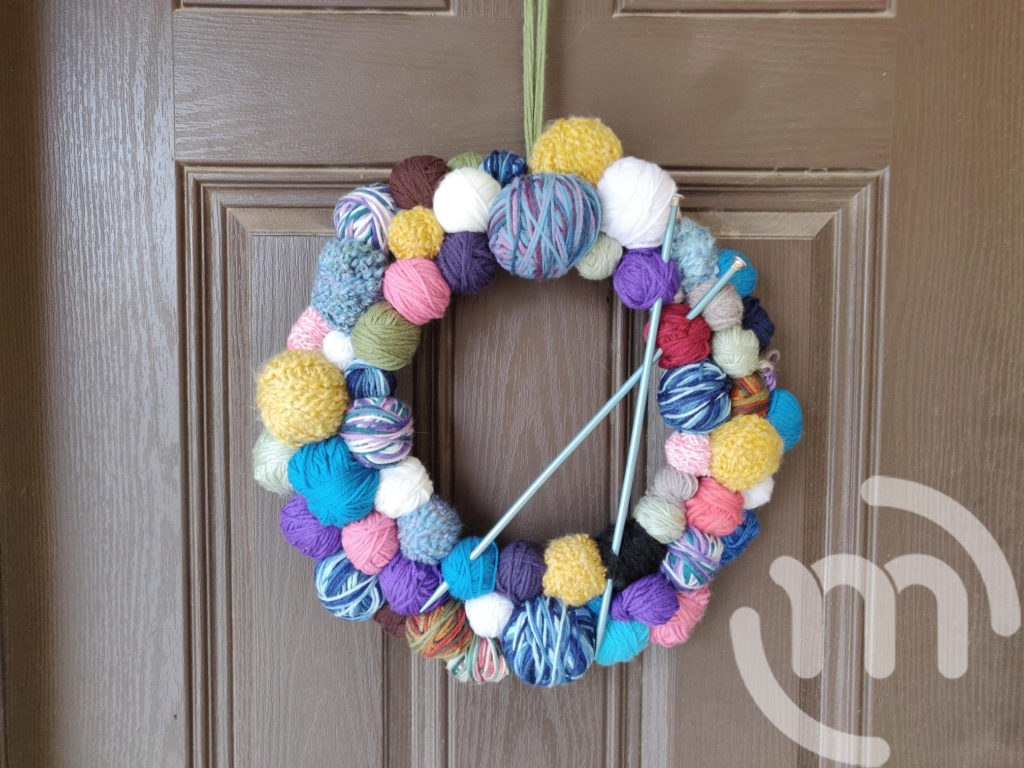
cute wreath idea
Thank you so much!!