
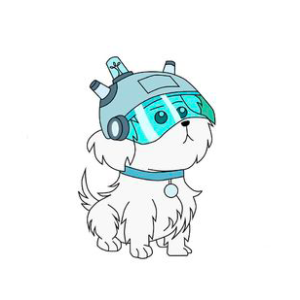
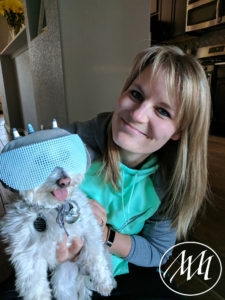
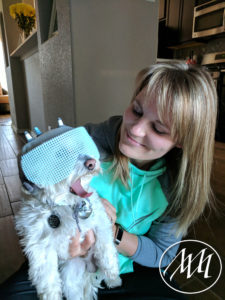
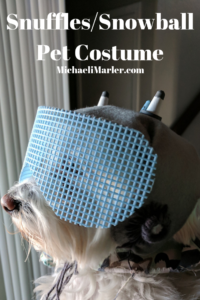
Make this adorable Snuffles/Snowball helmet from Rick and Morty for your pet! This was a perfect project for me to create because I have a Maltese dog named Ruggles! Today…he becomes Snuffles/Snowball from Rick and Morty!
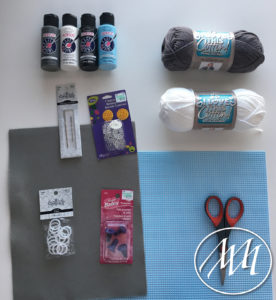
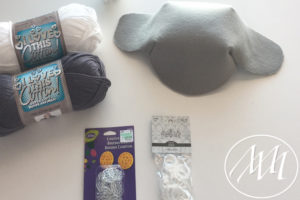
Materials:
- Grey and white yarn
- Paint (grey, white, black and blue)
- 2 mm Felt (grey)
- Plastic rings
- Knitting needle protectors (3)
- Creative buttons (2)
- Knitter’s needles
- Plastic canvas (blue)
- Sewing needle
- Transparent thread
- Sharpie pen (med)
- Paint brush
- Scissors
- Glue gun
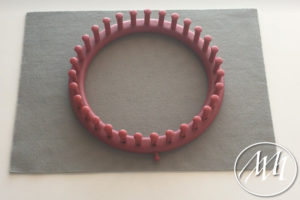
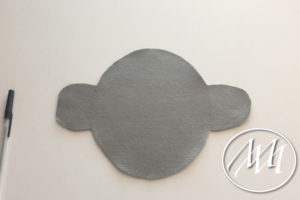
Step 1:
Use something circular to trace a circle onto the felt. I used a small loom to trace, but you can use anything that will give you the right size circle for your pet.
Step 2:
Draw flaps for the ears and cut out the shape.
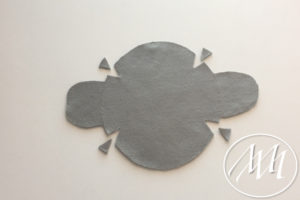
Step 3:
Cut small triangles out of each corner by the flaps.
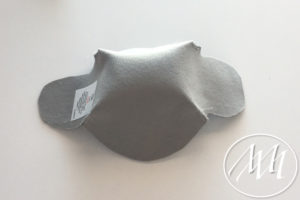
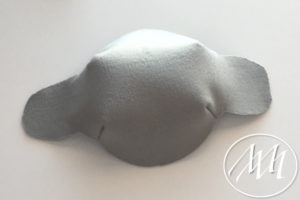
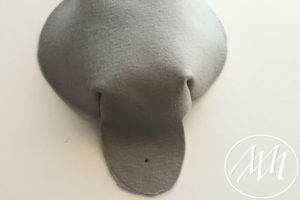
Step 4:
Turn the felt inside out and sew the triangle spaces together with your transparent tread to create a dome shape. Flip the felt back to the right side.
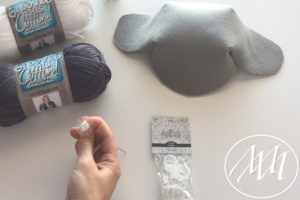
Step 5:
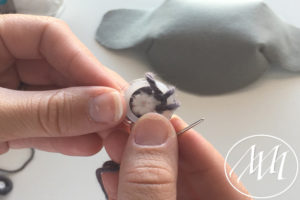
Using some white yarn and a knitters needle, weave the yarn into the middle circle of the creative button. Tie off yarn and cut excess.
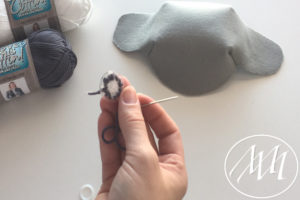
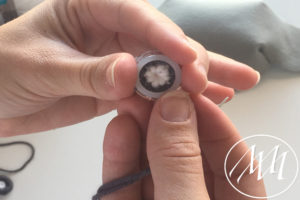
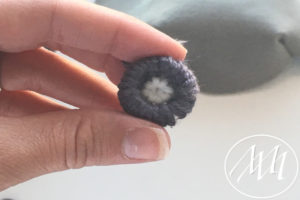
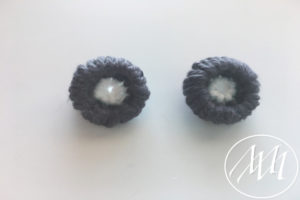
Step 6:
Using some grey yarn and the same needle, weave the yarn into the outer circle of the creative button. Place the plastic ring on top of the button to add some dimension and weave the grey yarn around the farthest circle of the button. Tie off yarn and cut excess. Repeat for second button.
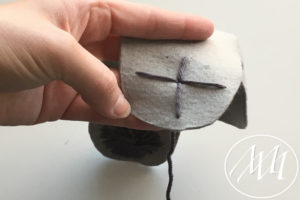
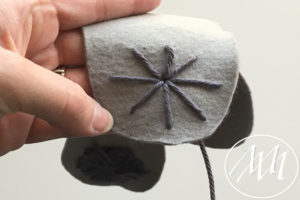
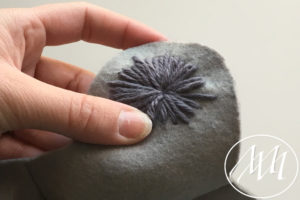
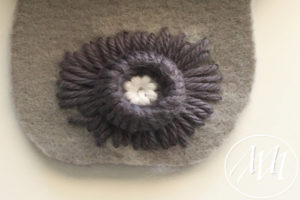
Step 7:
Mark on the hat flap where you want to add your button. With your knitters needle and some grey yarn, embroider a full circle on the flap. You can start by making the four corners and then filling in the gaps until you have gone all the way around. Tie it off in the back. NOTE: You may have to massage the felt a little bit to get the needle through the felt. This is because the felt is 2 mm.
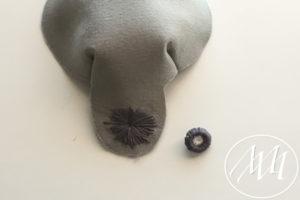
Step 8:
Sew the button you made earlier into the middle of your circle on the flap. I used my transparent needle and thread.
Step 9:
Take your three knitting needle protectors and tape two of them in the middle of the cone, but not on the top or the bottom. Tape the last one all the way up, but not the bottom.
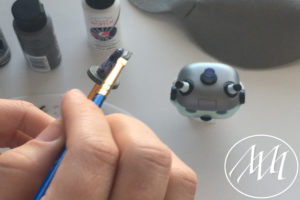
Step 10:
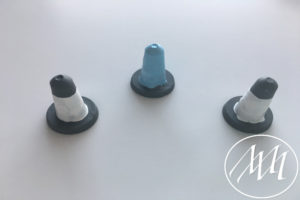
Paint the top and bottom of the two cones grey and paint only the bottom of the third one grey.
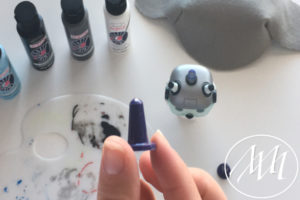
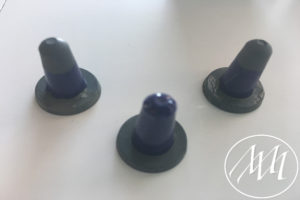
Step 11:
Once they are dried, peel off the tape. Paint the two cones white in the middle and the third one blue, all the way to the top. You may have to do several coats to get full coverage. Allow time to dry.
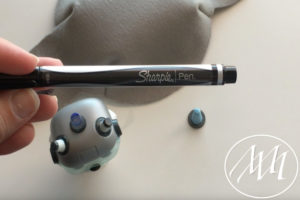
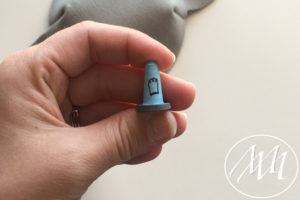
Step 12:
Take a small sharpie pen and draw a shape on the blue cone that resembles a light bulb middle.
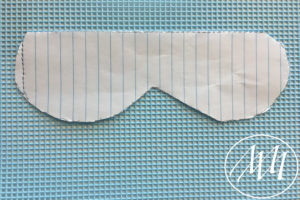
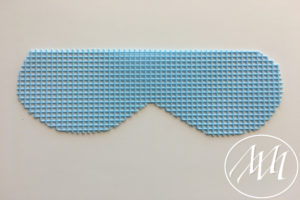
Step 13:
Draw a sunglass shape on a piece of paper and cut out around the plastic canvas following your template. We’ll use this for the glasses.
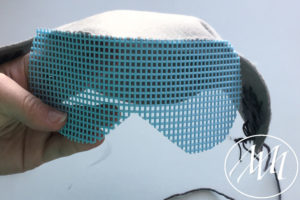
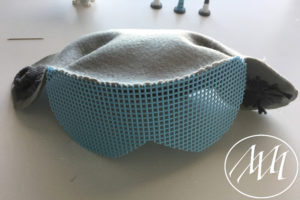
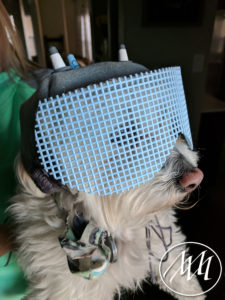
Step 14:
Using your transparent thread and a sewing needle, sew the glasses to the hat starting in the center of the hat. Loop the thread around and through the canvas holes to the felt. If you feel it needs extra securing, you can do two loops per canvas hole.
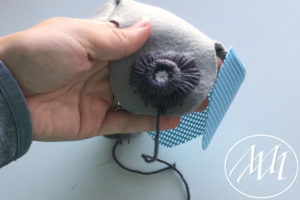
Step 15:
Attach a strand of yarn to each side of the hat so you can tie the hat around your pet’s chin.
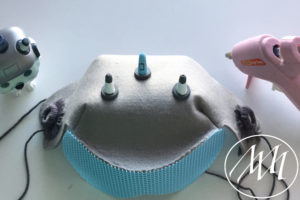
Step 16:
Apply a little bit of hot glue to the bottom to each cone and apply them to the top of the hat. The two white cones on the front corners and the blue one in the middle.
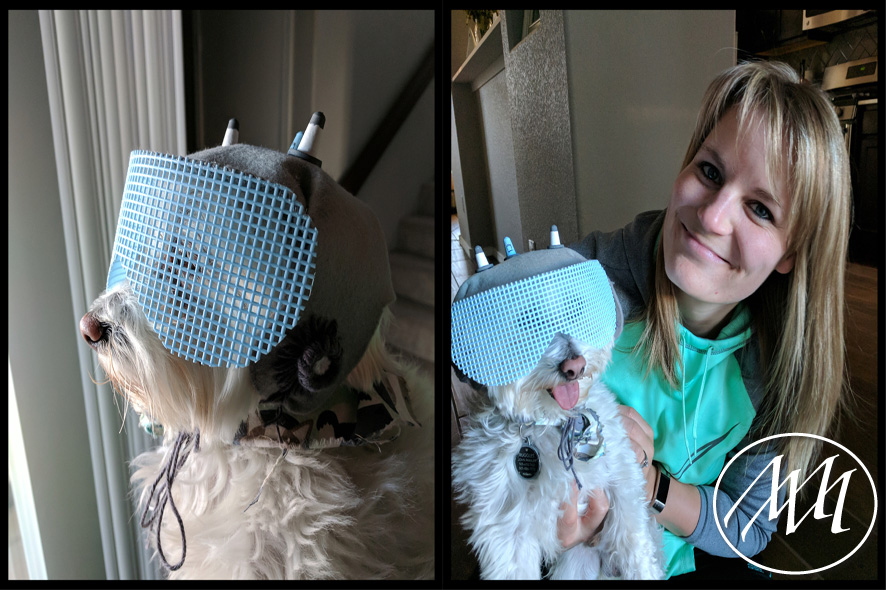
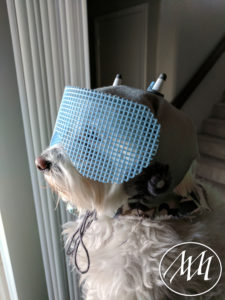
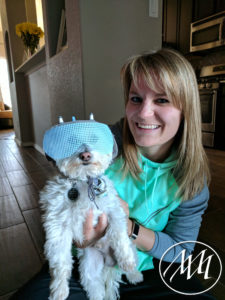
Step 17:
Attach the hat to your pet and let them magically turn into Snuffles/Snowball from Rick and Morty! I hope Ruggles ins’t contemplating taking over the world… 🙂
could you use a transparent plastic folder for the visor instead of the canvas?
Yes! I think that’s a fabulous idea! You can probably still sew that!